Your Cart is Empty


Hello, lovely readers! I'm Christa, and I am thrilled to share my passion for crochet with you. In this step-by-step guide, we will explore the art of continuous join as you go granny square blankets. This technique not only saves time and effort but also results in a stunning, seamless finish. So, grab your crochet hooks and yarn, and let's get started on this crochet adventure together!
Watch the LEFT-HANDED video tutorial HERE!!
Continuous join as you go is a fantastic method for creating granny square blankets without the need for stitching squares together at the end. By seamlessly joining squares as you work, you'll achieve a more polished and professional-looking blanket. Plus, it's a fun and rewarding process that keeps you engaged throughout the project.
Before we dive into the continuous join-as-you-go technique, let's gather our supplies:
![]()
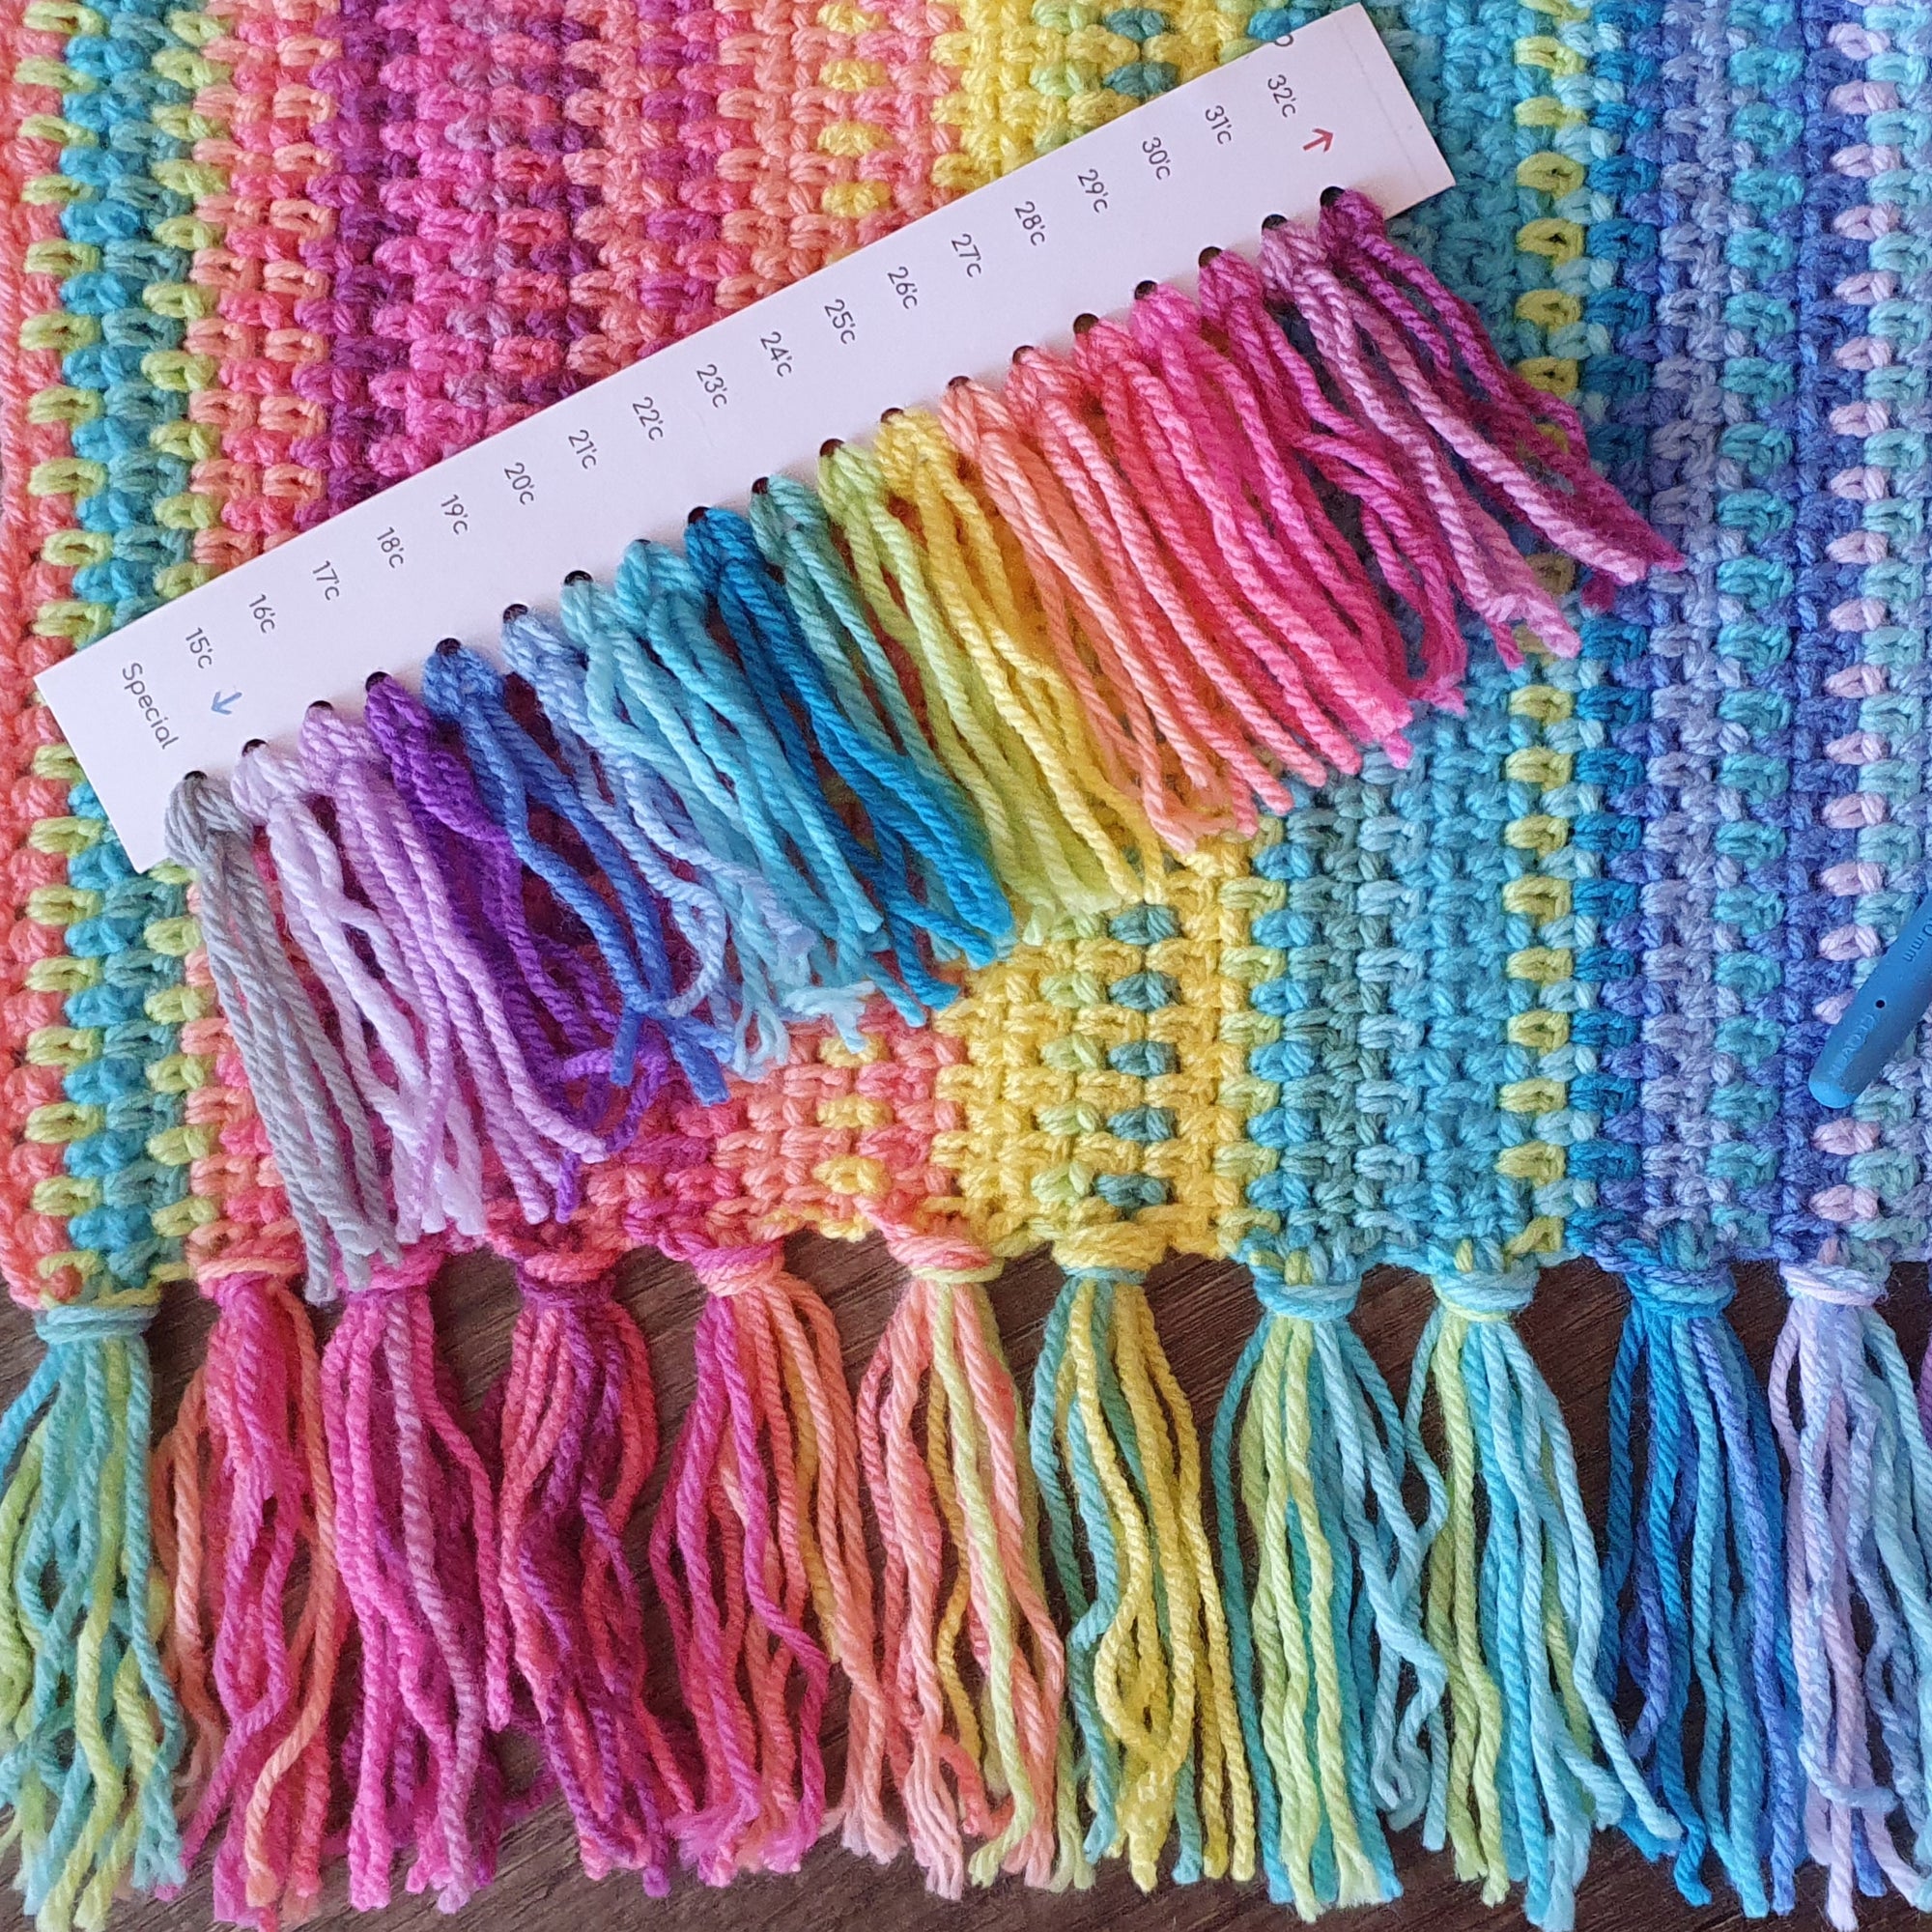
Start by crocheting the number of granny squares needed for your blanket. You can stick to one color or experiment with a variety of colors to create a vibrant design.
Lay out your granny squares in the desired pattern and order. This step helps you visualize the final look of your blanket and plan the joining process.
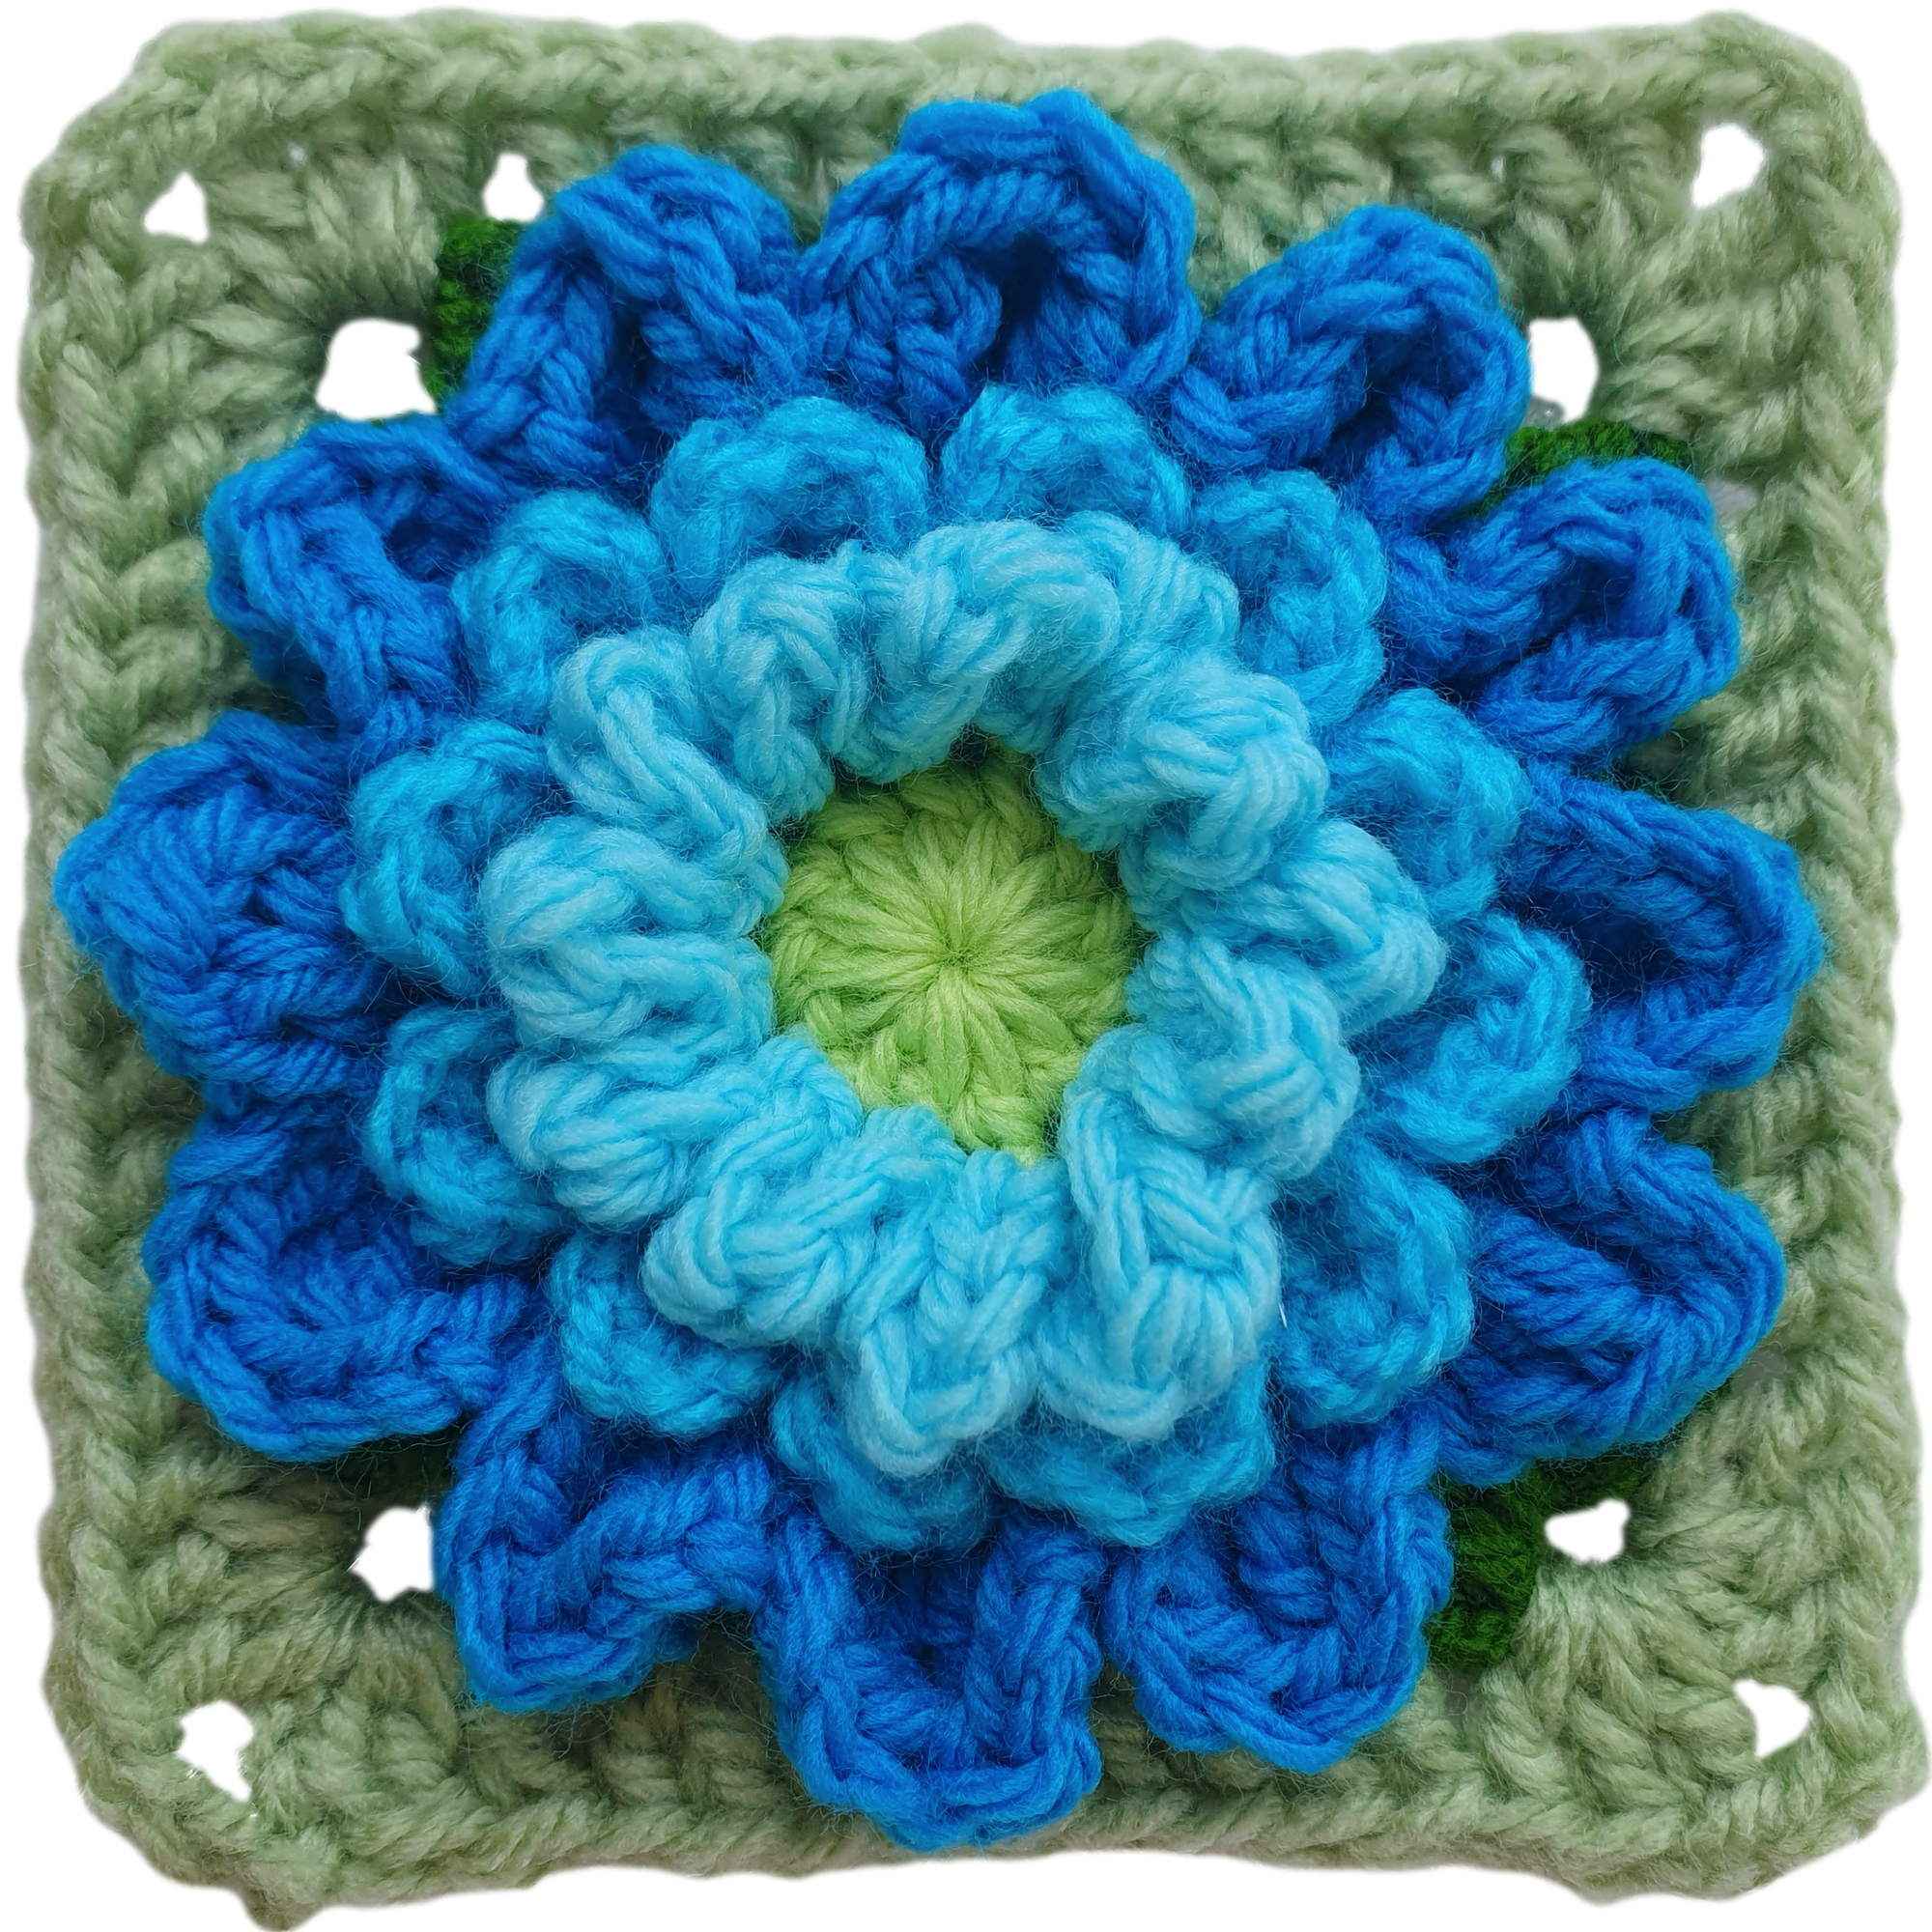
To join the squares, position two squares with their right sides facing each other. Insert your hook through the corner space of both squares and pull through your joining yarn. Chain one to secure.
![]()
Work a single crochet stitch into the corner space of the first square. Then, single crochet into the corner space of the second square. Continue this process along the side of the squares, making sure to maintain an even tension.
Repeat the joining process on the remaining three sides of the squares, making sure to keep your corners aligned. This continuous join-as-you-go technique creates an almost invisible seam.
Continue joining squares row by row until you complete your granny square blanket. Remember to weave in any loose ends as you progress to maintain a neat and tidy appearance.
Let's address some frequently asked questions about continuous join as you go granny square blankets to help you master this technique.
Q1:Can I use any granny square pattern for this technique?
A1: Yes, you can use any granny square pattern for continuous join as you go. Just ensure that all your squares are the same size for a seamless join.
Q2: How do I choose the right yarn colors?
A2: Choosing the right yarn colors is a matter of personal preference. Experiment with color combinations to find what suits your style and the theme of your blanket.
Q3: Is this technique suitable for beginners?
A3: While continuous join-as-you-go requires some basic crochet skills, it can be learned by beginners. Take your time and practice the joining process on scrap squares before starting your blanket.
Q4: Can I use different yarn weights for my squares?
A4: Using different yarn weights may affect the overall appearance of your blanket. Stick to the same yarn weight for consistent results.
Q5: How can I make my join even less visible?
A5: To make the join even less visible, choose a yarn color that closely matches the color of your squares.
![]()
Join our vibrant community on my YouTube channel and let's share the love for this beautiful art. Click HERE!!
Q1: Can I add a border to my granny square blanket?
A1: Absolutely! Adding a border is a great way to frame your blanket and provide a polished finish. Choose a border style that complements your blanket's design.
Q2: How do I estimate the number of squares needed for my blanket?
A2: To estimate the number of squares, determine the desired dimensions of your blanket and the size of your granny squares. Divide the total dimensions by the square size to get the number of squares required.
Q3: Can I mix different granny square patterns in one blanket?
A3: Yes, you can combine various granny square patterns to create a unique and eclectic look. Just ensure that all the squares have the same number of stitches on each side for a seamless join.
A4: Can I use continuous join as you go for other projects?
A4: Absolutely! Continuous join-as-you-go is a versatile technique that can be applied to other projects, such as scarves, pillow covers, and bags.
Q5: How can I wash and care for my granny square blanket?
A5: To care for your blanket, follow the washing instructions for the yarn used. Handwashing is generally recommended for crocheted items to maintain their shape and color.
![]()
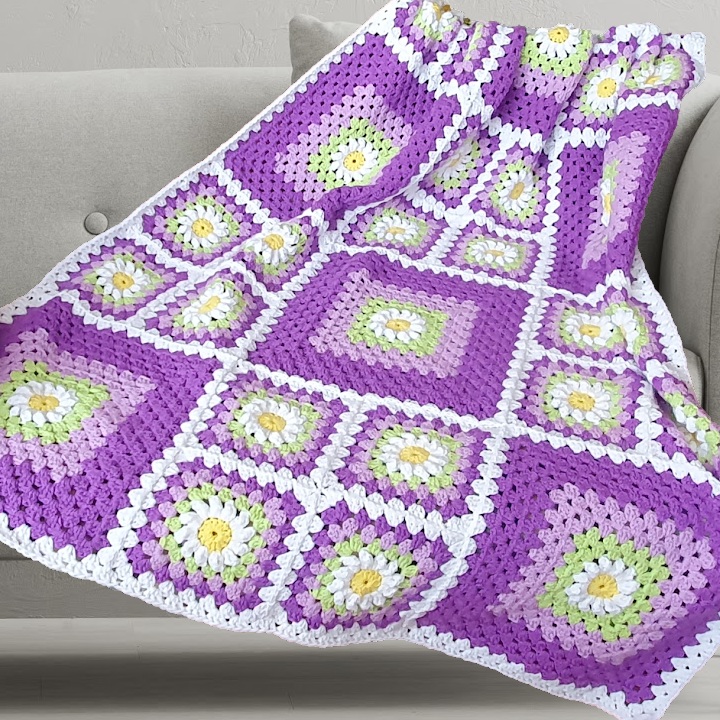
Congratulations! You've completed your first continuous join-as-you-go granny square blanket. Embrace the beauty of this technique as you create more stunning crochet projects. Remember, practice makes perfect, so keep honing your skills and exploring new patterns and designs.
With continuous join as you go, your crochet journey will be filled with joy and creativity. Happy crocheting, my dear readers!