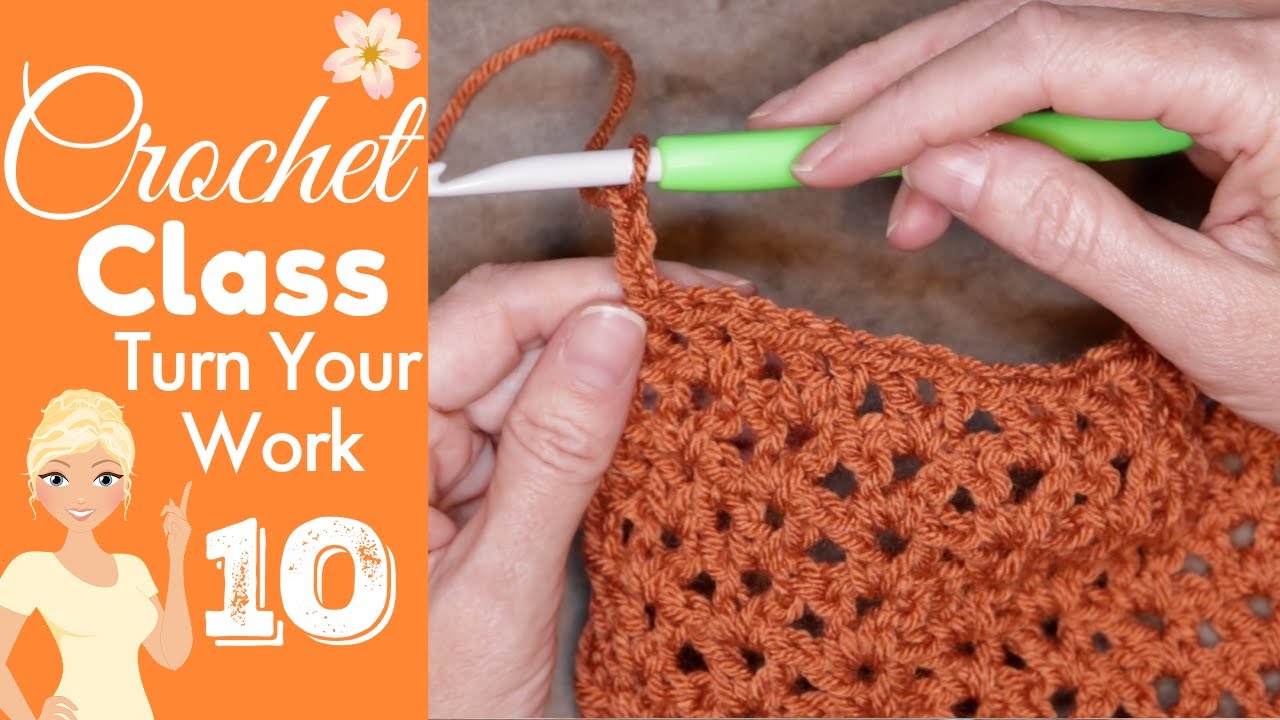
Crochet Class 10: Perfect Edges With Easy Turning Tips!
Have you ever wondered if there's a "right" way to turn your crochet work? It turns out there is! And it can make a huge difference in the look and feel of your finished project. I'm Christa from The Secret Yarnery, and in this blog post, I'm going to share a simple yet essential crochet tip that will elevate your edges and make working into your chains a breeze. Consider this Crochet Class, but in blog form. We're going to cover the technique taught in Crochet Class 10, but there's much more to discover in the full Crochet Classes playlist if you're looking for more beginner tips.
Table of contents
Why Does Turning Your Crochet Matter?
So, why is the way you turn your crochet work so important? It all comes down to the appearance of your edges and how easily you can work into that last stitch, the turning chain. When you turn your work correctly, you create neat, even edges that give your projects a professional finish.
Think of it this way: Imagine you're building a brick wall. If you don't align the bricks properly, the wall will be crooked and unstable. The same principle applies to crochet. Messy edges can make your projects look less polished, even if the rest of your work is perfect.
And it's not just about looks! Turning correctly also sets you up for success in more complex patterns later on. A solid foundation of basic techniques will make those intricate designs much easier to handle.

The "Right" Way to Turn: Christa's Secret
Okay, so what's the secret? It's all about a simple hand movement that makes a world of difference. Here's my method for turning your work for optimal results:
-
Complete your turning chain before you turn.
-
Slide your hand underneath the working yarn.
-
Grab your work and turn it.
Why does this work? By sliding your hand underneath the yarn, you're positioning the chain so it's perfectly aligned for easy access when you start your next row. It ensures that the "V" shape of the chain is facing you, making it simple to insert your hook.
Turning Chain First: Why it's Important
The turning chain serves a vital purpose: it brings the yarn up to the height of the next row. The number of chains you make usually depends on the stitch you're using. For single crochet, it's typically one chain; for half double crochet, two chains; and for double crochet, three chains.
It's super important to complete the chain before you turn. This keeps your stitch count accurate and prevents your work from becoming distorted. Think of the turning chain as part of the height of the next stitch, and therefore it needs to be completed before you turn.
The Underneath Hand Technique
This is where the magic happens. By putting your hand under the working yarn, you're manipulating the yarn and turning chain to be in the correct spot. This ensures that when you turn the work, the chain is perfectly positioned for easy access.
Grabbing and Turning
Now, for the turn! With your hand still underneath the yarn, grab your work and turn it in one fluid motion. The goal is to position the chain so it's ready to be worked into without any fuss.
Highlighting the "V"
The ultimate goal is to have the "V" of the turning chain facing you, ready to be worked into. This makes it easy to insert your hook and create a clean, even edge.

Working into the Chain: The Easy Part
This is where my turning method really shines. Because you've positioned the chain correctly, working into it is now a breeze!
-
Identify the loop facing you on the turning chain.
-
Insert your hook into that loop.
-
You should now have two strands of the chain on top of your hook.
By inserting your hook into the correct loop, you're creating a clean, finished edge that looks professional and polished.
Troubleshooting: Common Turning Problems
Even with the best techniques, sometimes things can go wrong. Here are some common turning problems and how to fix them:
Problem 1: Tight Edges
-
Solution: Make sure your turning chain isn't too tight. Consider using a larger hook for the turning chain only.
Problem 2: Loose/Gappy Edges
-
Solution: Ensure your turning chain has enough height for the stitch you're using. Adjust the number of chains if needed.
Problem 3: Difficulty Finding the Chain
-
Solution: Use a stitch marker to mark the first stitch of each row. This makes it easier to locate the turning chain when you come back to it.
Problem 4: Slanted Edges
-
Solution: Double-check that you have the correct number of stitches and turning chains in each row. Blocking your work can also help even out edges.
And of course, if you're still having trouble, rewatch the video! Seeing the technique in action can often clarify any confusion.
Turning Chain Variations
As I mentioned earlier, the number of chains in your turning chain depends on the stitch you're using. Here's a quick guide:
-
Single Crochet: Usually 1 chain.
-
Half Double Crochet: Usually 2 chains.
-
Double Crochet: Usually 3 chains.
However, keep in mind that some patterns might specify different numbers of chains or even alternative turning methods, like the chainless turning. Always follow the pattern's instructions for the best results.
Beyond the Basics: Advanced Turning Techniques
Once you've mastered the basic turning method, you can explore some more advanced techniques:
- The Chainless Turning Method: This is an alternative to the traditional turning chain. It can provide a cleaner look in some cases.
- Working in the Back Loop Only (BLO) or Front Loop Only (FLO): When working in BLO or FLO, turning affects your edges differently. Some patterns may require special turning techniques for these stitches.
- Turning in the Round: Turning works differently when crocheting in the round. Instead of turning at the end of a row, you typically join the last stitch to the first and continue working in the same direction.
Tools & Materials for Perfect Crochet
To get the best results in crochet, you'll need the right tools and materials. Here are some of my must-haves:
- Yarn: For beginner projects, I recommend using a smooth, light-colored yarn in a medium weight (like worsted weight).
- Crochet Hooks: A set of hooks in various sizes is essential. Start with sizes H/8 (5 mm), I/9 (5.5 mm), and J/10 (6 mm).
- Scissors: Sharp scissors are a must for cutting yarn.
- Stitch Markers: Stitch markers are incredibly useful, especially for beginners. Use them to mark the first stitch of each row, the beginning of a round, or any other important point in your pattern.
- Tapestry Needles: These are used for weaving in your yarn ends.
I have a longer list of my favorite tools, check out the YouTube video description for my Crochet Must Haves.
Practice Project: Simple Scarf
Want to practice your turning technique? Try this simple scarf pattern:
- Row 1: Chain 20, single crochet in the second chain from hook and across (19 stitches).
- Row 2: Chain 1 (turning chain), turn, single crochet in each stitch across (19 stitches).
- Repeat Row 2 until desired length.
Remember to use the "underneath hand" turning method to create even edges. Focus on maintaining consistent tension and counting your stitches at the end of each row.

Christa's Top Tips for Crochet Success
Here are a few more tips to help you on your crochet journey:
- Tip 1: Tension is Key: Maintain consistent tension for even stitches and edges.
- Tip 2: Count Your Stitches: Count your stitches at the end of each row to avoid mistakes.
- Tip 3: Don't Be Afraid to Frog: "Frogging" (ripping out your work) is a normal part of crochet. Don't be afraid to undo your work and start over if you make a mistake.
- Tip 4: Practice Makes Perfect: The more you crochet, the better you'll become.
- Tip 5: Find a Crochet Community: Connect with other crocheters for support and inspiration. Join my Facebook Group to ask questions, share your projects, and connect with other yarn enthusiasts!
Join The Secret Yarnery Community
If you enjoyed this crochet class, I invite you to join The Secret Yarnery community! Subscribe to my YouTube channel for more quick and easy tutorials, project inspiration, and behind-the-scenes content. You can also become a channel member for exclusive perks and content. Check out the channel membership here. Join our Facebook group too!
Explore More Crochet Classes
Want to learn more crochet techniques? Check out my other crochet classes on YouTube.
Free Crochet Patterns
Be sure to check out the written patterns available on The Secret Yarnery's website for more crochet inspiration.
Behind-the-Scenes with The Secret Yarnery
Want to see what goes on behind the scenes at The Secret Yarnery? Check out my behind-the-scenes content for a glimpse into my creative process, daily life, and upcoming projects.
Cool Merch for Crochet Lovers
Show your love for crochet with The Secret Yarnery's merchandise! Visit my merch store for t-shirts, mugs, stickers, and more.
I hope this tutorial has helped you master the art of turning your crochet work. Remember, practice makes perfect, so keep crocheting and experimenting with different techniques. Now you can confidently tackle any Crochet for Beginners: Your Step-by-Step Guide project! Happy crocheting!
Mastering the way you turn your crochet work sets the stage for clean edges and smoother stitching. By following the simple "underneath hand" technique, you’ll avoid frustration and get more professional results, even as a beginner. Remember, consistency with your turning routine is key—start each row the same way, keep your tension steady, and count your stitches. Don’t get discouraged if it takes a few tries; every project is a chance to improve. Keep practicing, try new techniques, and enjoy the creative process. With these tips, your crochet projects will look neater, and future patterns will feel easier. Stay Hooked!
![]()
Christa Patel is the creative mind behind the Secret Yarnery, a trusted resource for crochet enthusiasts worldwide. With years of experience, Christa specializes in designing beginner-friendly yet stunning crochet patterns that inspire creativity and confidence in crafters of all skill levels.
As a passionate crocheter, Christa is known for her clear and approachable teaching style, breaking down complex patterns into simple, easy-to-follow steps. Through her engaging video tutorials, written patterns, and helpful tips, she has cultivated a community where crocheters can connect, learn, and share their work.
Christa’s dedication to making crochet fun and accessible shines in every project she creates, from colorful blankets to intricate borders. Whether you’re a seasoned expert or just picking up a hook for the first time, Christa's guidance will help you craft something beautiful.
About the Author
With a passion for crafting easy, beginner-friendly tutorials and patterns, Christa inspires crafters of all skill levels to unleash their creativity worldwide. She encourages yarn lovers to connect, create, and crochet a world filled with beautiful handmade treasures!
Crochet Class 10: Perfect Edges With Easy Turning Tips!