

Resize Crochet Projects With Gauge Math
A beautiful pattern can still be the wrong size for your yarn, your body, or the space you want to fill. That doesn't mean you need to rewrite every instruction, since gauge math can help you fix crochet projects without starting over or unravelling the whole thing.
You can resize crochet projects with a few measured numbers: a blocked swatch, a target size, stitch and row gauge, and the pattern's repeat. Once those pieces are on paper, the adjustment becomes much more predictable.
Key Takeaways
- Measure the finished size you want before changing stitch counts.
- Make, wash, and block a swatch using the project's stitch pattern.
- Use stitch gauge to determine width and row gauge to determine length.
- Keep each new starting count compatible with the stitch repeat.
- Check the first section early, before investing significant time and yarn.
How to Resize Crochet Projects Without Guesswork
The printed stitch count is only a route to the designer's finished measurements. Your target measurements matter more. Compare the pattern's intended width, length, or circumference with the dimensions you want. Then calculate your gauge before you scale a pattern.
This method works especially well for rectangles, scarves, blankets, wraps, and repeat-based designs. Highly shaped garments need more planning. Sleeves, necklines, armholes, and shoulders must still meet in the right places.
Write down your target measurements, gauge, repeat multiple, and border allowance before you start. This small plan prevents lopsided changes and helps you estimate yarn before the project grows beyond its original size.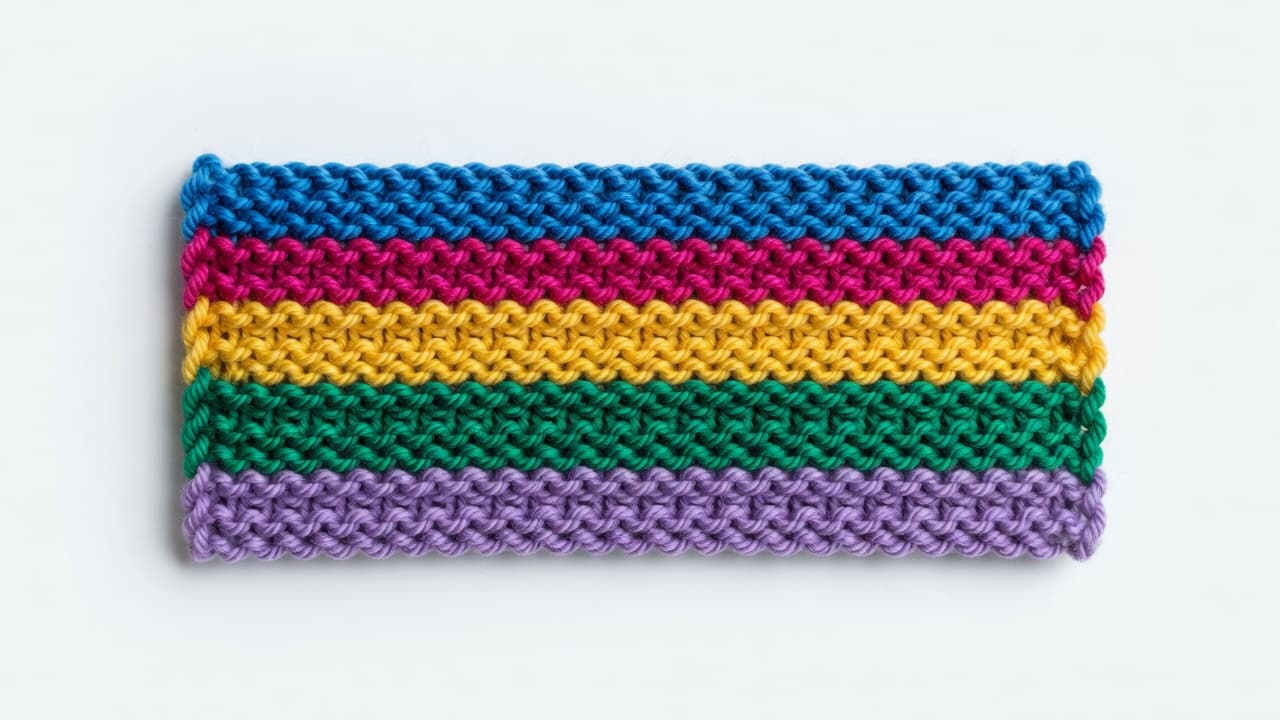
Start With Finished Measurements, Not the Pattern Size
Choose the width, length, circumference, sleeve length, or motif count you actually want. For home decor, measure the bed, table, or chair where the piece will live. For wearables, measure a favorite garment that fits the way you like.
Body measurements and finished garment measurements are different. A sweater needs ease, which is the extra room between your body and the fabric. A relaxed tunic needs more ease than a fitted top.
For example, if you want a 24-inch-wide baby blanket, use 24 inches as your goal instead of automatically following the listed pattern width.
Know Which Parts Can Change Safely
Width, length, blanket rows, and borders are usually flexible. Necklines, armholes, sleeve caps, increase rounds, decreases, and joined motifs need more care.
Use stitch markers to identify each shaping section and stitch-repeat instruction before changing anything. For complex garments, place a life line before major adjustments so you have a temporary checkpoint if you need to undo your work. A customizable project with a simple repeat, such as the Easy Team Spirit Wrap, can become narrower or longer while keeping its color changes and tassels intact. A tunic may need adjustments at the bust, shoulders, and arm openings rather than one larger starting chain.

Use Gauge Math to Calculate the Right Stitch and Row Counts
Gauge turns a desired measurement into crochet instructions. First, convert a four-inch gauge to a one-inch gauge. If your swatch has 18 stitches across four inches, divide 18 by 4. Your stitch gauge is 4.5 stitches per inch.
Use these formulas:
- Target width in inches x stitches per inch = starting stitch count.
- Target length in inches x rows per inch = total row count.
For a 24-inch blanket at 4.5 stitches per inch:
24 x 4.5 = 108 stitches
The math gives you 108 stitches, but the pattern still has the final word. If the stitch pattern needs a multiple of six plus two edge stitches, adjust the chain to a valid count. A crochet gauge calculator can help double-check the conversion when decimals get awkward.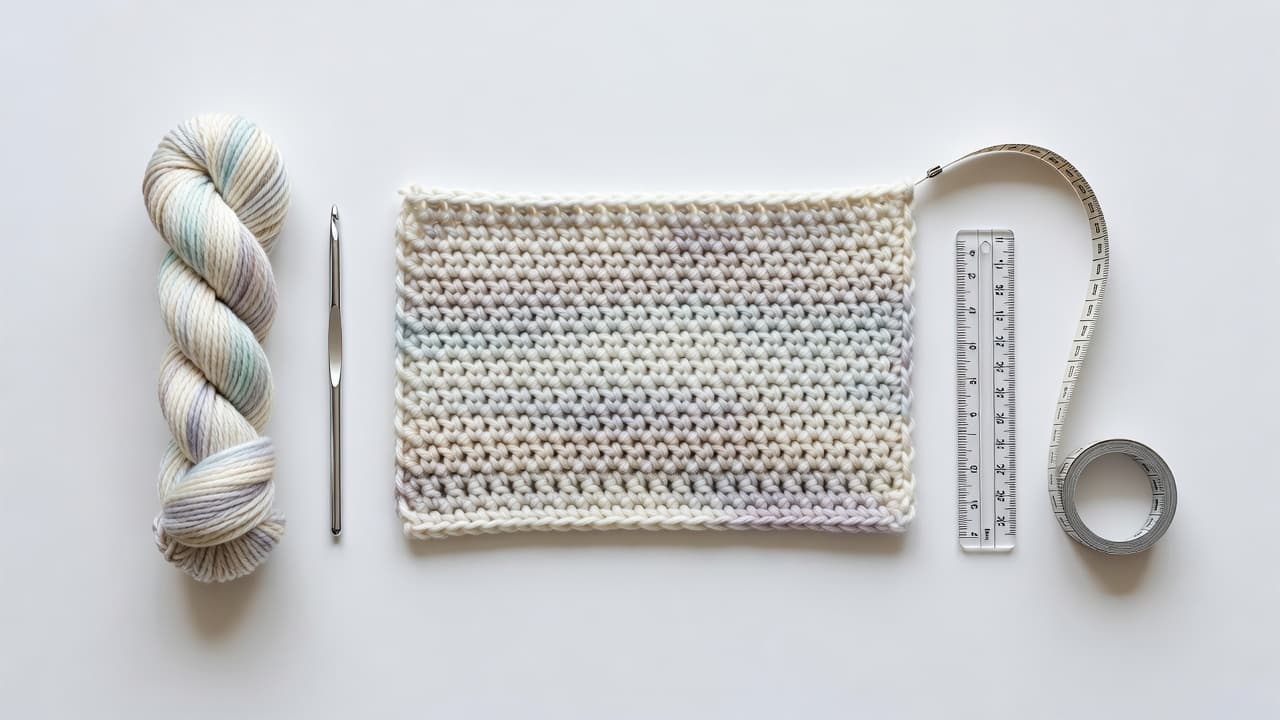
Make a Gauge Swatch That Gives Useful Numbers
Make a swatch at least six inches wide when you can. Use the project yarn, hook, stitch pattern, and tension. Record the crochet hook size used for the test.
Then wash and block it as you plan to treat the finished item. When you block crochet, match the finished project's care routine and drying conditions.
A wet block saturates the fabric before shaping, while a steam block uses controlled heat. A dry block shapes the piece without adding water, and a damp block uses light moisture for minor adjustments. Choose carefully because acrylic yarn can react badly to heat, and different yarn fibers respond differently after washing.
Measure the center section with a tape measure, not the outer edges. Edge stitches often distort the count. Record both stitches per inch and rows per inch, including partial stitches within your measured area.
A tiny, unblocked swatch can lie to you. Crochet fabric may relax, stretch, or tighten after washing, especially with cotton, wool, or open stitch patterns.
A swatch only predicts the finished project when you treat it like the finished project.
Round Counts to the Stitch Pattern Repeat
Many patterns require a multiple of 4, 6, or 8 stitches, plus turning-chain or edge stitches. Check the first-row instruction carefully.
Your calculated 108 stitches may already work. If the repeat needs a multiple of eight plus two, however, you may need 106 or 114 instead. Use stitch markers to identify repeat boundaries, and place a life line before testing a complex repeat. Pick the valid count nearest to your target width, then measure after the first complete repeat.
Use Row Gauge for Length, Not Stitch Gauge
Stitch gauge controls width. Row gauge controls length and height. Adding rows makes a scarf or blanket longer without widening it.
Don't estimate length by row number alone. A row of single crochet, double crochet, or treble crochet has a different height. On shaped garments, add complete increase or decrease sections instead of dropping random rows into the middle.
Resize Blankets, Motifs, Garments, and Amigurumi the Smart Way
Flat projects give you the most freedom. Garments require measurement checks throughout. Amigurumi can grow quickly with a yarn change, but stuffing and stitch density also change.
Adjust Flat Projects by Stitches, Rows, or Motifs
For blankets, scarves, bed runners, and wraps, add stitches to gain width and rows to gain length. Keep the repeat intact so the edges stay balanced.

Motif blankets work better when you add complete granny squares or full motif columns. Partial motifs often make the layout look accidental. Also calculate the main fabric and border separately, since a wide border can add several inches.
Change Garment Sizes Without Losing the Shape
Choose the pattern size closest to your desired fit if graded sizes are available. Then make small adjustments with measured changes, rather than scaling every number by the same percentage.
A different hook can help with a minor fit change, but it also changes drape and stitch definition. For a larger adjustment, recalculate stitches in the body and add rows in the right shaping sections. A size recalculation guide shows the same gauge-based thinking for fitted pieces.
Try on the garment after major sections, or compare it with a handmade garment that fits. Use stitch markers to track bust, sleeve, neckline, or increase sections. Add a life line before altering fitted shaping, so you have a reversible checkpoint.
Before committing to final measurements, damp block the piece for a gentler finishing check. The garment may settle further when you wet block it after finishing. This matters for custom-fit styles such as an open, relaxed tunic.
Resize Amigurumi by Changing Scale Carefully
To resize amigurumi patterns, use thicker yarn and a larger hook to make a bigger toy without rewriting each round. Two strands held together can also increase the scale.
However, don't jump to a much larger crochet hook size. It changes tension, creates holes, and affects drape and the finished crochet fabric. Changing yarn weight also alters stitch definition and how firmly the toy holds its shape.
For exact proportional changes, scale a pattern by increasing stitch counts and round counts together, rather than changing only the yarn or hook size. This video offers a useful look at making an amigurumi pattern smaller:
Check Fit, Yarn Use, and Common Resizing Mistakes
Measure early, especially after the first repeat, several rows, or one finished motif. Compare the width, drape, and stretch of the crochet fabric with your target. These checks help you fix crochet projects while the work is still small. If you plan to block, use the same finishing method on the test piece and final item. You might wet block, steam block, dry block, or damp block, depending on the yarn and stitch pattern.
Avoid the Most Common Resizing Errors
Skipping the swatch, measuring its edges, or swatching in a different stitch causes bad gauge data. Ignoring stitch multiples creates a pattern that won't line up. Use stitch markers to track repeats and shaping steps. Changing hook size without checking the fabric can leave a garment stiff or too open.
Random extra rows can also break garment shaping. Place a life line before undoing a complicated section. Include borders in your final measurement, and correct a mismatch while the project is still small.
Estimate How Much Extra Yarn You Need
Use surface area for a rough estimate. Divide the new width times length by the original width times length, then multiply the original yardage by that ratio.
A crochet blanket changing from 40 by 50 inches to 50 by 60 inches has 1.5 times the area, so it needs roughly 1.5 times the yarn before borders and swatching. Weighing a completed swatch gives another helpful reference. Buy extra when dye lots or discontinued colors could be a problem.
Make the Numbers Work for You
When you resize crochet projects, begin with the size you want, not the number printed in the pattern. A blocked swatch, simple gauge math, valid stitch repeats, and early measurements keep the project under your control.
Write down your gauge and every adjustment. Add a life line before a complex section if you may need to undo it. Those notes make it easier to scale a pattern for your next custom blanket, wrap, or garment.
Frequently Asked Questions
Can I Resize a Crochet Pattern Without Making a Gauge Swatch?
You can take a rough approach for a flexible scarf or casual blanket. For garments, fitted accessories, and measured home projects, a swatch provides real numbers instead of a hopeful guess.
Should I Use a Bigger Hook to Make a Crochet Project Larger?
A larger hook may increase the finished size, but it also creates a looser fabric. Use hook changes only for small adjustments, then check the gauge and drape before continuing.
How Do I Resize a Crochet Pattern With a Stitch Repeat?
Calculate your starting count, then round it to the nearest valid repeat multiple. Add any turning chains or edge stitches required by the pattern. Confirm that the first row works before continuing.
How Can I Make a Crochet Blanket Wider or Longer?
Add stitches to increase the width and rows to increase the length. For motif blankets, add complete motifs or repeat groups. Remember that the border also contributes to the final dimensions.
What If My Finished Crochet Item Is Slightly Too Small?
Block it first if the yarn and stitch pattern can stretch safely. If it still needs more room, add a border, side panels, an edging, or extra motifs. Avoid forcing the fabric to stretch.

Christa Patel is the crochet teacher behind Secret Yarnery. She shares clear, practical crochet lessons that help makers understand gauge, adjust patterns, and create projects that fit their vision. Her approach makes crochet skills feel manageable for beginners and useful for experienced crocheters alike.
About the Author

With a passion for crafting easy, beginner-friendly tutorials and patterns, Christa inspires crafters of all skill levels to unleash their creativity worldwide. She encourages yarn lovers to connect, create, and crochet a world filled with beautiful handmade treasures!
Resize Crochet Projects With Gauge Math: 2026 Guide


