Why Does Crochet Curl? Easy Fixes to Keep Your Projects Laying Flat!
Crochet projects are full of creativity and joy until those pesky edges start curling! It’s a common frustration, whether you’re just starting or have years of experience. The causes might not always be obvious, but understanding them is the first step towards achieving perfectly flat crochet results. In this post, I'll break down the key reasons crochet curls and how to fix it, helping you stay inspired and productive.
For more tips on creating smooth edges, check out Uncover the Ultimate LAY FLAT Crochet Border Trick. And if you're curious about designs with a unique twist, explore the Pin Curl Granny Baby Blanket for inspiration.
Understanding Crochet Curl
Crochet curling can sneak up on you when you're working on a project. One moment, you're happily stitching, and the next, the edges start turning up or in, refusing to lay flat. It’s an issue many crocheters face, no matter how experienced they are. Let’s explore what crochet curl is and why it happens, so you can sidestep this common hurdle.
What is Crochet Curl?
Crochet curl refers to the curling or rolling of the edges or sections of a crochet project that should ideally lie flat. Picture this: you're working on a simple scarf, and instead of it looking straight and smooth, the sides start to roll up as if it’s trying to mimic a jelly roll. Sound familiar? This can happen with all sorts of projects, from granny squares to blankets and even clothing.
Some specific examples include:
- Granny Squares: The edges curl inward, distorting the square's shape.
- Blankets or Scarves: The ends or entire edges curl, making it difficult to block properly.
- Amigurumi or Circular Designs: When worked in continuous rounds, the initial rows may curl outward like a dish.
If you're someone who enjoys adding borders or assembling squares into larger projects, these pesky curls can throw a wrench in achieving that polished, professional look. For more help on squaring things out, you might want to explore the Pin Curl Granny Square – Secret Stitches CAL Part 2 Pattern.
Why Crochet Curling Occurs
Crochet curling isn’t random—there are clear reasons rooted in how crochet works. It’s important to remember that crochet is as much about technique as it is about creativity. Here are some major causes of crochet curling:
- Tight Tension: When stitches are too tight, the fabric becomes stiff and causes the edges to pull inward or upward. Think of it like pulling a rubber band too tight—it starts to cinch.
- Stitch Patterns: Some specific stitch designs like half-double crochet (hdc) or treble crochet (tr) naturally create a “lean,” which can affect how the fabric lays. Patterns with too many increases may also curl in the middle.
- Yarn Type and Weight: The type of yarn you use plays a big role. Lightweight yarns can sometimes cause curling because they lack structure, while overly bulky yarns can be stiff, causing tension issues.
- Hook Size: Using a hook that doesn’t match your yarn can be disastrous. Go too small, and your stitches constrict, leading to curling.
- Base Chains: Crochet projects often curl when the foundation chain is tighter than the subsequent rows.
Have you noticed these traits in your crochet yet? If tension rings a bell, consider reviewing this helpful discussion on Why Is My Crochet Project Curling?. It dives deeper into ways tension can disrupt your work.
If you want to dive right into practical solutions, you'll want to explore some proven tips like changing hook sizes or practicing consistent tension. Check out Uncover the Ultimate LAY FLAT Crochet Border Trick for guidance on achieving smooth edges.

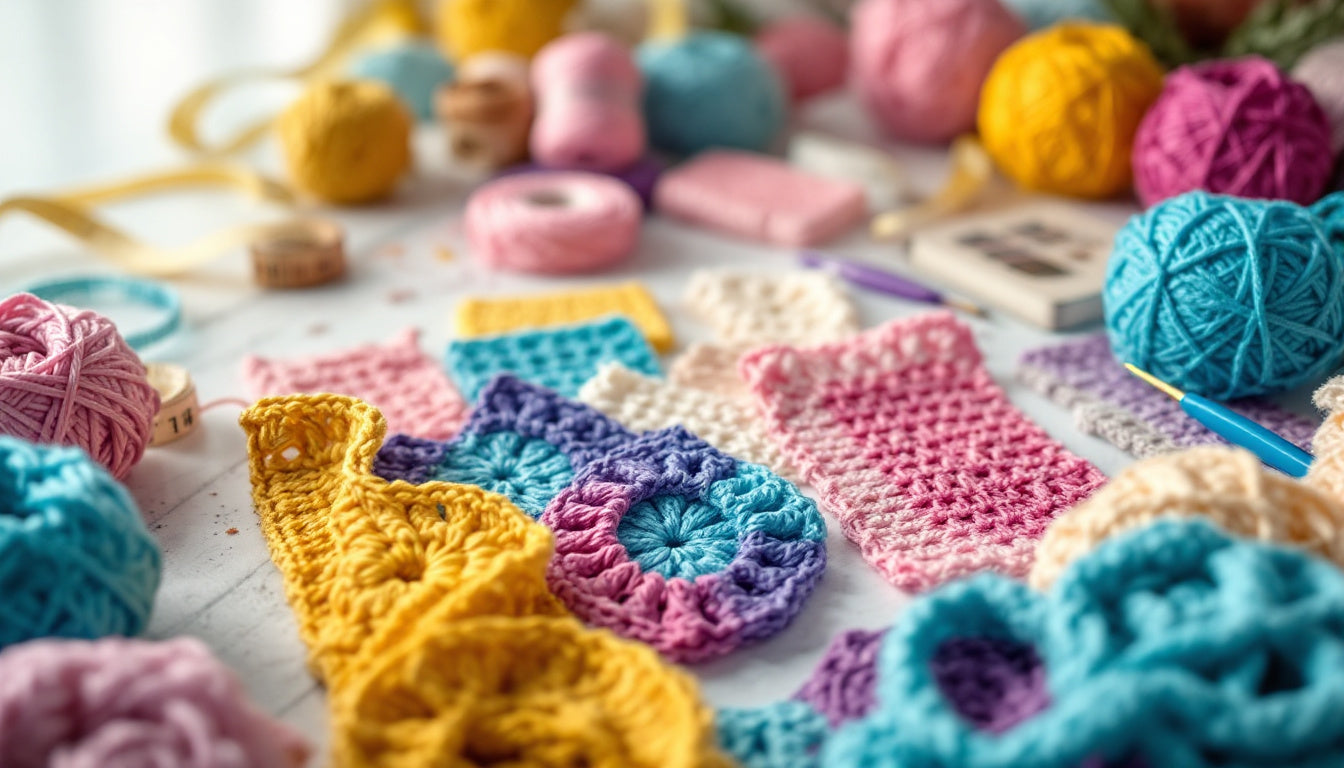
Photo by Kaboompics.com
Understanding the “why” behind crochet curling is your first step to solving it. And trust me, once the mystery is solved, you’ll find your projects laying flat as they were always meant to be.
Common Factors Contributing to Crochet Curl
Crochet curl can turn an otherwise perfect project into a frustrating experience. If you’ve ever wondered why your edges flip, fold, or curl when you least expect it, you’re not alone! In this section, I’ll break down some of the most common factors behind crochet curl and provide actionable solutions to keep your projects laying smooth and flat.
Tension Issues
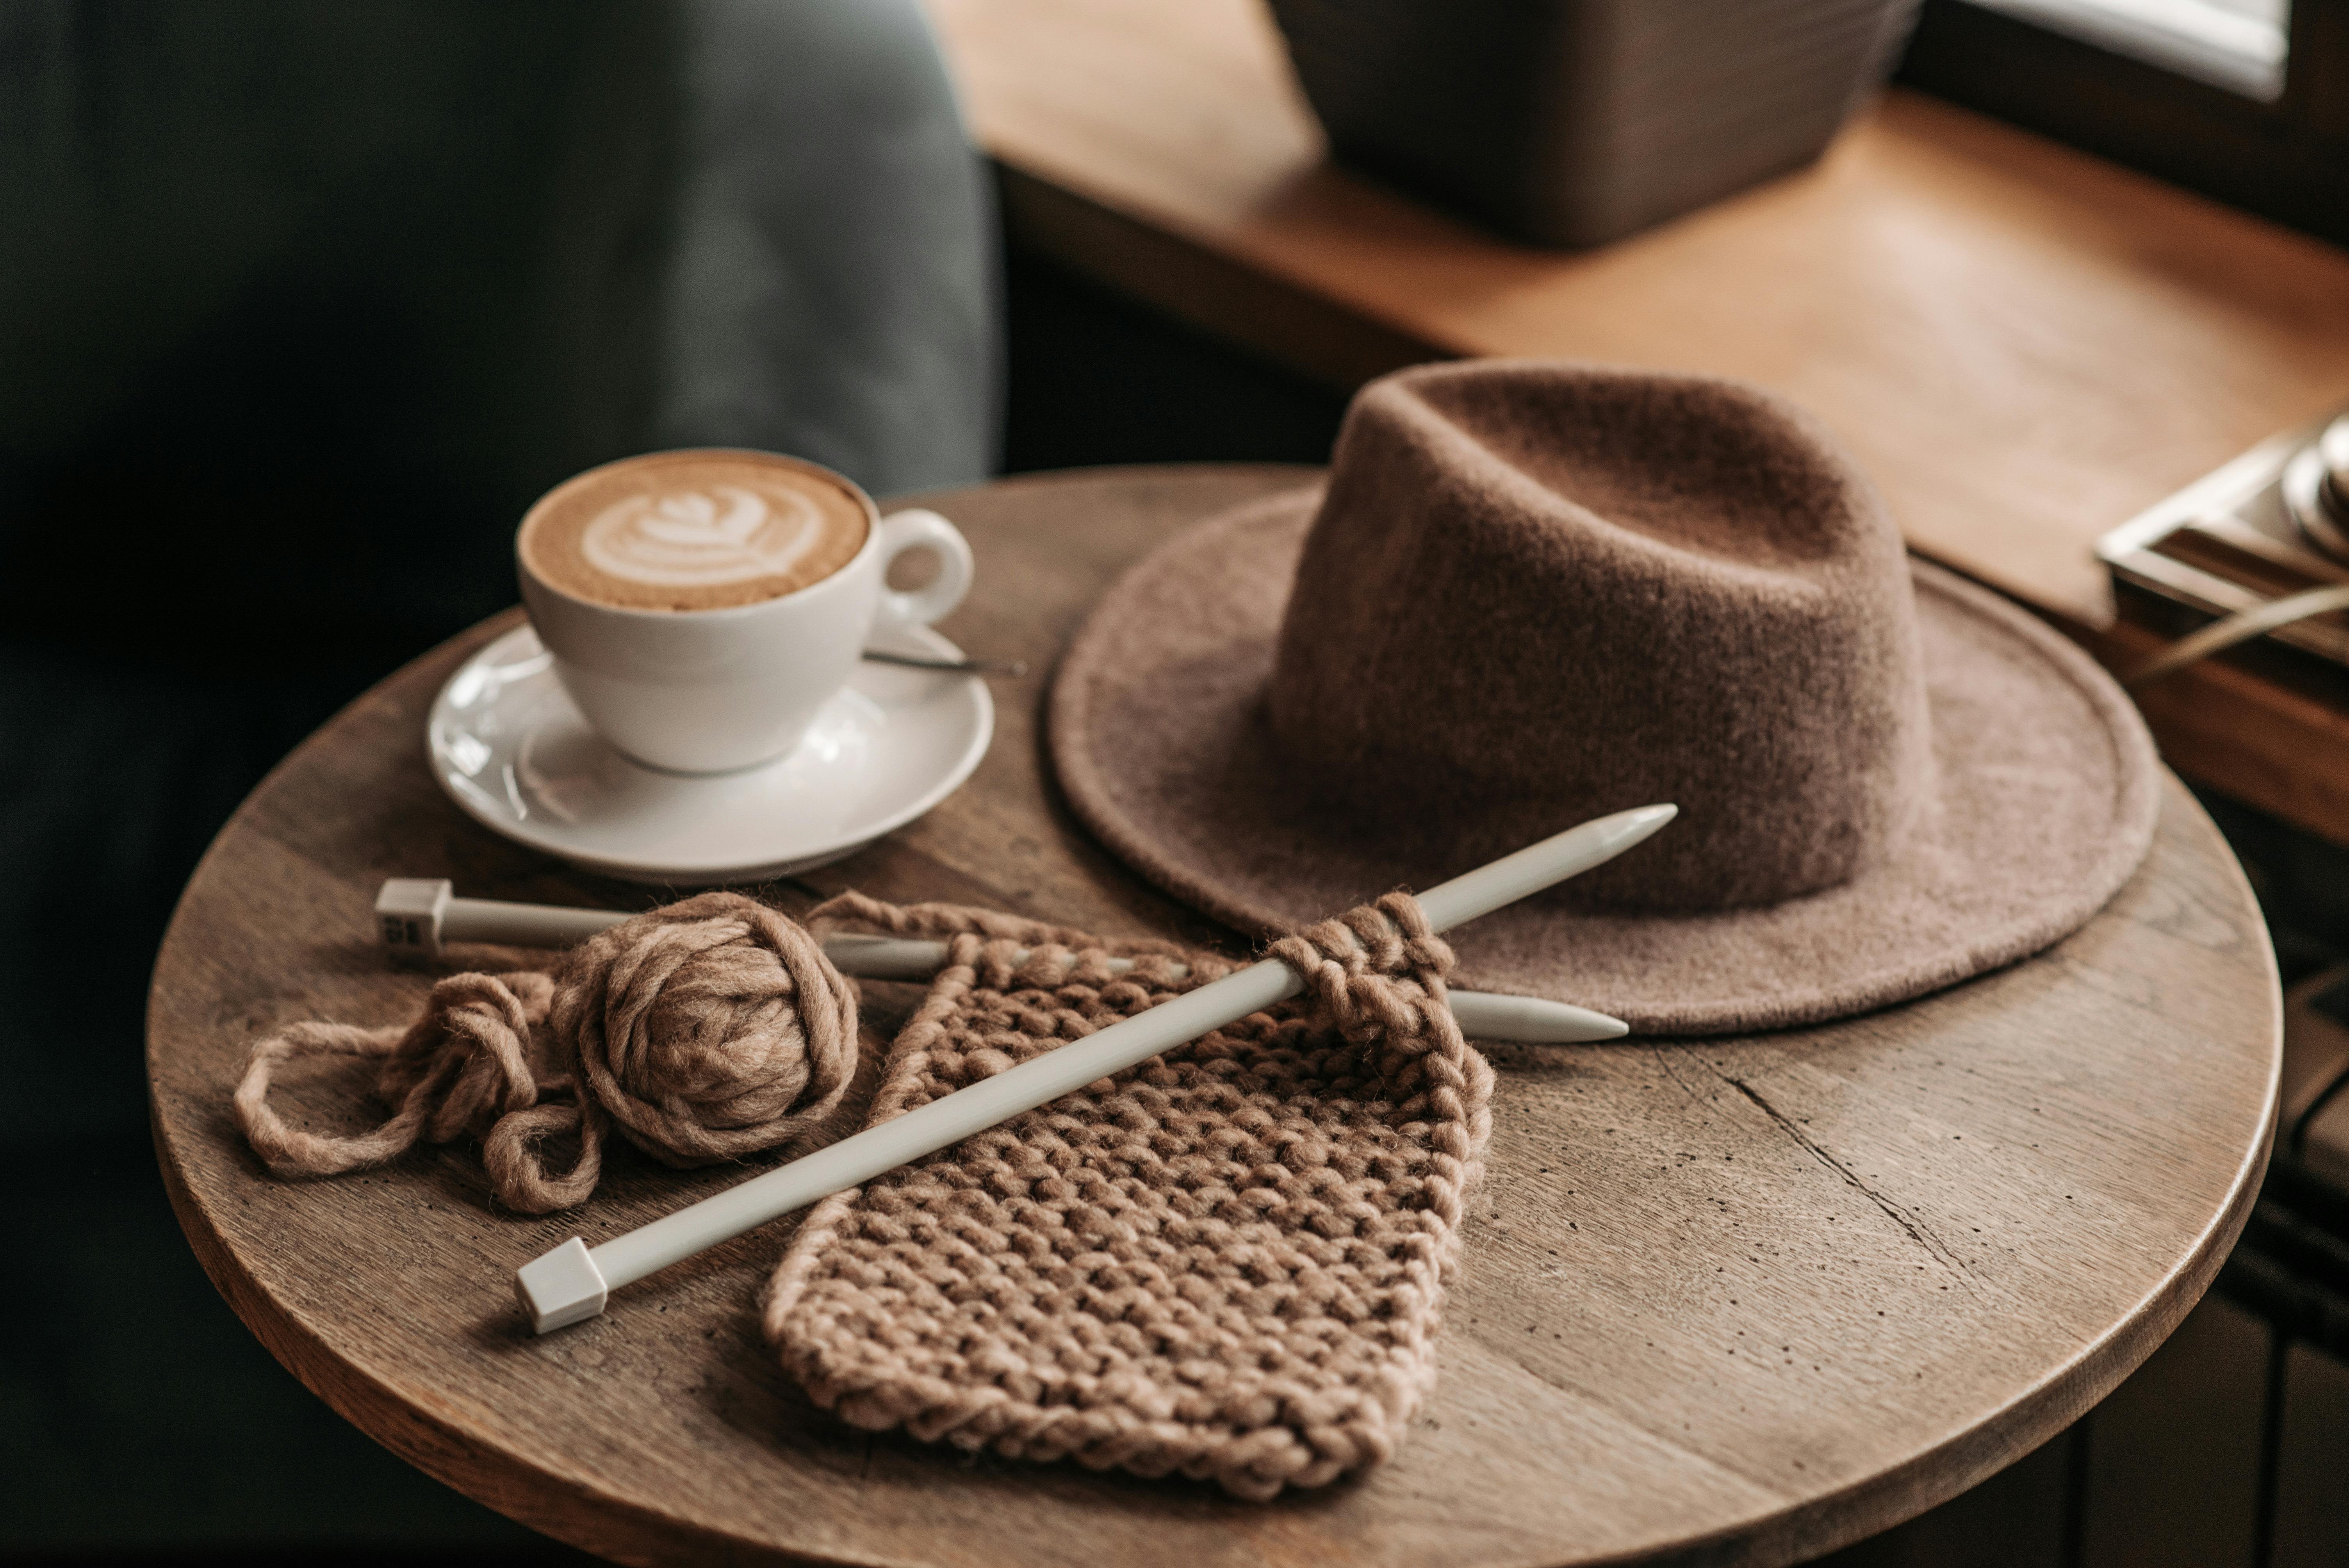
Photo by Diego Pontes
Tension is one of the biggest culprits behind crochet curl. Too tight, and the fabric starts pulling inward. Too loose, and it lacks the needed stability, making it floppy and prone to curling. Achieving the perfect balance in tension requires some practice but is absolutely doable.
Let me share something helpful: always hold your yarn in a way that feels natural. Test your tension by crocheting a small swatch and checking if the stitches lie flat without being overly rigid. It can take a few retries, but finding a method that works for your hand movements will make a world of difference.
Struggling with tension consistency? Try these simple tips:
- Relax Your Grip: A firm but relaxed hold on the hook and yarn prevents both overly tight or loose stitches.
- Check Your Foundation Chain: Tight chains can cause curling right from the start.
- Use a Hook Size Adjusted to Your Yarn: This often fixes issues instantly.
For a deeper dive into how tension impacts your edges and how to keep your projects smooth, take a look at Uncover the Ultimate LAY FLAT Crochet Border Trick.
Yarn Choice
The type of yarn you select plays a significant role in how your crochet work behaves. Lightweight yarns, like fingering or lace, may lack the structure needed to stay flat, while bulky yarns can introduce stiffness that pushes the edges to curl.
Here are a few tips to address yarn-related curling:
- Opt for medium-weight or blend yarns for projects requiring structure.
- Block your project! Wet-blocking or steam-blocking often works wonders on curled edges.
- Experiment with fiber blends. Natural fibers (like wool or cotton) generally hold up better than synthetic ones in terms of drape and flexibility.
When working with especially stubborn yarns, consider adjusting your pattern or adding borders that can stabilize the edges. Curious about decorative yet functional border options? Explore Crochet Border Patterns for inspiration.
Stitch Patterns
The stitches you choose can either work for or against your project. Some patterns, such as single crochet (sc) or double crochet (dc), are inherently more likely to cause curling, especially when combined with uneven tension or unsuitable yarn.
Why does this happen? Stitches like single crochet create a dense fabric that can naturally curl up, while taller stitches such as the treble crochet (tr) may cause the edges to flare instead.
If you find your stitches causing chaos:
- Consider switching to a different pattern or alternating stitch rows to balance density and height.
- Add rows of slip stitches or reverse single crochet (crab stitch) to stabilize edges.
- Use stitch variations like the moss stitch, which combines sc and chain stitches for better balance.
For additional tips on managing stitch-based curl, you might find this Reddit thread illuminating: "Why is it Curling?!".
By understanding these common factors—tension, yarn, and stitches—you can save yourself hours of frustration. Small changes tailored to your project can make all the difference!
Preventing Crochet Curl in Future Projects
Crochet curling can be frustrating, but if you take intentional steps, it’s absolutely preventable. By laying the right groundwork and making minor adjustments, you can enjoy flat and flawless projects every time. Here’s how:
Starting with a Proper Foundation
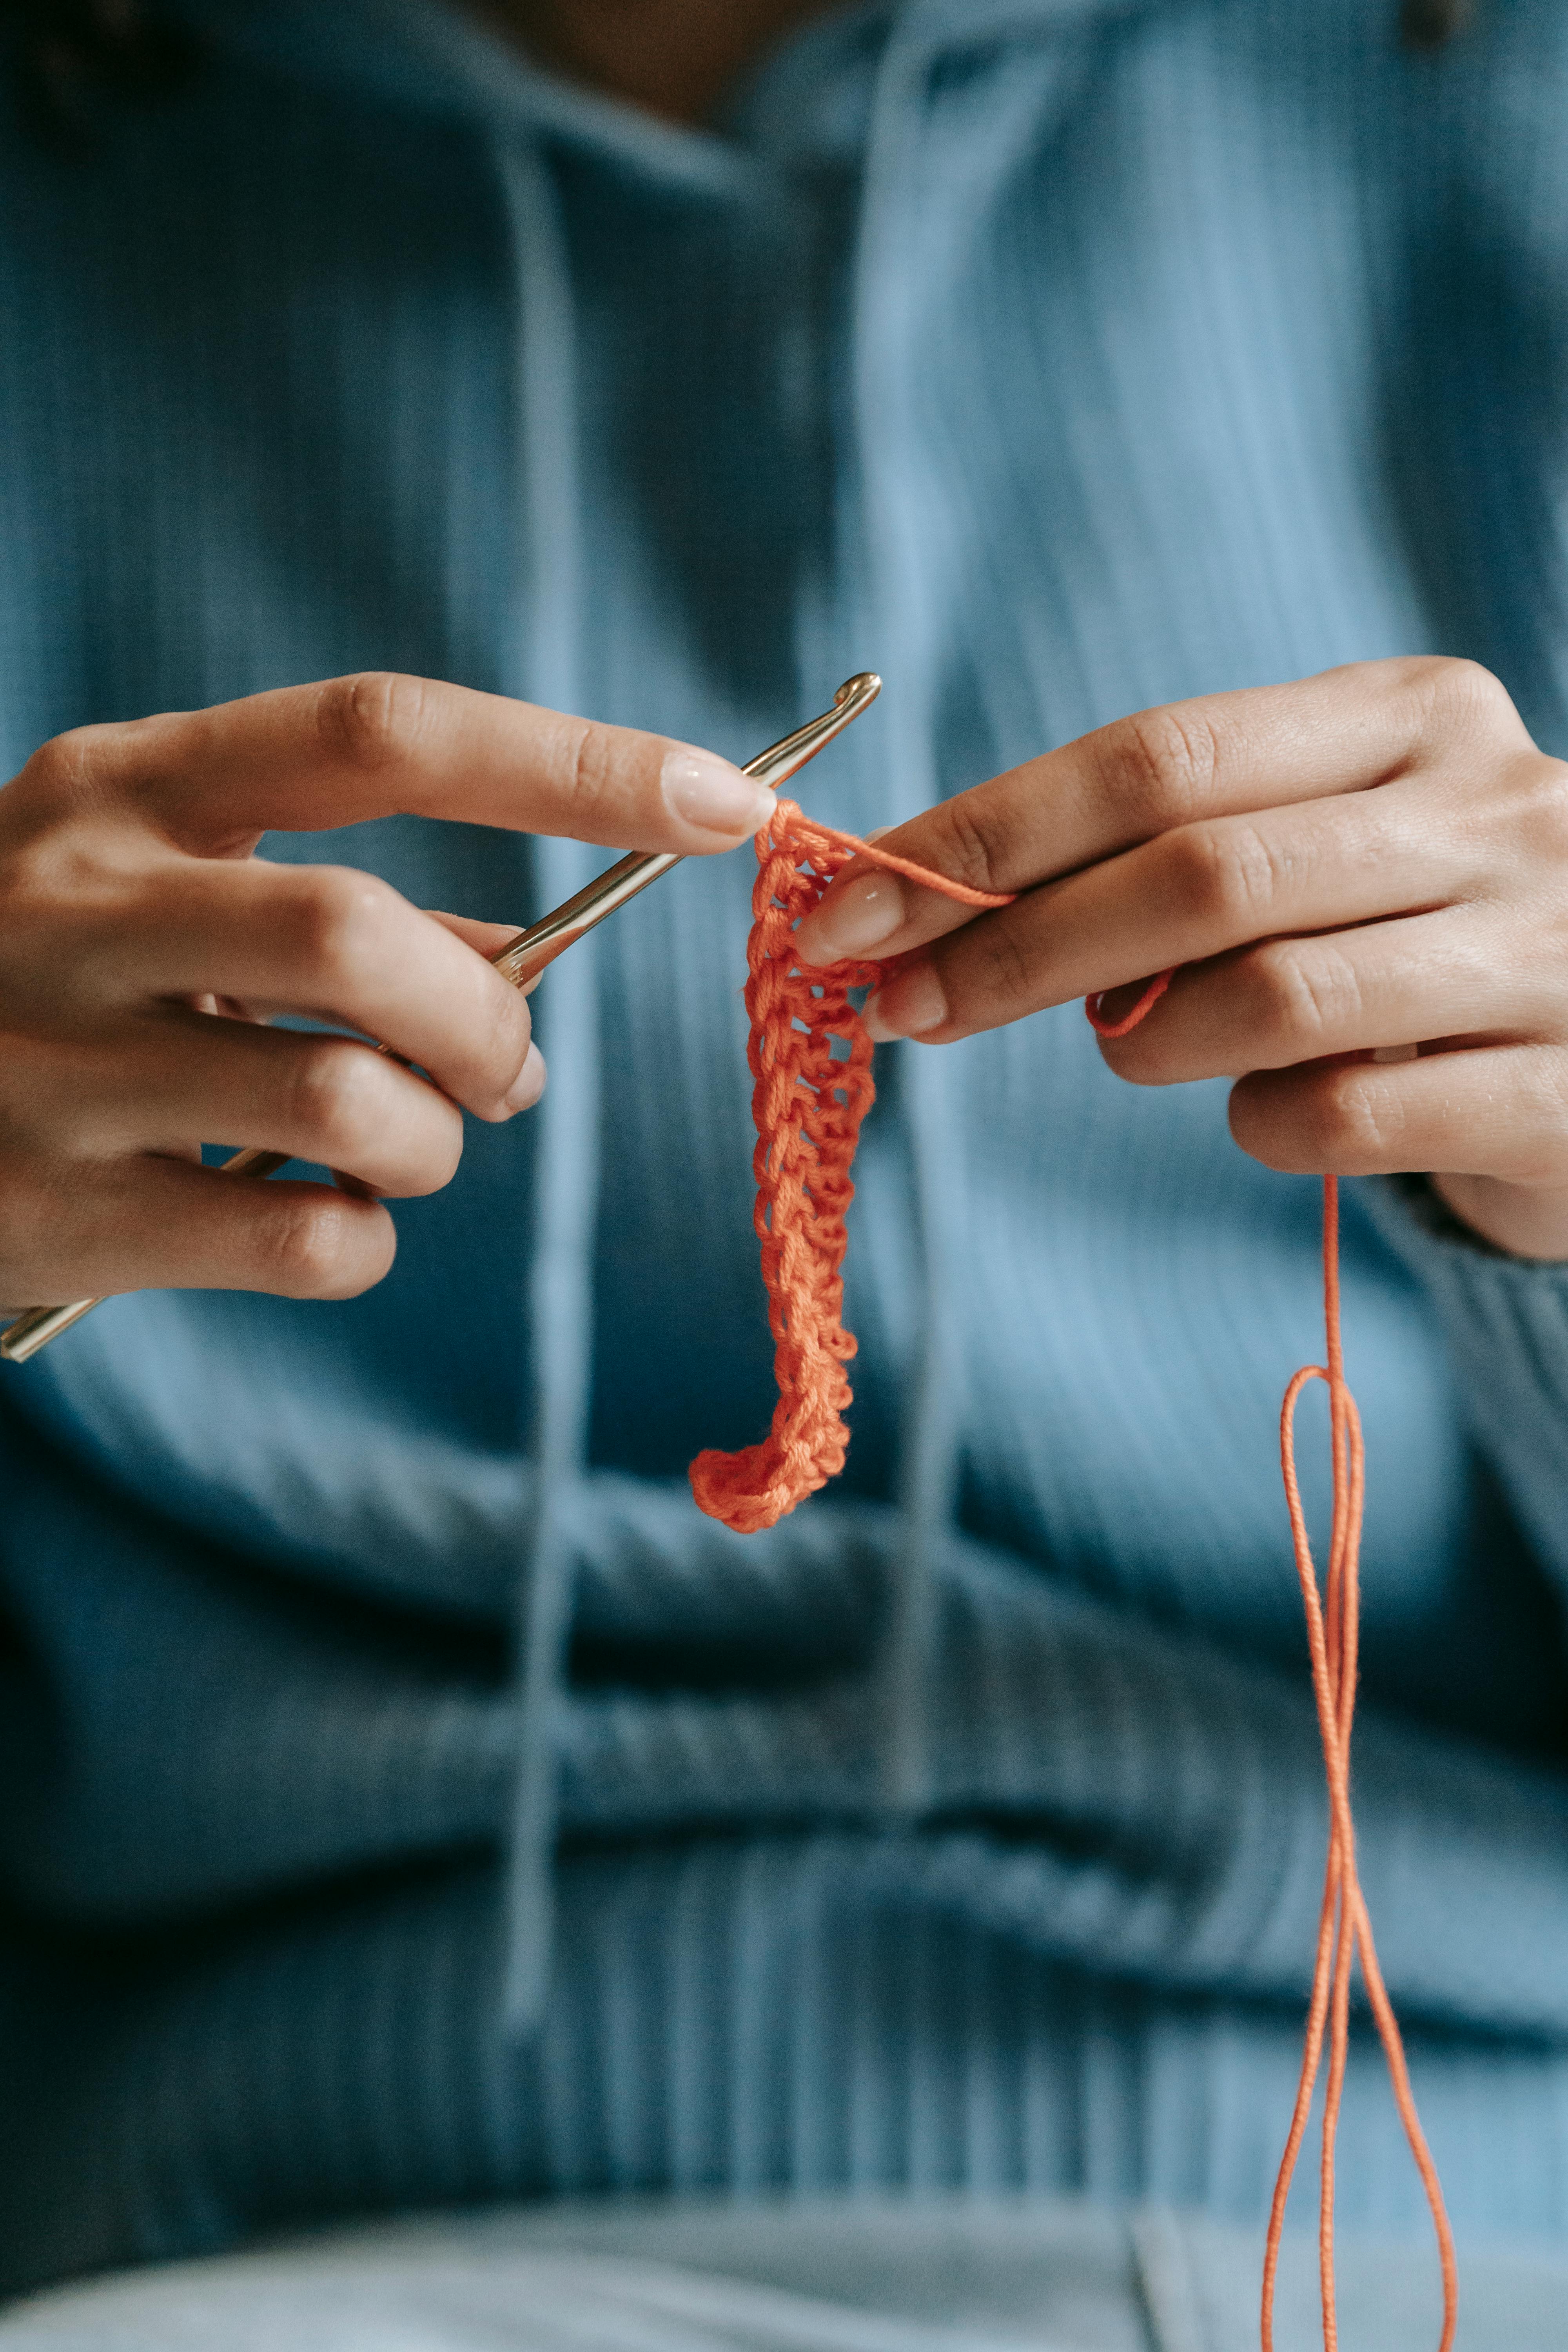
Photo by Castorly Stock
Every crochet project begins with the foundation chain, and this step alone can make or break your results. A foundation that’s too tight leads to curling almost instantly, as it pulls subsequent rows inward. To avoid this:
- Use a larger hook size for the foundation chain. A larger hook creates slightly looser chains, giving your work the flexibility it needs.
- Try chainless foundation stitches. This alternative method avoids tightness altogether and can be a game-changer for more advanced patterns.
- Make a swatch. Before diving into your project, test your foundation chain against the first row to ensure it balances well.
For more guidance on starting your projects with smooth edges, you may like Uncover the Ultimate LAY FLAT Crochet Border Trick.
Blocking Techniques
Blocking is like the secret weapon of crochet—especially when it comes to projects that don’t want to lie flat. It’s not just a finishing step but also a preventive measure. Here’s how you can block your crochet project effectively:
What you’ll need:
- A flat surface (like a blocking board or foam mat)
- Rust-proof pins or T-pins
- Water (spray bottle, damp towel, or steam)
Steps to Block Your Crochet Work:
- Wet or dampen your project. Options include spraying it lightly with water, immersing it in water, or using steam (for synthetic fibers, be extra cautious with heat).
- Lay your project flat on the blocking surface, shaping it into its ideal form. Adjust corners or edges to create symmetry.
- Pin the edges securely, making sure the fabric is gently stretched but not overstretched.
- Allow it to dry completely. For cotton or wool yarns, this could take several hours.
Blocking doesn’t just flatten your project; it also sets the shape and locks in your work with a polished, professional look. If you love crochet blankets, this technique is a must—browse through crochet blanket patterns for inspiration.
Adjusting Stitch Tension
Tension is one of the most overlooked factors in preventing curling. If your stitches are too tight, the fabric pulls and curls inwards; too loose, and the structure becomes floppy. Achieving consistent tension makes all the difference.
Here are some tips to improve tension:
- Relax your hands. Crocheting with a death grip creates tight stitches and unnecessary strain.
- Use the right hook size. If your work feels stiff or curls up, size up your hook. A larger hook creates looser stitches and smoother rows.
- Practice with a swatch. Crochet a small test piece to see how your tension affects the fabric before committing to a larger project.
Still having issues? Adjusting tension takes practice, so keep experimenting until you find your sweet spot. You can also read "How to prevent crochet from curling" for more ideas tailored to specific yarns and stitches.
By starting with solid foundations, using blocking techniques, and keeping a close eye on tension, you’ll be well-equipped to tackle curling before it even starts. Whether you’re working on a delicate scarf or a sturdy blanket, these tips will ensure your crochet projects stay smooth and flat every time.
Fixing Curl in Completed Projects
Crochet curls can surprise even the most experienced makers, but the good news is, they’re not permanent! There are practical ways to relax those fibers and bring your project to a smooth, polished finish. From applying steam to adding artistic borders, this section will guide you through different methods to fix the curl in your completed crochet projects.
Steam Blocking
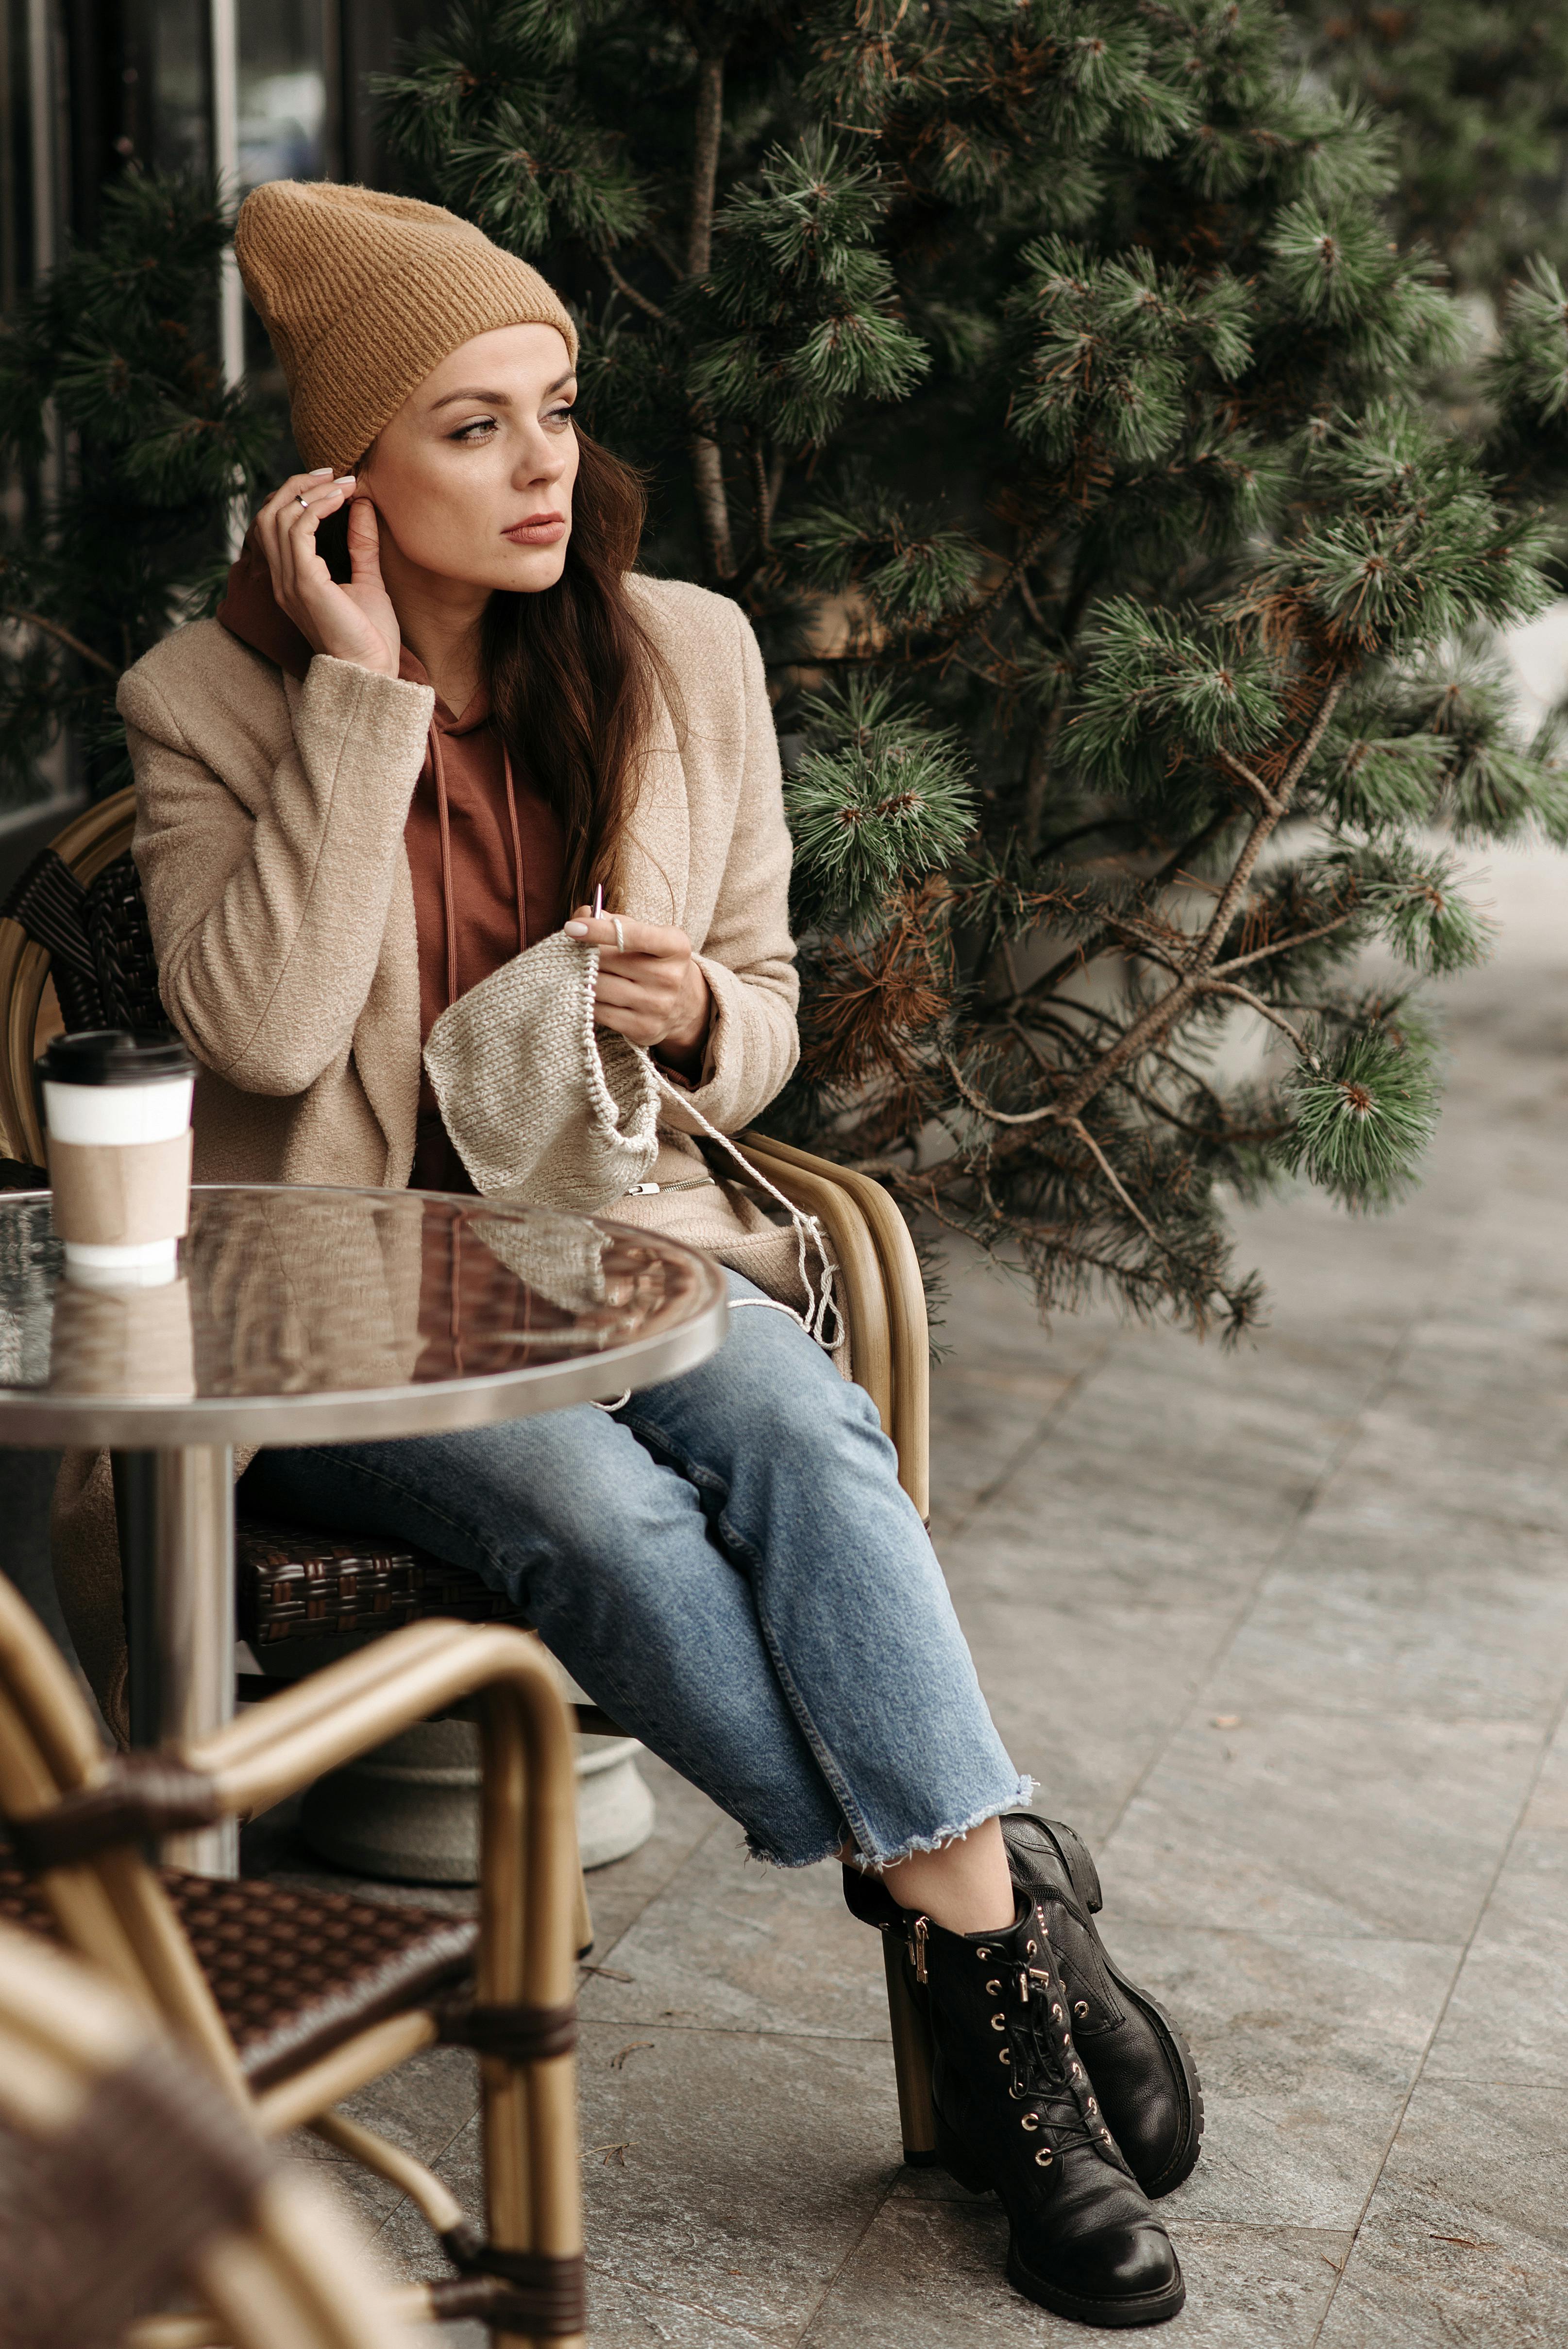
Photo by Castorly Stock
Steam blocking is one of the easiest and most effective ways to reduce curling in crochet. Heat and moisture help relax the fibers, allowing your project to settle into its intended shape. It’s like giving your crochet a spa day—it works wonders, but you must handle it carefully to avoid damaging fibers.
Steps to Steam Block Your Crochet Work:
- Lay your project flat on a blocking board or a surface lined with a towel.
- Pin it into its desired shape using rust-proof pins. Be gentle to avoid stretching.
- Hold a steam iron or a handheld steamer 2-3 inches above the fabric. Never let it touch your project directly!
- Gently steam the fabric, working in small sections. Allow it to dry completely before removing the pins.
Safety Tips by Yarn Type:
- Acrylic Yarn: Steam lightly to avoid melting the fibers.
- Wool or Cotton: These natural fibers are more forgiving but still avoid direct contact.
- Blended Yarns: Test a small piece first to see how the yarn reacts to steam.
When done correctly, steam blocking can work magic on stubborn curls and leave your crochet looking professional and polished. You might also find detailed blocking tips helpful on platforms like How To Stop Any Crochet Stitch From Curling And Stay Flat.
Adding Borders or Edging
Sometimes, the solution to curled edges is as simple as framing your project with a stabilizing border. Borders not only transform your work visually but also provide the structure it needs to stay flat.
Best Border Options to Counter Curling:
- Single Crochet (SC): A simple one-row SC border can anchor the edges and reduce curling.
- Shell Stitch: This adds an elegant flare and extra weight to help the edges lie flat.
- Reverse Single Crochet (Crab Stitch): Perfect for extra tension on the outermost row.
For creative border inspiration, check out Crochet Border Patterns on Secret Yarnery. You’ll find ideas that not only fix curling but take your projects to the next level in style.
Adding a border is like framing a picture—it brings the entire work together while hiding minor imperfections. Plus, it’s a chance to get creative!
Reworking Problem Areas
If your project curls too persistently, reworking problematic sections might be necessary. It’s not fun to undo hard work, but trust me, sometimes starting fresh with a small section saves the entire project.
When Should You Frog (Undo) a Section?
- If the foundation chain is too tight, unraveling and redoing it with a larger hook can lay a solid base.
- Are certain stitches stitched too tightly? Unravel a few rows and try crocheting looser this time.
- Uneven increases or decreases may cause edges to warp. Redoing these sections with careful stitch counts often solves the issue.
Tips for Reworking Without Frustration:
- Use stitch markers to guide consistent tension.
- Check your pattern for skipped stitches or miscounts.
- Take breaks! Undoing work can be tedious, but patience pays off.
For heartfelt advice from fellow crocheters facing similar issues, the HELP! The sides of my blanket are curling in discussion is worth reading. It includes practical tips and solutions shared within the crochet community.
If you've ever hesitated to redo a section, remember this: crafting is a journey, and sometimes the detours lead to even better results. With these methods, your crochet projects can return to their intended beauty and function!
How Patterns Impact Crochet Curl
When working on crochet projects, the pattern you choose can have a significant effect on whether your work lays flat or curls up. By understanding the nature of various patterns and how they influence tension, drape, and overall structure, you can avoid frustrating curls. Let's explore this further.
Choosing Patterns that Minimize Curl
Patterns aren’t all created equal when it comes to curling. Some designs work harmoniously to maintain a flat and smooth texture, while others are prone to twists and turns. The difference usually comes down to the density of stitches, the balance between rows, and the stitch height.
Here are examples of pattern types less likely to curl:
- Granny Square Patterns: These are generally balanced and symmetrical, helping avoid uneven tension.
- Moss Stitch Patterns: The combination of single crochet and chain stitches ensures flat results.
- Ripple Patterns with Proper Tension: While wave designs can curl if tension is uneven, a careful approach keeps them flat.
Looking for beginner-friendly options that reduce the likelihood of curling? Check out New Patterns Tagged "Beginner Crochet Pattern" to spark your inspiration. When selecting patterns, focus on ones with a more balanced distribution of stitches.
Understanding Gauge in Patterns
Gauge plays a critical role in achieving the right texture and avoiding curling. It’s like a blueprint for your stitches: if it’s off, your edges might flip or ripple. But what exactly is gauge, and how do you ensure it matches your project?
How to Measure and Match Gauge:
- Locate the gauge information in your pattern (e.g., "10 stitches and 10 rows = 4 inches").
- Crochet a swatch in the same pattern or stitch as your intended project.
- Use a ruler to measure your stitches and rows over a 4” square section.
- Compare your measurements to the pattern's gauge.
If your stitches are too tight, move up a hook size. Too loose? Try a smaller hook. It’s all about finding the sweet spot.
Common Gauge Mistakes to Watch For:
- Skipping the swatch step. It's tempting to dive into your project, but skipping this can lead to drastic curling or shrinkage.
- Ignoring the recommended yarn weight and hook size. Always check these before starting the project.
- Forgetting to block your swatch. This step can show how your stitches will behave when completed.
To learn more about written patterns and guidance, head over to All Written Patterns. These resources can help you select patterns and match your gauge effectively.
For further insights on how patterns contribute to curling, you might also explore this handy guide: Why is My Crochet Curling?. Reliable patterns paired with consistent gauge are the perfect formula for crochet pieces that stay beautifully flat.
Tips from the Crochet Community
The crochet community is a treasure trove of advice, with solutions for nearly every issue you might come across – including curling! From tools to techniques, seasoned crocheters have shared so many tried-and-true solutions to help keep your stitches flat. Below, I’ve rounded up some of the most useful tips and insights.
Community-Recommended Tools

Photo by Kaboompics.com
If you're struggling with crochet curling, adding a few specialized tools can make all the difference. Many members of the crochet community swear by tools like tension rings and blocking boards. These tools work like the unsung heroes of crafting, giving your yarn stability while also providing that polished, flat finish.
Here are a few tools that crocheters recommend:
- Tension Rings: These rings are like training wheels for maintaining consistent tension, reducing the tightness that often causes curling.
- Blocking Boards with Grid Lines: Not only do these help to flatten your stitches, but the grid lines make it easier to align your work perfectly.
- Fabric Steamers: Effective for gentle blocking that relaxes stubborn edges without overheating your yarn.
Looking to build your crochet toolkit? Check out this comprehensive guide to Essential Crochet Tools for Beginners. Whether you're a newbie or a seasoned crocheter, these tools can take your projects to the next level.
Common Myths About Crochet Curl
When it comes to crochet curls, misconceptions are everywhere! One common myth that floats around is this: "Curling is inevitable." Many crocheters believe that curling is just part of the process, but that's far from the truth.
Here’s why this myth doesn’t hold up:
- Curling tends to be a product of tension issues, pattern design, or yarn incompatibility. With the right adjustments, it can be avoided entirely.
- Tools like blocking boards or stitch markers can stop pesky curling in its tracks.
- Even yarn choice plays a large role; experimenting with weights and blends can impact how flat your stitches lay.
Another myth? “You can’t fix curling.” On the contrary, methods like blocking, adjusting tension, and even reworking problematic sections are proven solutions. For those seeking inspiration and more practical advice, I loved the helpful breakdown on Crochet Tips and Tricks - 50 Helpful Hacks. Even the most curled-up projects can be revived with persistence and the right techniques.
The crochet community thrives on sharing solutions and debunking old myths like these. Whether tackling tricky stitches or addressing curly edges, remember: the knowledge is out there, and your crochet journey is only improving with everything you learn!
Wrapping Up
Crochet projects come with their fair share of challenges, and curling edges are a frequent culprit. But with a bit of know-how, you can tackle these issues and enjoy seamless, flat results. Whether it is tight stitches, inappropriate tools, or mismatched yarn and patterns, there are tried-and-true remedies for addressing these frustrations.
Troubleshooting Crochet Curl
Curling edges don't have to ruin your project. If you've already spotted some curl creeping in, consider this as your crochet "first aid kit":
- Inspect Your Tension: A stitch that’s too tight could be the culprit. Relax your grip and try loosening stitches slightly.
- Change Your Starting Chains: A foundation chain that's too tight can ripple through your rows. Redo it with a larger hook or try chainless foundation stitches.
- Block Consistently: For stubborn curls in finished projects, turn to blocking. Steam or wet block your piece to set the edges into pristine shape.
For more detailed guidance, the “Why is it Curling?!” discussion on Reddit has fantastic tips and real-world advice.
Staying Ahead with Prevention
Preventing crochet curl begins with preparation. Start with a project-specific game plan before even picking up that hook. Does the pattern recommend a particular gauge? Are the yarn fiber and weight compatible with your stitch selections? Being proactive helps eliminate most common issues.
- Always Check Your Pattern: Patterns like Crochet Border Patterns often offer instructions for addressing edge stability.
- Understand Your Yarn: Experimenting with various fiber blends and weights can provide insight into how they behave within different stitches.
- Practice Swatching: Take the time to test your stitches under conditions mimicking the entire project. Think of it as rehearsal before the final performance.
With these techniques in hand, you can not only fix but also prevent crochet curls. If curling persists, remember it's perfectly okay to lean on resources like "Why Is My Crochet Project Curling?" for more insights.
Keep experimenting, honing your skills, and, most importantly, enjoying every loop and stitch of your crochet journey!
Conclusion
Crochet curls no longer need to feel like a mystery or a hassle. By understanding the factors behind these curling edges—like tension, yarn choice, and stitch patterns—you can confidently tackle this common challenge. Whether you're starting fresh or troubleshooting a project, these solutions empower you to take control and achieve smooth, polished results.
Don't forget, resources like Crochet Border Patterns and Written Patterns Tagged "crochet pattern" can guide your journey with creative designs and practical solutions. For more inspiration, explore Easy Crochet Projects for Beginners and other learning tools on Secret Yarnery.
I’d love to hear your thoughts! Have you conquered crochet curls in your work? Share your experiences in the comments or reach out with tips of your own. Together, we can keep improving with every stitch. Don’t forget to subscribe to the Secret Yarnery YouTube channel for more tutorials and ideas to fuel your crochet creativity. Happy crocheting!
Frequently Asked Questions (FAQs)
1. Why does my crochet project curl at the edges?
Curling often happens due to tight tension, mismatched yarn and hook sizes, or specific stitch patterns that naturally lean or pull. Having an overly tight foundation chain or uneven tension throughout the project are common culprits.
2. How can I fix a project that’s already curling?
You can fix curling by:
- Blocking the finished project using pins and steam or wet-blocking.
- Adding a stabilizing border like single crochet or shell stitch.
- Reworking problematic sections, such as tight foundation chains or uneven increases.
3. What is blocking, and how does it help with curling?
Blocking is a finishing process that shapes your crochet project and helps set its edges flat. It involves applying water or steam to the project, then pinning it into place on a flat surface until it dries.
4. Can yarn type affect curling?
Yes, yarn choice directly impacts how flat your project lays. Lightweight yarns might lack the structure needed for flat designs, while overly bulky yarns can create stiffness, leading to curling.
5. What tools do I need to prevent or fix curling?
Some helpful tools include:
- Blocking boards with grid lines.
- Rust-proof pins or T-pins.
- Tension rings for consistent stitching.
- A steamer or spray bottle for blocking.
6. Why does my crochet curl in circular patterns like granny squares?
Granny squares or circular patterns might curl if there are too many increases in the rounds or if the tension is uneven. Using consistent stitch placement and blocking can help resolve this issue.
7. Does the hook size matter for avoiding curling?
Absolutely. A mismatched hook size can lead to tight stitches (causing curling) or loose stitches (resulting in floppy fabric). Use the recommended hook size for your yarn weight, or adjust slightly based on your tension.
8. How can I adjust tension while crocheting?
- Relax your grip on the hook and yarn.
- Use a hook size best matched to your natural tension. Test it with a swatch first.
- Practice holding the yarn in a way that provides slight resistance but doesn’t strain your hand.
9. What stitches are less likely to curl?
Balanced stitches like moss stitch, even granny square patterns, or alternating rows of denser and taller stitches are great options for flat designs. Avoid overly dense or tall, unsupported stitches when aiming for a smooth finish.
10. Is curling preventable, or should I just accept it as part of crochet?
Curling is entirely preventable with proper techniques! Adjusting tension, using the right yarn and hook, practicing swatches, and blocking your final work all work to keep your projects flat.
11. Can decorative borders help stabilize curling projects?
Yes! Adding a decorative border not only hides uneven edges but also provides more weight and balance to stabilize your project. Popular options include single crochet, crab stitch, or shell borders.
![]()
Christa Patel is a passionate crochet designer and educator with years of experience transforming yarn into unique and captivating creations. She believes in the joy of crochet as both an art form and a medium for mindfulness. Christa specializes in exploring creative patterns, troubleshooting common crochet issues, and inspiring crafters of all skill levels to elevate their projects.
Through her blog, Christa shares practical tips, detailed tutorials, and pattern ideas aimed at making crochet fun, accessible, and frustration-free. She combines her love for textures, colors, and techniques to ensure every crocheter feels empowered with the tools and knowledge to succeed.
When Christa isn’t crocheting or teaching, she enjoys sipping herbal tea, browsing yarn shops, and connecting with the crochet community. Her mission is to inspire crafters one stitch at a time, proving that with patience and practice, anyone can create something truly amazing.
Connect with Christa:
- Website: Secret Yarnery
- YouTube Channel: Secret Yarnery
- Instagram: @secretyarnery
Christa loves hearing from fellow crochet enthusiasts, so reach out with your questions, tips, or to share your own creative projects!
About the Author
With a passion for crafting easy, beginner-friendly tutorials and patterns, Christa inspires crafters of all skill levels to unleash their creativity worldwide. She encourages yarn lovers to connect, create, and crochet a world filled with beautiful handmade treasures!
Why Does Crochet Curl? Easy Fixes to Keep Your Projects Laying Flat!