Your Cart is Empty


Are you ready to unlock the secrets of crochet and embark on a creative journey? Welcome to our blog, where we unveil the art of starting a crochet chain! Whether you're a beginner eager to learn the foundations or a seasoned crocheter looking to brush up on your skills, this comprehensive guide is your key to crochet success.
Join us as we unravel the mysteries of choosing the perfect yarn, mastering the essential techniques, and setting off on a crochet adventure filled with endless possibilities. So, are you ready to take the first stitch? Let's dive into the world of starting a crochet chain and let your creativity soar!

Understanding the Basics: Yarn and Hook Selection
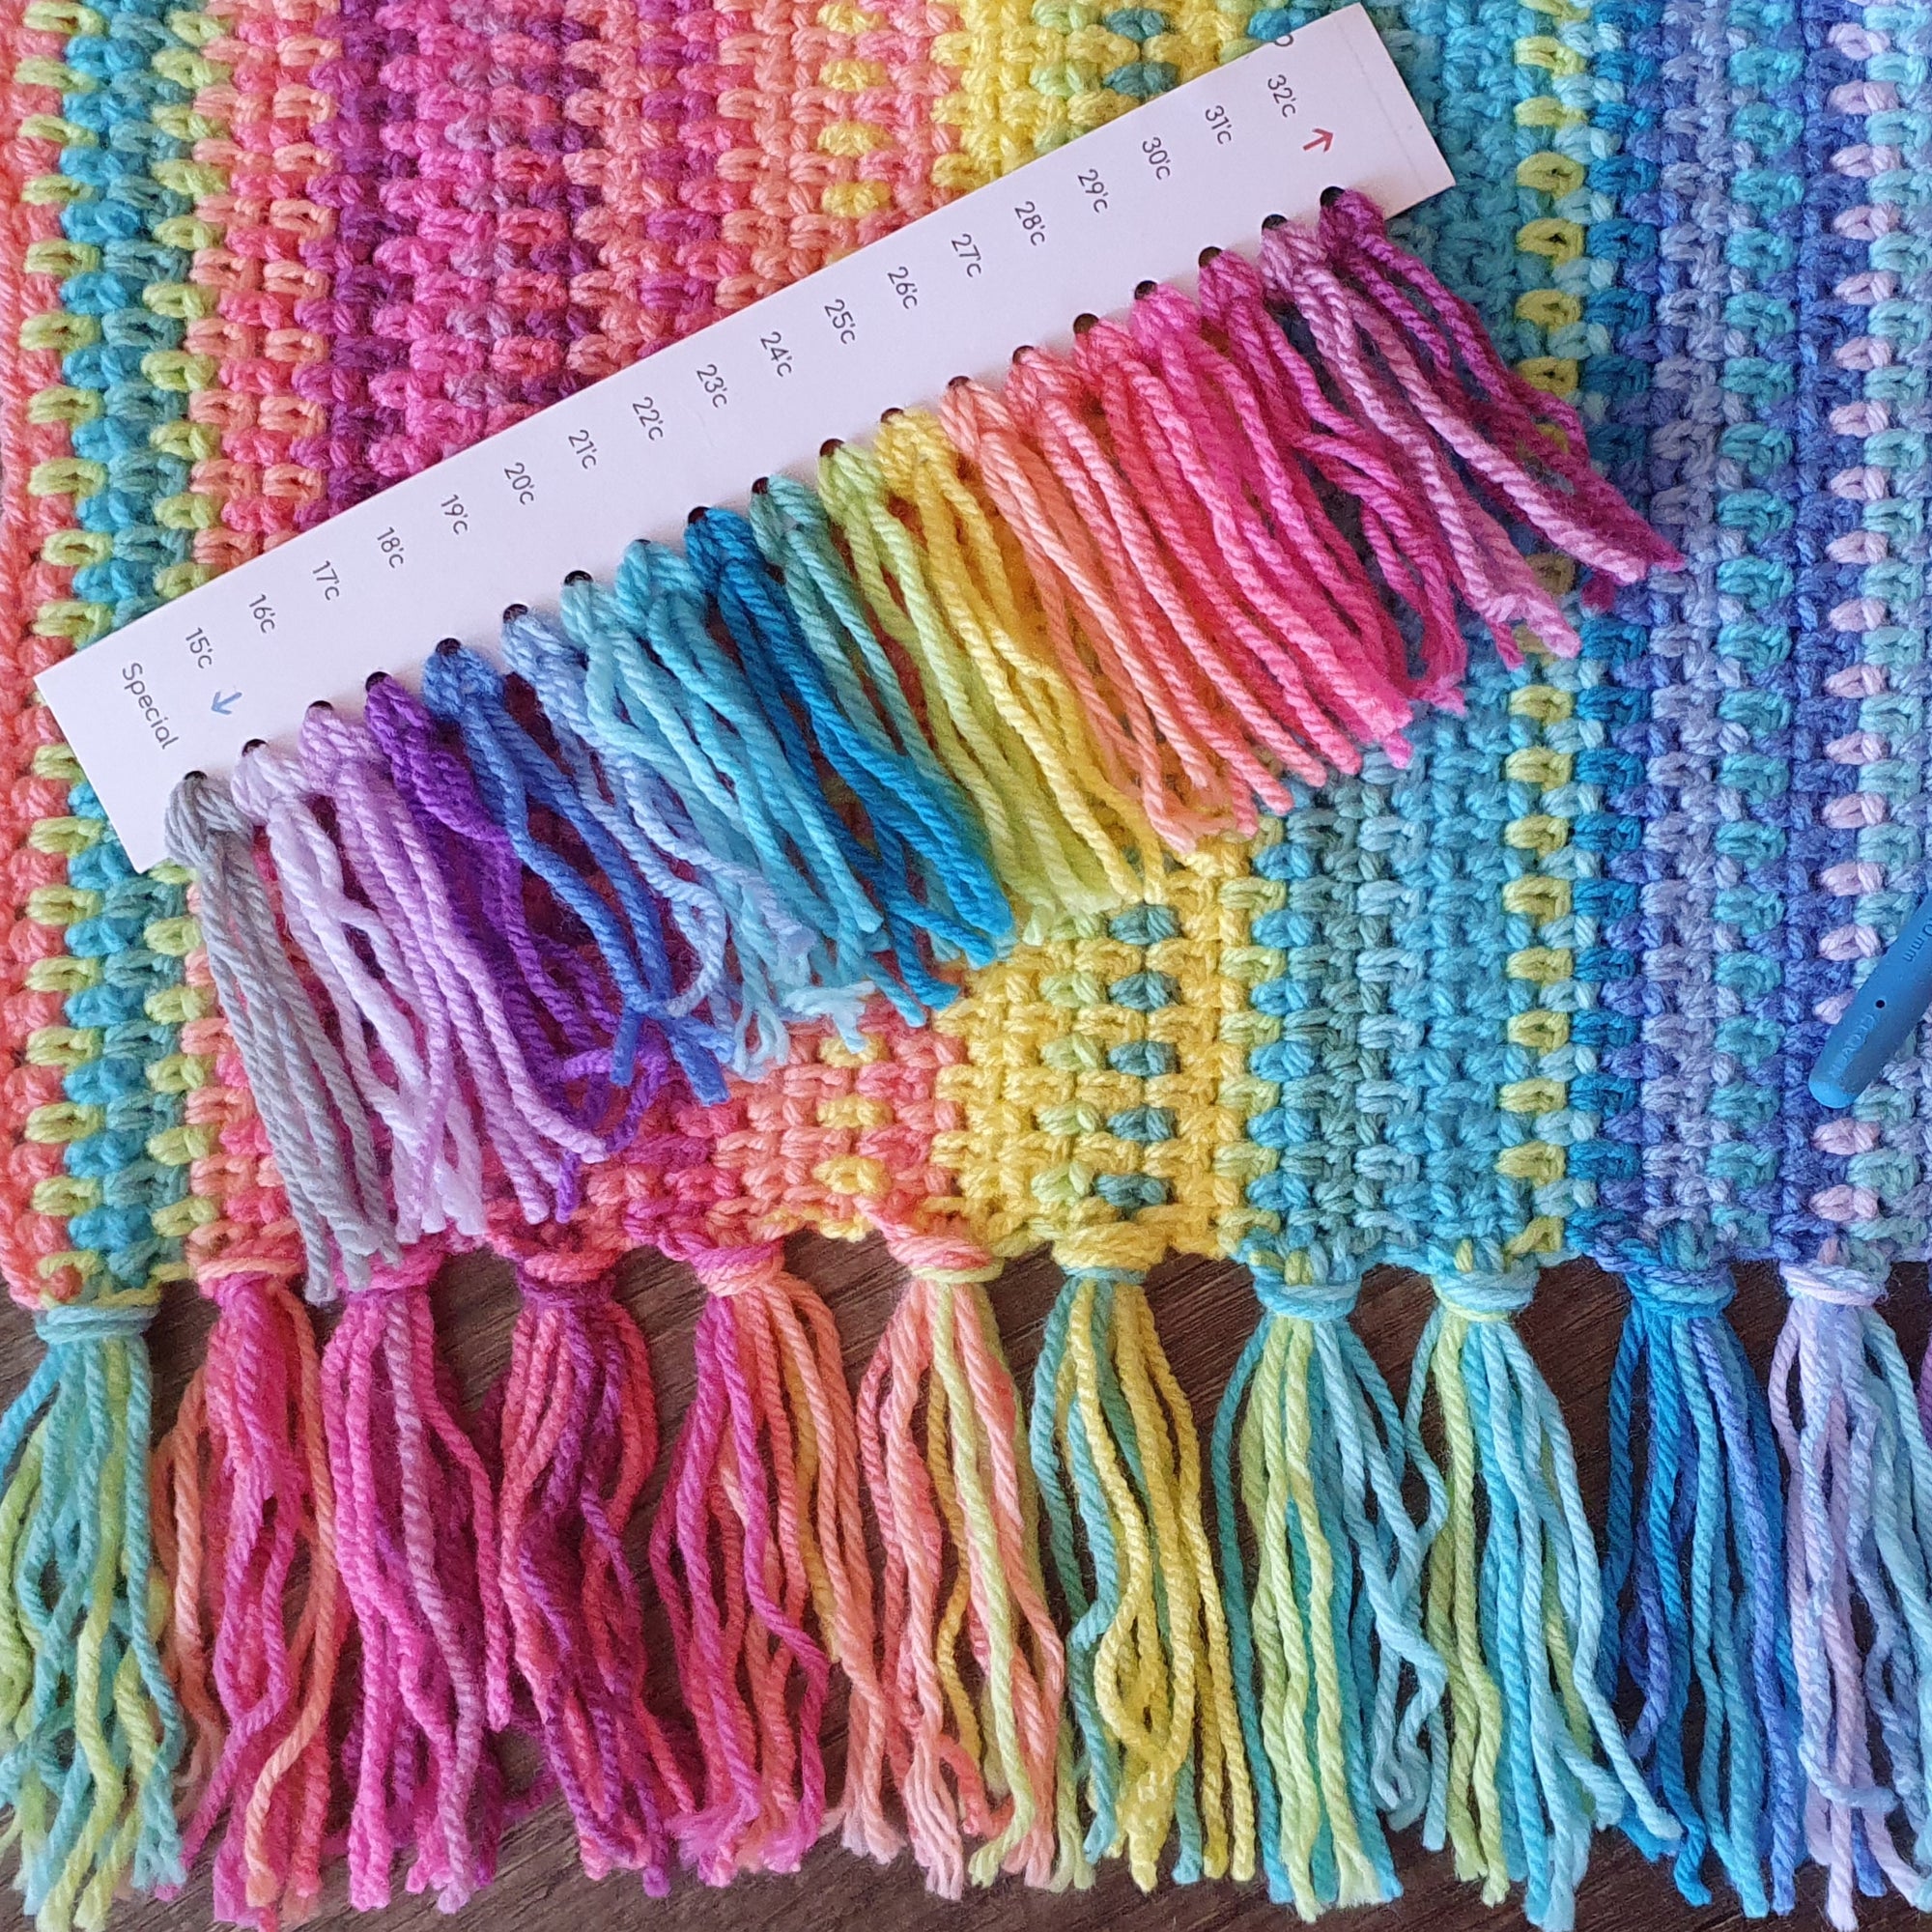
Before we dive into creating a crochet chain, let's talk about the two essential tools: yarn and crochet hooks. Choosing the right yarn and hook size is crucial for achieving the desired outcome in your crochet project. The yarn weight will determine the overall thickness and drape of your work, while the hook size should correspond to the recommended size for the chosen yarn. Experimenting with different combinations will help you find the perfect match and ensure a smooth crocheting experience.

Making the Slip Knot: The Starting Point
To begin your crochet chain, you'll need to make a slip knot. This simple loop will serve as the anchor for your chain and subsequent stitches. Start by creating a loop with your yarn, ensuring that the short end is on top. Then, take the longer end and pull it through the loop, forming a slip knot. Gently tighten the knot, leaving enough room for your hook to easily slide through.

Holding the Hook and Yarn: Finding Your Comfort
Holding the crochet hook and yarn may feel a bit unfamiliar at first, but with practice, you'll develop your own comfortable grip. Most crocheters hold the hook like a pencil or a knife, depending on their preference. As for the yarn, it can be held in your dominant hand, wrapped around a finger, or guided through your fingers for better tension control. Experiment with different techniques until you find what works best for you.

Inserting the Hook: Creating the First Chain Stitch
With the slip knot secure and your hook and yarn in hand, it's time to create your first chain stitch. Insert the hook through the slip knot, ensuring that the hook goes under the yarn. With the hook in place, wrap the yarn around the hook from back to front, forming a loop. Finally, gently pull the loop through the slip knot, creating your first chain stitch. Congratulations! You've just completed your first crochet stitch.

Continuing the Chain: Adding More Stitches
Once you've mastered the basic chain stitch, you can continue adding more stitches to your chain. Insert the hook into the previous chain stitch, yarn over, and pull the yarn through the stitch, creating a new loop on the hook. Repeat this process for each stitch until you've reached the desired length for your project. Remember to maintain consistent tension and avoid making your stitches too tight or too loose.

FAQs
Q1: How many chains do I need to start my project?
A1: The number of chains you'll need depends on the pattern and the desired width of your project. Most patterns will specify the number of chains required for a particular project size. If you're creating your own design, you can make a sample swatch and adjust the number of chains accordingly.
Q2: Why is my chain too tight or loose?
A2: Tension plays a significant role in crochet. If your chain is too tight, try using a larger hook or loosening your grip on the yarn. If it's too loose, you can try using a smaller hook or adjusting your tension by holding the yarn more firmly.
Q3: Can I use different yarn weights for the crochet chain?
A3: While it's best to use a yarn weight that matches your project's requirements, you can experiment with different yarn weights to achieve various effects. Just keep in mind that using a different yarn weight may alter the size and overall look of your project.
I hope this beginner's guide to starting a crochet chain has been helpful and inspiring. Remember, practice makes perfect, so don't be discouraged if it takes a few tries to get the hang of it. With time and patience, you'll become more comfortable with this essential crochet skill.
For more detailed instructions and visual demonstrations, check out the right-handed tutorial here, and the left-handed video tutorial here. Happy crocheting!

As an experienced crochet designer and instructor, I have dedicated my career to sharing the joy and beauty of crochet with others. With years of experience and a deep passion for the craft, I have created a wide range of crochet patterns and tutorials, aimed at guiding beginners and inspiring seasoned crocheters. Through my dedication to providing clear and accessible instructions, I have become a trusted resource in the crochet community. Join me on this crochet journey, and let's create beautiful projects together.
Join our vibrant crochet community by clicking here. You will become a member of a larger crochet family. You will get exclusive perks, and share in insights and secrets into all things crochet. Subscribe to my channel here, where you will find all crochet tutorials for both right-handed and left-handed crocheters, podcasts, and live chats.