Common Beginner Crochet Mistakes and How to Avoid Them
When you're new to crochet, it's easy to feel overwhelmed by all the stitches, hooks, and patterns. Mistakes happen, and that’s completely normal—they’re part of the learning process! But wouldn't it be great to know how to sidestep the most common beginner crochet mistakes? This article guides you through some of the missteps beginners face and, more importantly, how to fix them. With a few adjustments, your crochet journey can start off smoother and more enjoyable.
If you're just starting out, check out How to Crochet for Beginners for a solid foundation. You may also enjoy this helpful video on Common Beginner Crochet Mistakes for additional insights!
The Importance of Proper Tools for Crochet
Crocheting might seem as simple as picking up a hook and yarn, but if you're not using the right tools, even seasoned crocheters can feel frustrated. For beginners, starting with proper tools is essential to avoid common beginner crochet mistakes and to enjoy the learning process without unnecessary hurdles. Let's take a closer look at how your choice of crochet hook, yarn, and additional tools can make all the difference.

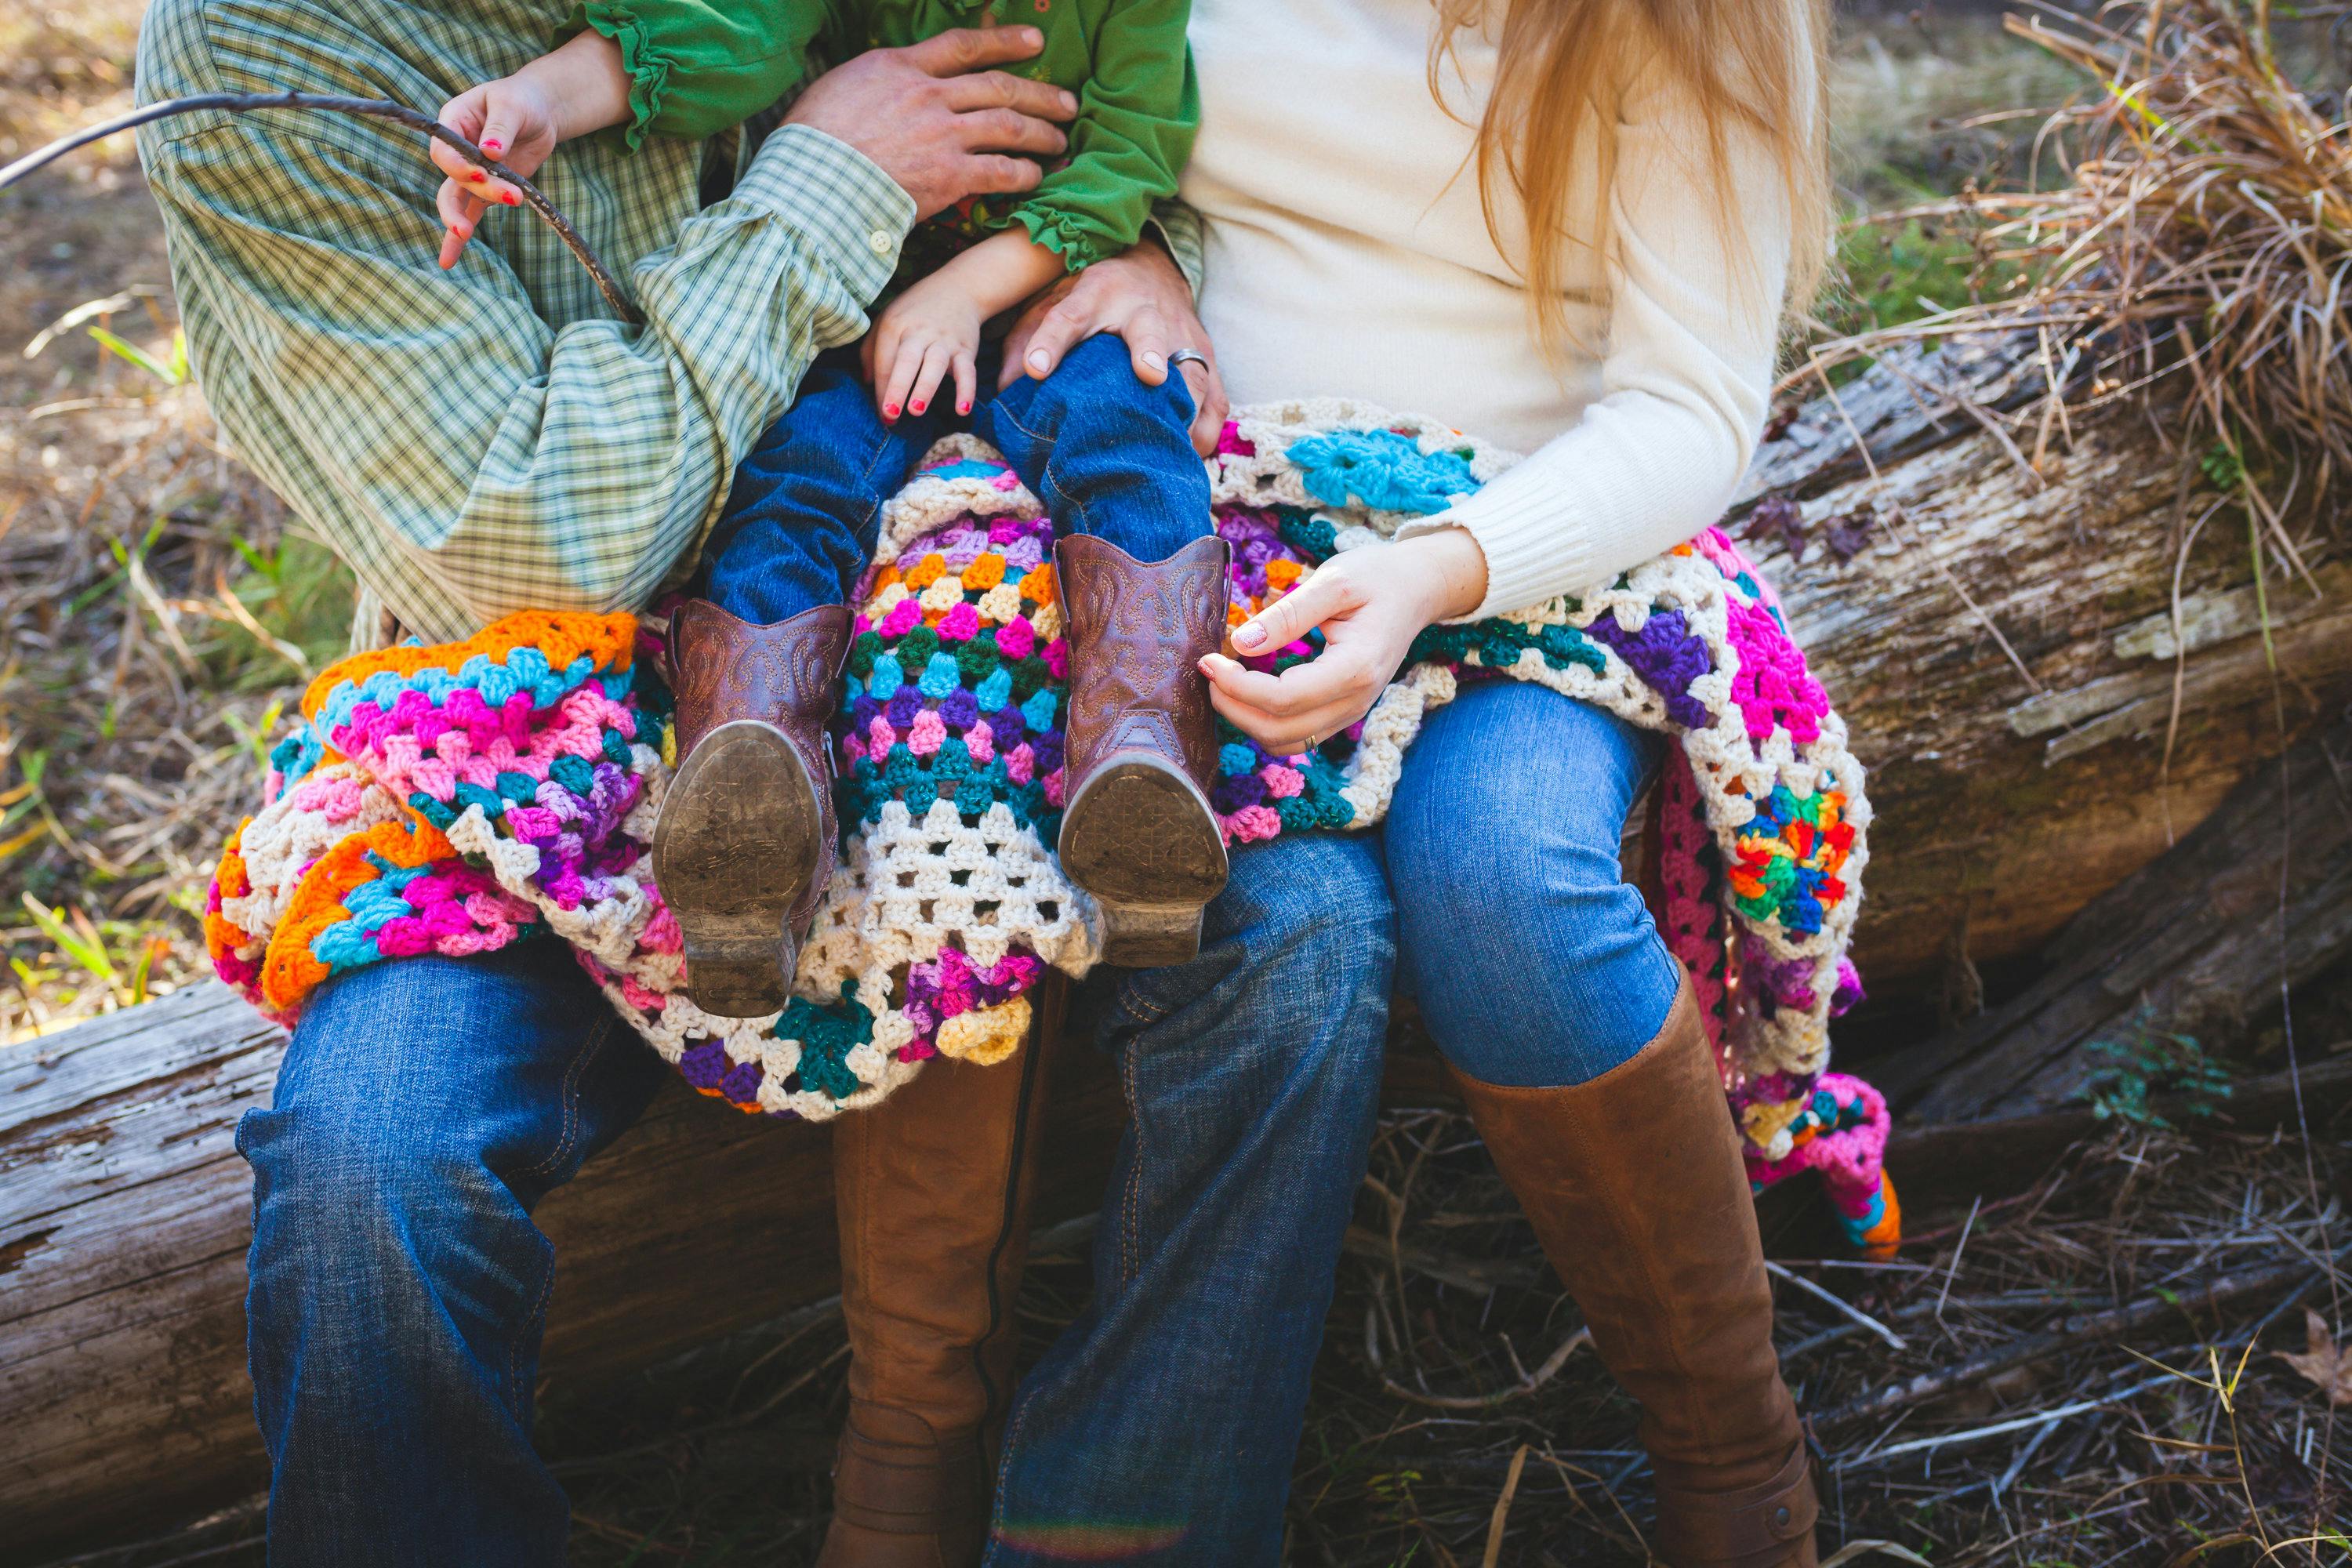
Photo by Castorly Stock
Choosing the Right Crochet Hook
The crochet hook is your main tool, and its size and material matter more than you think. If the hook is too small or too large for the yarn, your stitches can end up too tight or too loose, making it hard to keep an even tension. Getting frustrated with your work because it doesn’t look right? It might just be the wrong hook size.
For beginners, aluminum hooks are often recommended because they allow the yarn to glide smoothly, reducing resistance that might lead to fatigue. Wooden or plastic hooks are options too, though some might find them less slippery. If you're new to crochet, start with a 5.0mm hook and medium-weight yarn, as this combination is beginner-friendly.
If you’re still unsure, check out Essential Crochet Tools for Beginners: Get Started! for more insights on understanding crochet hooks and their compatibility with different projects.
Understanding Yarn Weights and Types
Did you grab a yarn just because it felt soft or had a pretty color? Don’t worry, we’ve all been there! However, yarn weights and fibers can impact your learning. Using a heavier yarn than your selected pattern suggests could result in bulky, uneven stitches, while extremely fine yarn might make it tough to see what you're doing.
Stick with medium-weight yarn (also called worsted weight) to start. This type of yarn is thick enough to see clearly but not so heavy that it feels overwhelming. Lighter colors are also easier to work with because the stitches are more visible—a huge help when you’re practicing new techniques.
Want to dive deeper into finding the right beginner-friendly yarn? Head over to How to Crochet For Beginners- Tools Needed.
Essential Tools for Beginners
Beyond hooks and yarn, there are a few other tools every beginner should have in their kit. These little extras can make your project easier and more enjoyable:
- Stitch Markers: Ever lose track of where a row starts and ends? Stitch markers prevent that hassle, helping you keep track of your place like a bookmark in a story.
- Scissors: A small, sharp pair of scissors is essential for cutting yarn cleanly. Resist the urge to "cheat" with household scissors—they often fray the fiber.
- Measuring Tape: Crocheting is a game of precision, and a measuring tape ensures your pieces follow the intended dimensions.
Considering building a starter kit? Crochet Instruments and Equipment Each Newbie Ought to Have has you covered with a comprehensive list of must-haves.
The right tools are more than accessories—they’re your partners in bringing your creations to life. Starting your crochet journey with thoughtfully chosen equipment means fewer headaches, quicker progress, and a much more enjoyable experience. Ready to take the next step? Let’s discuss stitch techniques in the next section!
Mastering Basic Crochet Techniques
Crochet can feel like a puzzle when you’re starting out. Between the tools, the stitches, and the patterns, it’s easy to feel like you’re juggling too many moving pieces. But trust me, once you break it down into manageable steps, it becomes a relaxing and rewarding craft. Let’s go over some basic techniques to help you avoid common pitfalls and master the essentials.
Holding Your Hook and Yarn Correctly
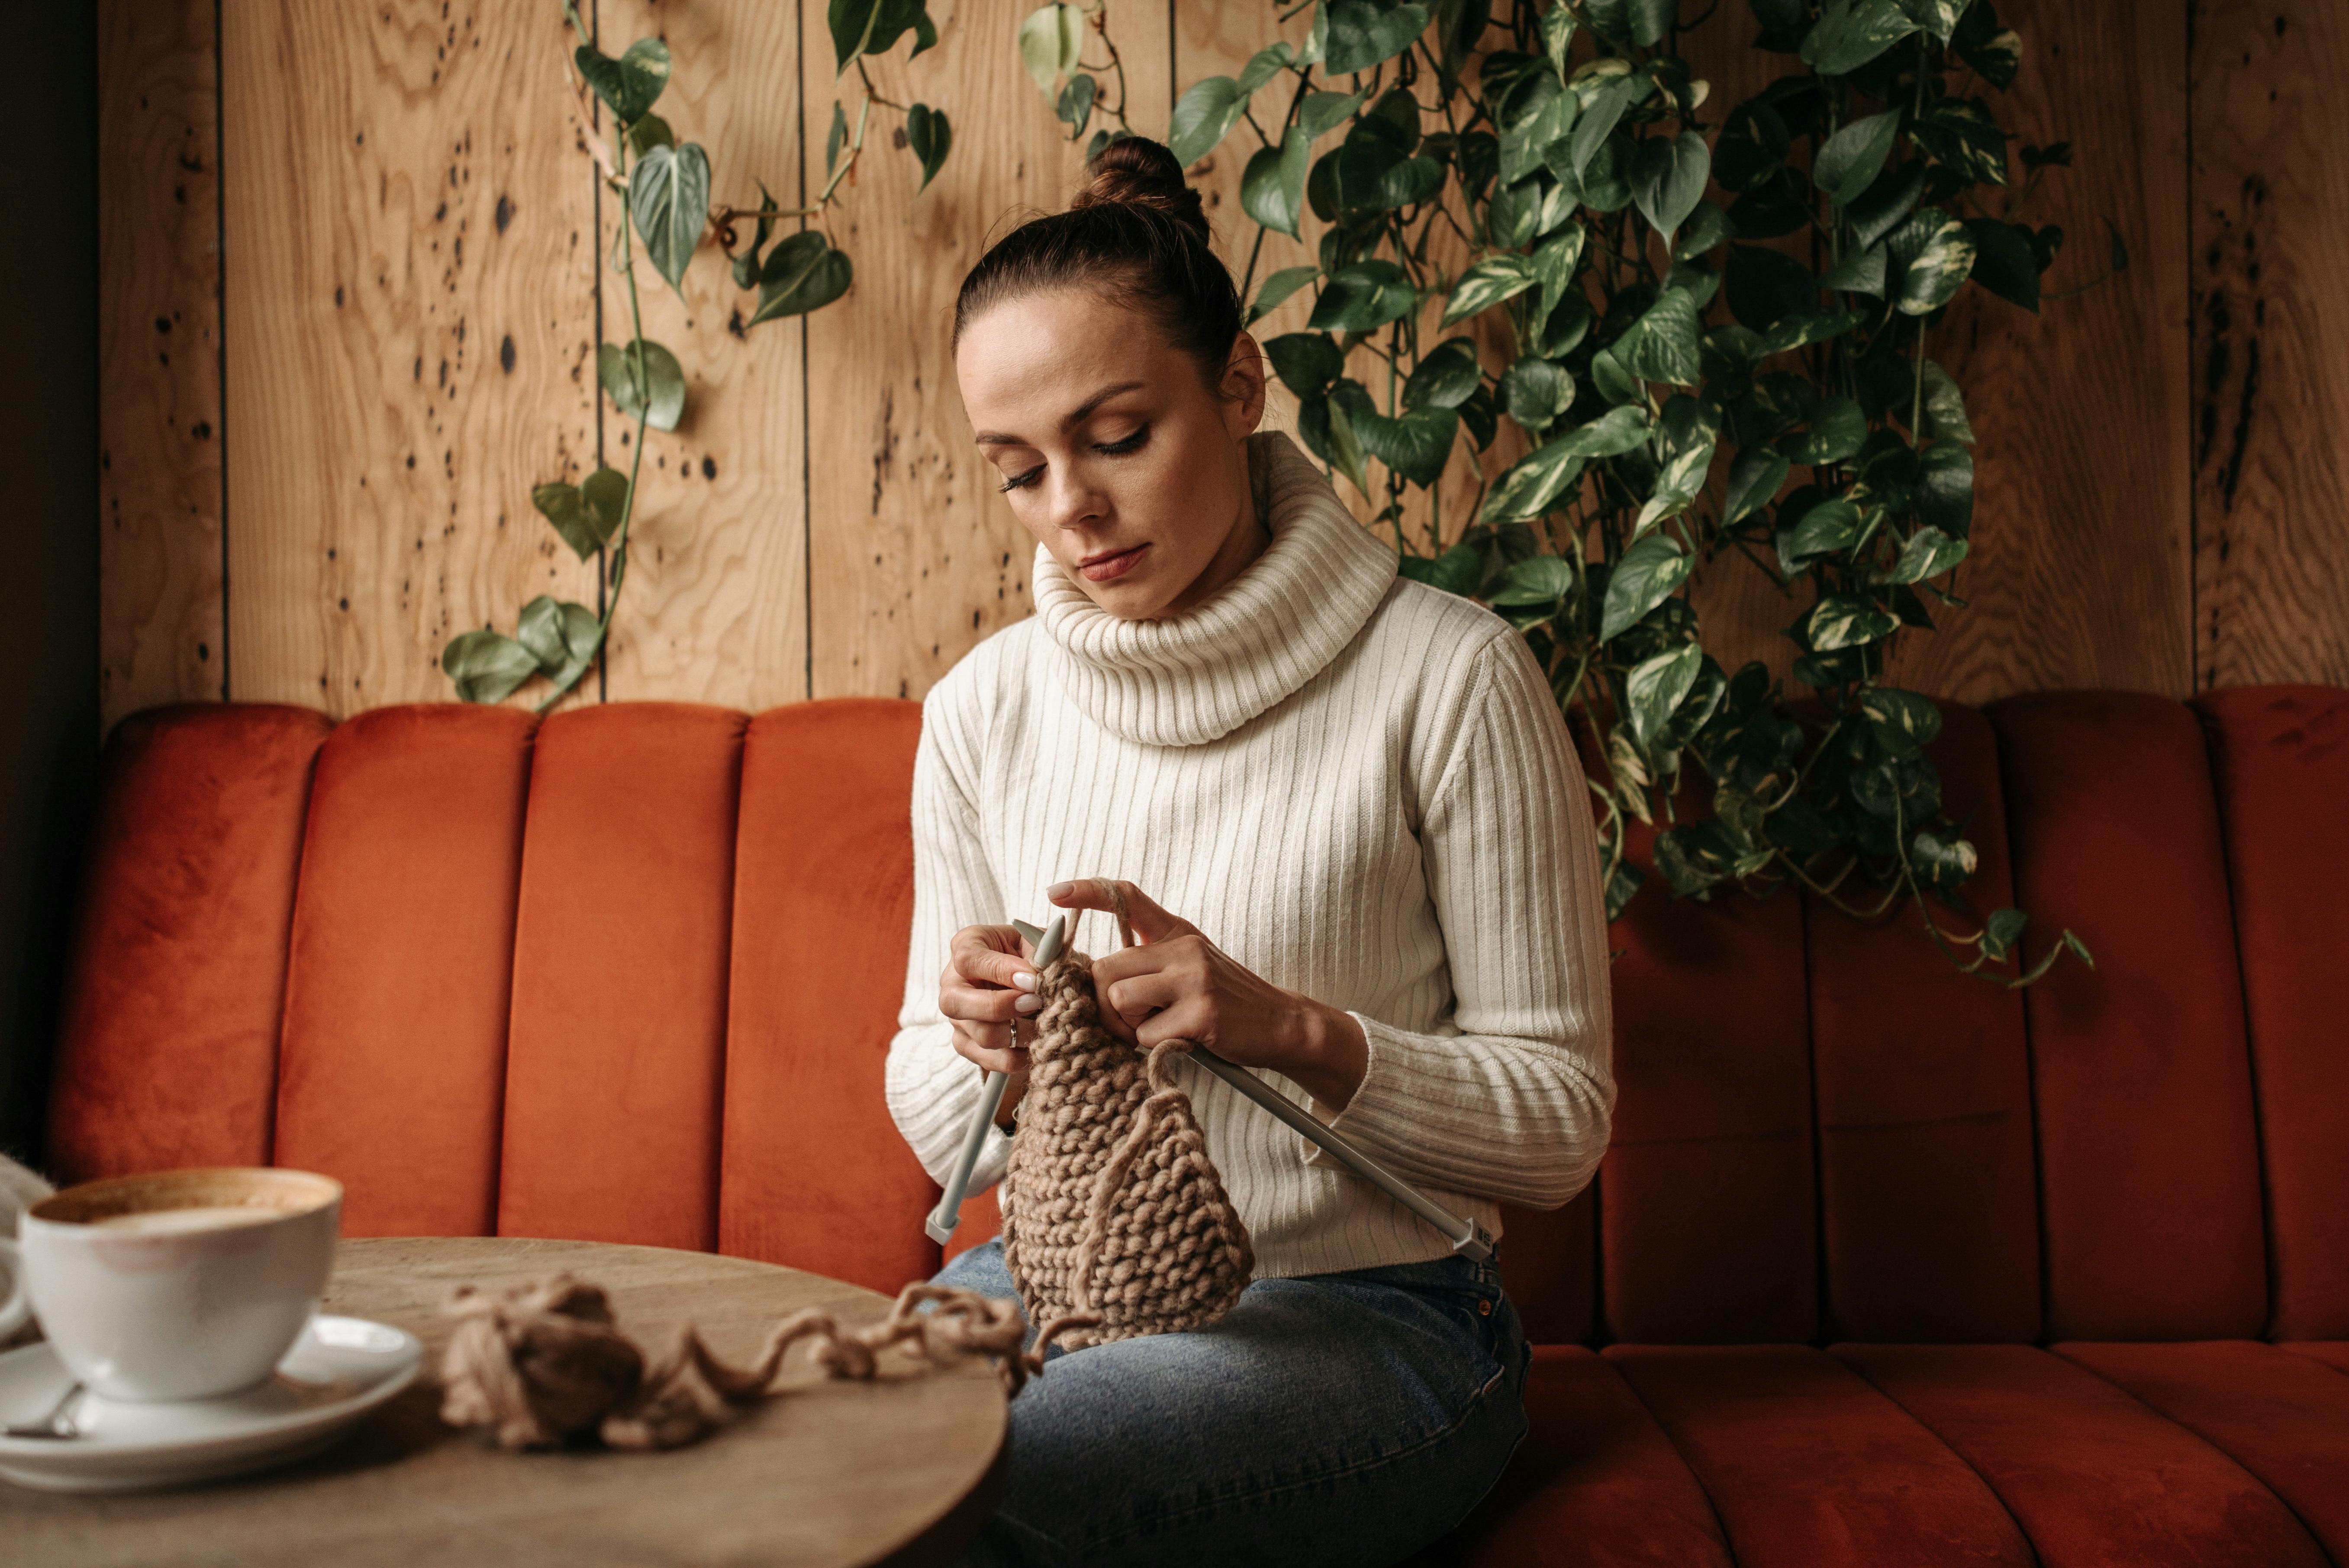
 Photo by Anete Lusina
The way you hold your hook and yarn can greatly impact your comfort and the tension in your work. Proper positioning ensures you won’t experience wrist or hand strain—a common problem for beginners. Imagine holding a pen; you’ll want to mimic that grip with your hook. The "knife grip" (holding the hook like a knife) and the "pencil grip" (like a pencil) are two popular methods. Try both to see what feels natural for you.
When it comes to yarn, maintaining even tension is key. Use the fingers of your non-dominant hand to guide the yarn, weaving it loosely around your fingers to create a smooth flow. If the yarn is too tight, your stitches will look strained, and if it’s too loose, they’ll be uneven. Adjust as you go—it’s a bit like finding the sweet spot on a guitar string.
Understanding Crochet Abbreviations
Reading crochet patterns can feel like deciphering a foreign language at first. Abbreviations like “ch,” “sc,” and “dc” represent common stitches and are your roadmap in creating amazing projects. Here’s a quick cheat sheet:
- Ch = Chain
- Sc = Single Crochet
- Dc = Double Crochet
- Sl St = Slip Stitch
Patterns often include parentheses or asterisks to indicate stitch repeats. For example, “sc, dc repeat from * to end” means you'll go through single crochet and double crochet alternately until the row is finished. Don’t worry if it seems confusing at first; it’ll make sense with practice. Use resources like Crochet 101: A Beginner's Guide to Mastering the Craft to familiarize yourself with these patterns.
Starting Chains and Foundation Rows
The foundation chain sets the stage for your entire project, so getting it right is critical. If your starting chain is too tight, it can warp your work; too loose, and it’ll look floppy. A simple trick is to use a hook one size larger than the one recommended for your pattern to make your chain. This gives your stitches a little extra breathing room.
When working on the foundation row, count your stitches carefully, and don’t skip the last one! Missed stitches can create unwanted gaps in your project. Also, be mindful of your tension—it should be consistent but not too tight.
Struggling with uneven chains? You’re not alone. You can find additional tips to improve your foundation rows in Crochet Ideas on The Secret Yarnery. It’s a valuable resource filled with beginner-friendly advice.
Mastering these basic techniques will set you up for success, giving you a strong foundation for tackling trickier stitches down the line. Keep practicing—you’re doing great!
Avoiding Common Stitching Errors
Crochet mistakes are a rite of passage, but many of the most frustrating errors—like dropped stitches, twisted chains, or uneven tension—can be avoided with just a bit of know-how. Let’s tackle these common issues so your projects look polished and consistent right from the start.
Identifying Dropped Stitches and Fixing Them
Dropped stitches can sneak up on you, especially as a beginner. You'll notice these when part of your work looks holey or uneven, and it’s easy to feel like the entire project is ruined. Trust me, it’s not!
Dropped stitches often occur when you're distracted or accidentally pull the loop off your hook without securing it properly. To fix them:
- Slowly backtrack your stitches until you reach the point where the loop was dropped.
- Insert your hook back into the correct stitch or chain.
- Recreate the stitch as if you'd never dropped it.
To avoid dropped stitches in the future:
- Count regularly: Make sure you have the correct number of stitches in each row or round.
- Use stitch markers: They’re invaluable for keeping track of important spots, like the start of a round or the last stitch of a row.
- Pause and check: It’s better to catch errors early than to discover them after several rows.
Need more detailed help with dropped stitches? Check this excellent resource on avoiding crochet mishaps.
Preventing Twisted Chains
Starting a project with a twisted foundation chain can feel like you’ve doomed your piece from the start. When the chain twists, it tangles your rows and makes it nearly impossible to fix later. The key is prevention.
Here’s how to avoid this frustrating issue:
- Stretch your chain flat: After creating your chain, lay it flat or dangle it from your hook to ensure it’s not twisting.
- Rotate your work as you go: Rather than letting the chain wind up on itself, rotate it gently between your fingers while adding stitches.
- Secure the chain on a surface: Pinning the first chain to a foam board or table can give you stability as you work.
Using a larger hook for your foundation chain also helps since it makes the stitches looser and easier to manage. If twisting keeps happening, revisit your chain tension—it may be too tight. For step-by-step guidance, head over to Crochet Techniques for actionable tips.
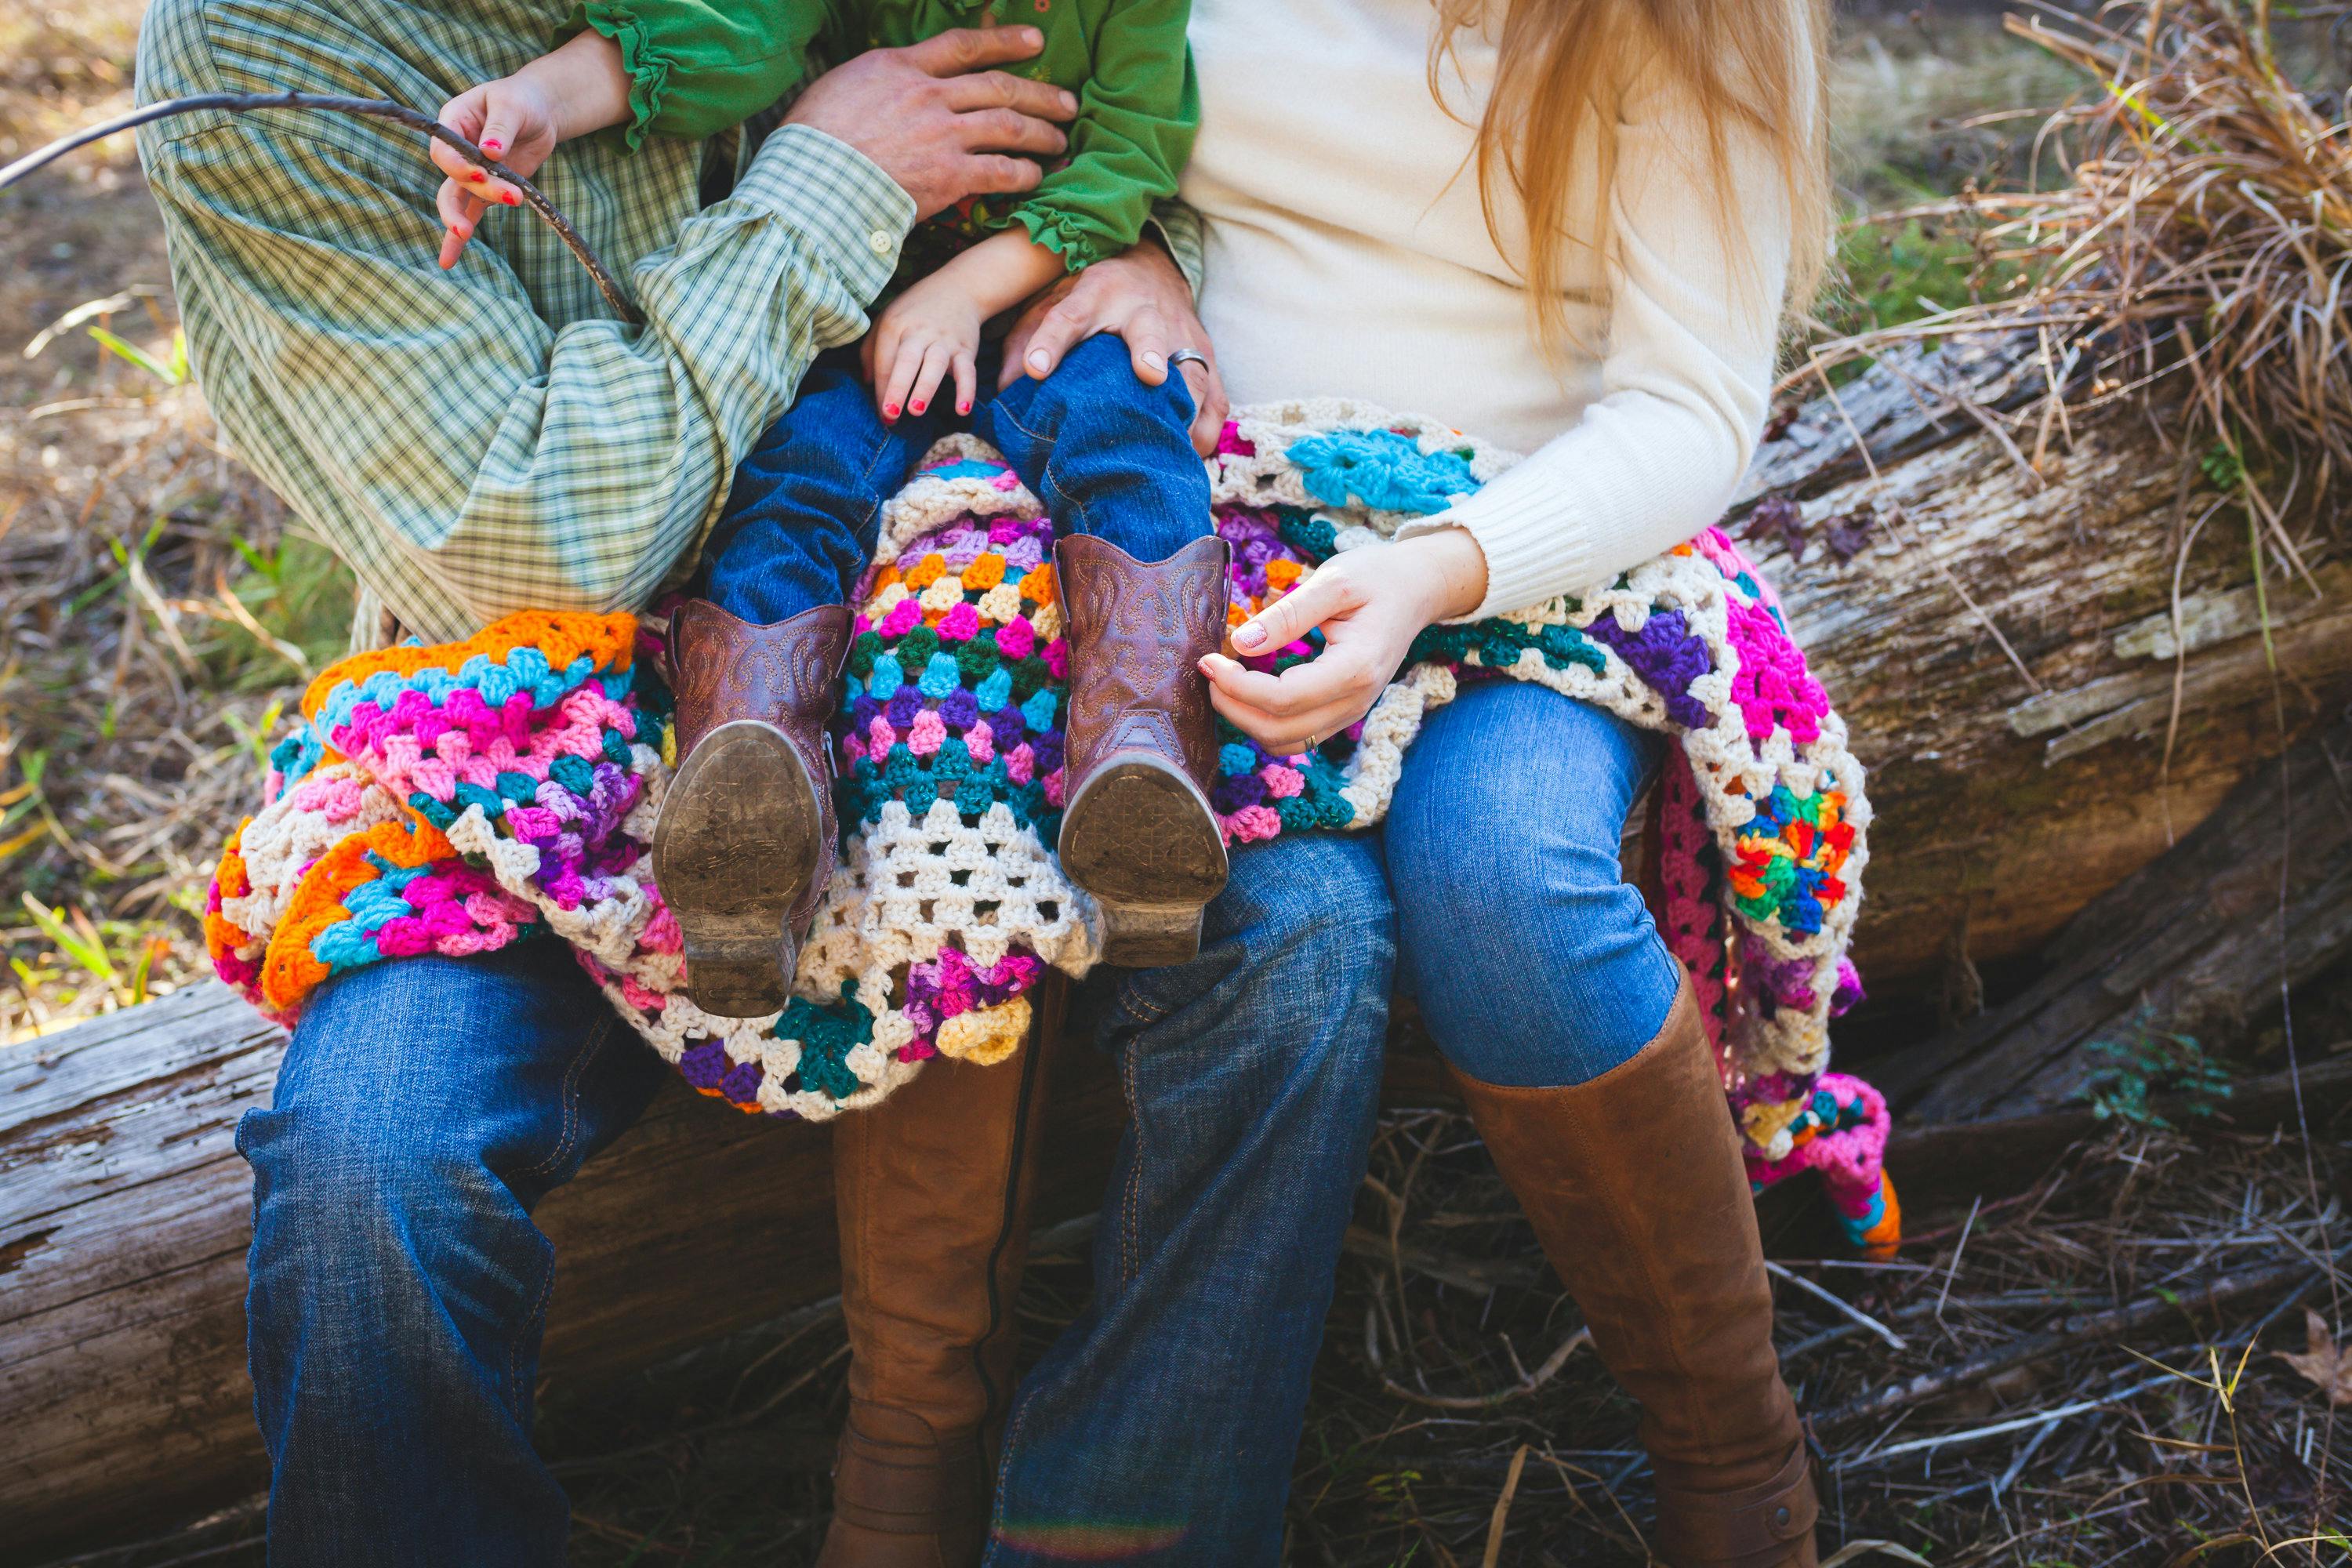
 Photo by Eva Bronzini
Keeping Tension Consistent
Ah, tension—the Achilles' heel of most beginners. Uneven tension can make your stitches look messy and inconsistent, leading to lopsided or puckered edges. While it takes time, getting the tension right isn’t as daunting as it seems.
Here are a few tricks I’ve used:
- Practice holding your yarn: Loop it around your fingers in a way that feels natural but maintains steady resistance. Experiment with wrapping it over your index finger or weaving it through multiple fingers.
- Check your grip: If your stitches are overly tight, stop clenching the yarn or hook like you’re arm-wrestling. Relax! If they’re too loose, try adding an extra loop around your pinky for added control.
- Pause and adjust: As you work, periodically check your rows. If the stitches look tighter in some parts and looser in others, take a break to reset your grip.
Consistency grows with practice, but starting off right helps. You might find it useful to explore Crochet 101: A Beginner's Guide to Mastering the Craft for more tension techniques.
Avoiding these common stitching errors is all about having patience and being mindful as you crochet. With a little effort to prevent dropped stitches, twisted chains, and tension troubles, you’ll see your work become more even and professional over time. Don’t forget—every stitch gets you closer to mastering this amazing craft!
Managing Time and Expectations
When you're just getting started with crochet, it can be exciting to dive into every pattern and idea that catches your eye. But let’s be real—it’s easy to end up with half-finished projects and a growing pile of guilt from unmet expectations. Learning how to balance your time and manage your goals can make all the difference in how much you enjoy crocheting. It’s not just about productivity—it’s about setting yourself up for success.
Set Realistic Goals
Let’s face it: there’s only so much you can crochet in a given amount of time. Think of it like baking a cake—you wouldn’t expect it to be ready in half the time without ruining it. The same applies to crochet; rushing leads to stress and mistakes.
Start with simple, achievable goals. For instance:
- Instead of aiming to finish a blanket in a week, plan to complete a few rows a day.
- Break larger projects into smaller sections, like working on squares for a granny square blanket one at a time.
- Choose patterns that match your current skill level to avoid frustration.
Remember, progress is progress. If you stick to manageable steps, you’ll feel that rewarding sense of accomplishment with each milestone.
For more advice on breaking down projects into bite-sized tasks, check out Crochet Time Management Tips.
Incorporate Crochet Into Your Routine
We all have busy lives, and finding time for crochet can feel like squeezing an extra sip into an overflowing glass. The trick is to weave crochet into your daily rhythm without it feeling like a chore.
Here are some tips:
- Use waiting times: Keep a small crochet project in your bag for moments when you’re waiting, like at the doctor’s office or while commuting on public transport.
- Schedule dedicated crochet time: Treat it like a mini appointment with yourself—carving out 20–30 minutes of uninterrupted time can work wonders.
- Combine activities: Crocheting during a TV show or audiobook session lets you enjoy two things at once.
Want inspiration on how others find time to crochet in their busy schedules? Read For the employed crocheters, how do you find the time to.... You’ll find relatable advice from fellow crocheters.
Adapt to Changes and Stay Flexible
Sometimes, life happens. Maybe you started a project thinking it’d take two weeks, and here you are a month later—not even halfway done. That’s okay! Your crochet journey isn’t a race; it’s a chance to slow down and create something beautiful.
If plans change:
- Reassess your timeline. Can you extend the deadline or work on smaller pieces in the meantime?
- Ask yourself if the project still excites you. If it doesn’t, it’s okay to put it aside and start something fresh.
- Allow yourself the freedom to crochet at your own pace—even small steps forward are steps worth celebrating.
Flexibility is part of what makes crochet such a relaxing hobby. Give yourself grace and time to fully enjoy the process.
Avoid Overcommitting
It’s tempting to say “yes” to every cool pattern or project idea. Maybe your best friend asked for a handmade scarf, or you saw a YouTuber making an intricate sweater that looks irresistible. But if you overload yourself, crochet stops being enjoyable and starts becoming a source of stress.
To avoid burnout:
- Only take on one or two projects at a time.
- Say no to deadlines that feel unrealistic. It’s better to under-promise and over-deliver than the other way around.
- Prioritize your projects based on what brings you joy and satisfaction.
Need more insights on balancing crochet with life? Check out this resource: Crochet and Knit Project Time Management with Marly Bird. It’s packed with useful advice for crocheters juggling multiple demands.

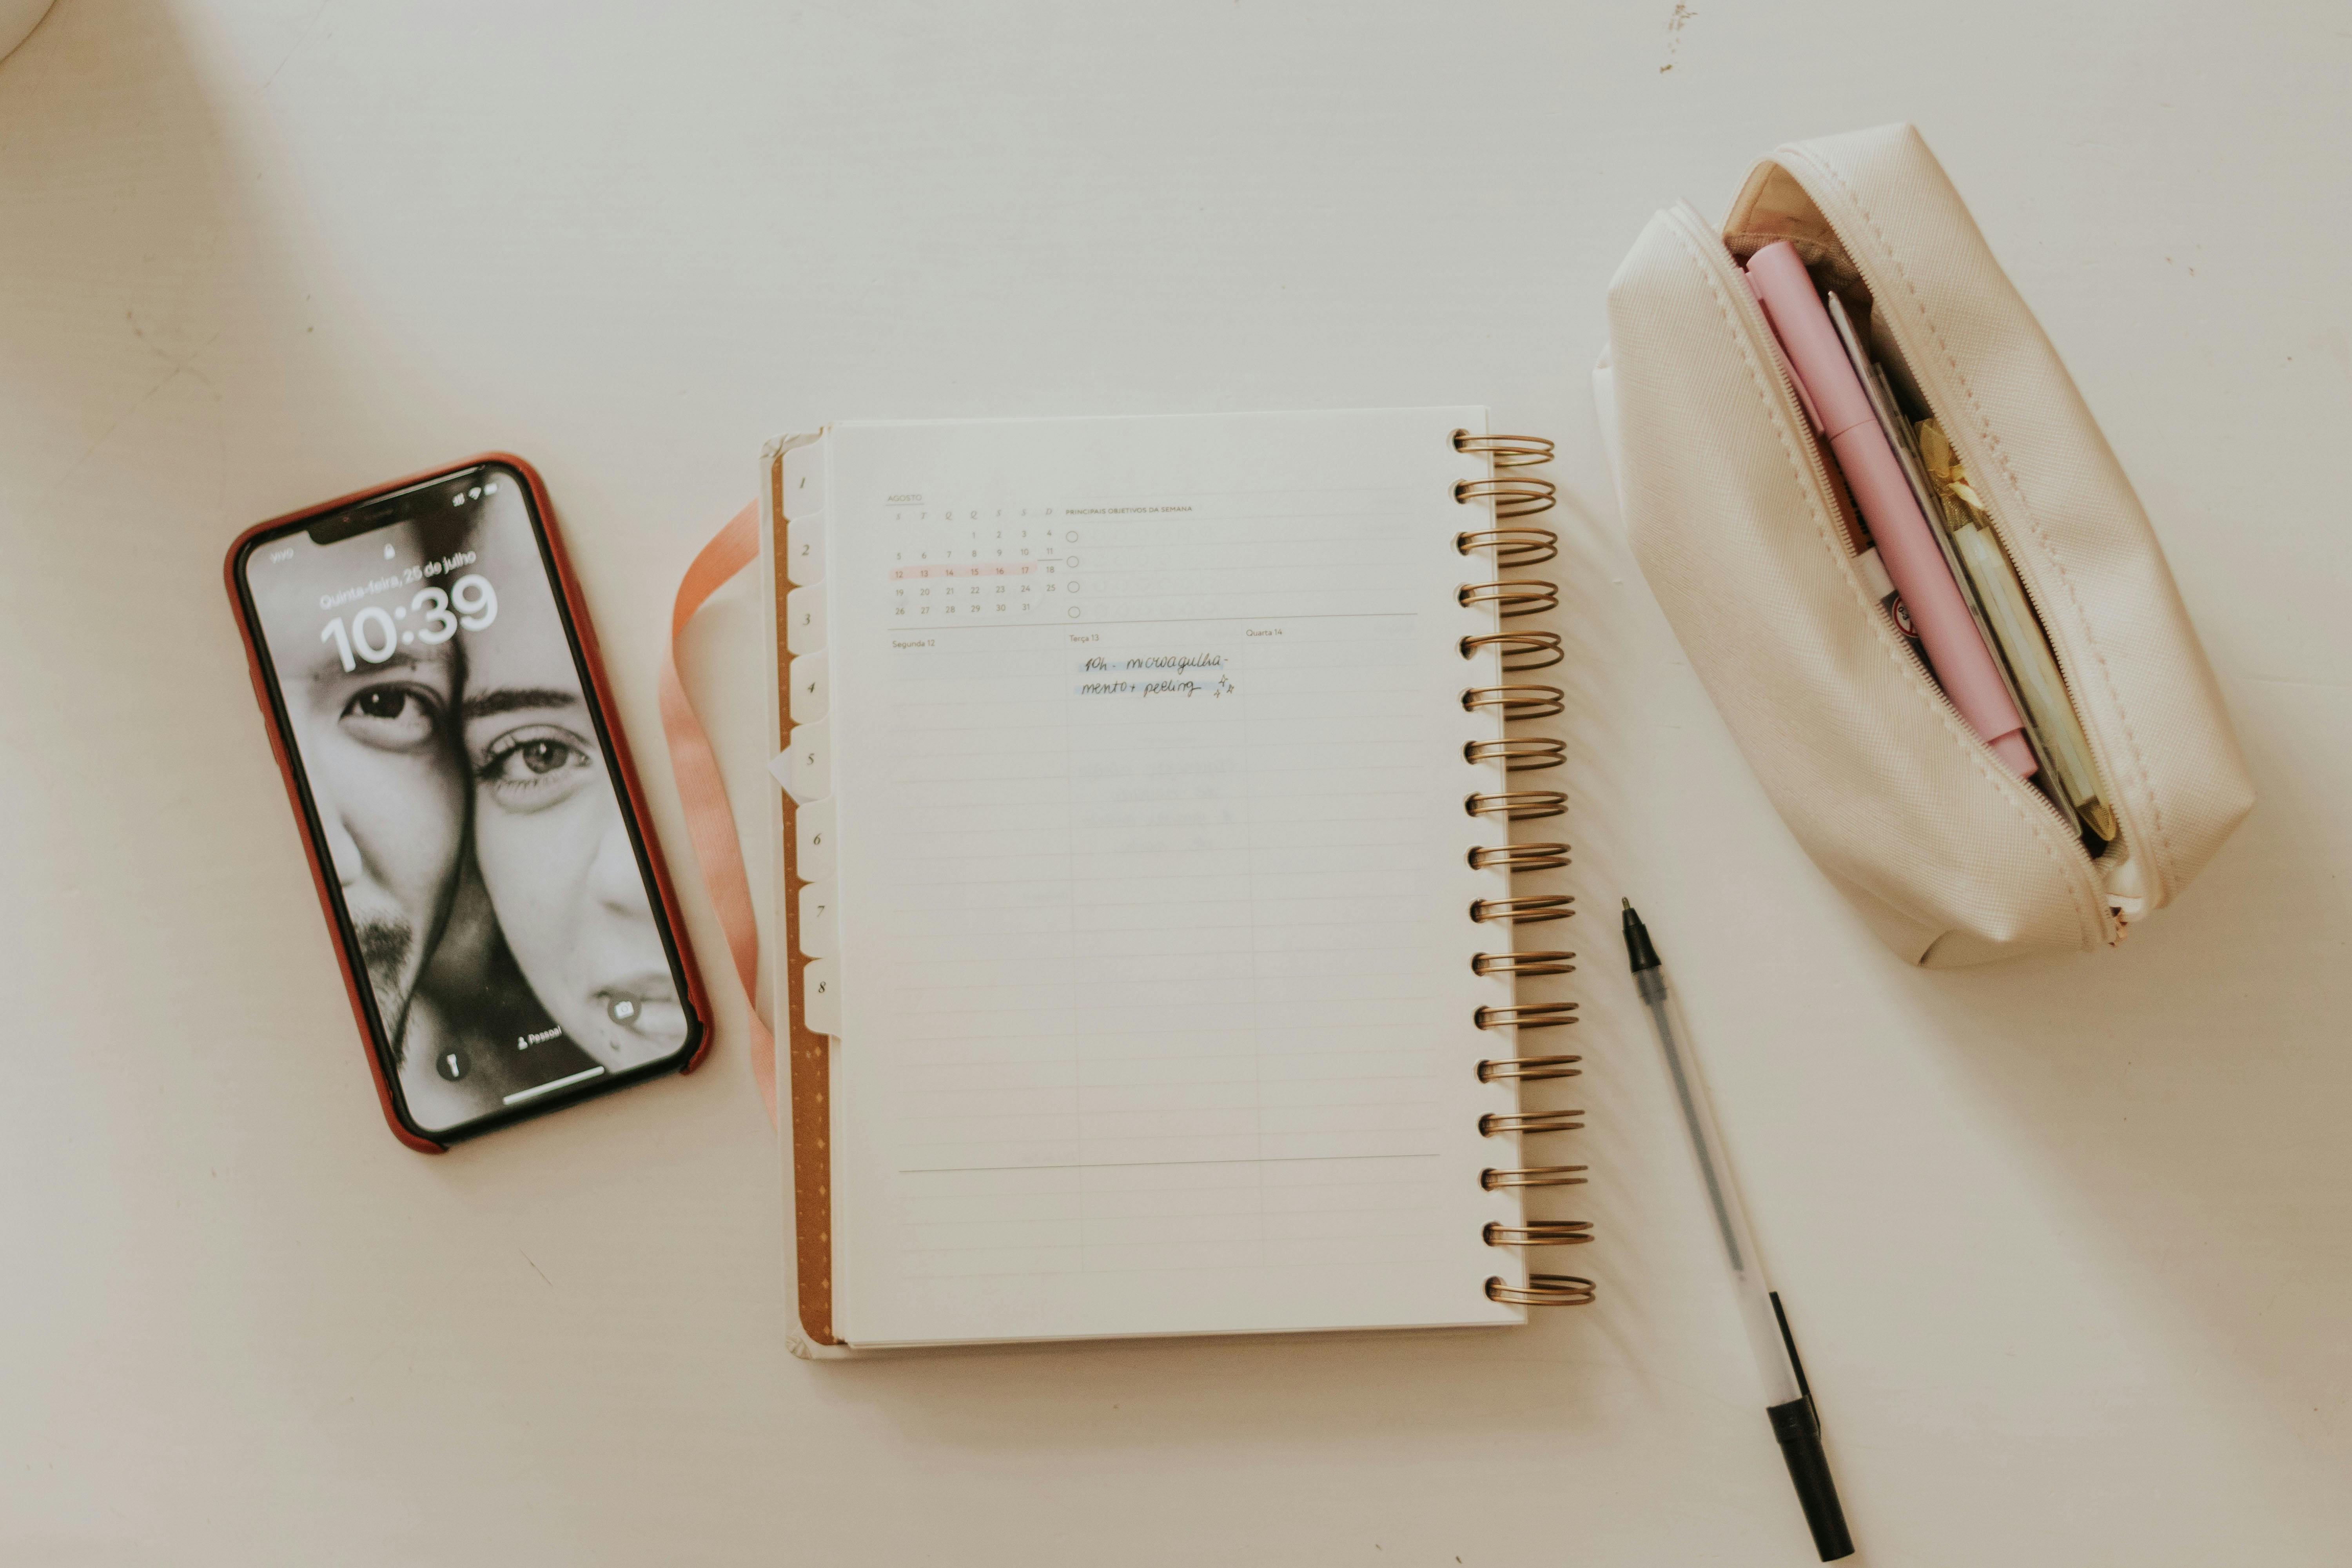
Photo by RDNE Stock project
By learning to manage your time and expectations effectively, you’ll turn crochet into the relaxing, rewarding activity it’s meant to be. Small adjustments in your approach can help you stay enthusiastic, consistent, and inspired without letting the pressure of “too much, too soon” weigh you down.
Frequently Asked Questions (FAQ)
What is the best type of yarn for beginners?
Beginners should start with medium-weight yarn, also called worsted weight. It’s easier to see your stitches and practice techniques. Lighter colors are also helpful as they make stitches more visible.
What crochet hook size should I start with?
A 5.0mm crochet hook is an excellent choice for beginners. It's comfortable to use with medium-weight yarn, making it easier to learn basic stitches.
How do I fix uneven stitches?
Uneven stitches often stem from inconsistent tension. Stay mindful of how you hold your yarn, and practice guiding it through your fingers. Repeating basic stitches regularly will help improve consistency over time.
Why does my chain keep twisting?
Twisting happens when the foundation chain isn't kept flat. Lay the chain on a flat surface or gently rotate it as you work. You can also use a larger hook to make the chain looser and easier to manage.
How do I prevent dropped stitches?
Regularly count your stitches, especially at the end of rows or rounds. Use stitch markers to keep track of key points, like the starting or final stitch, and check your work periodically.
Can I crochet if I’m left-handed?
Yes! Left-handed crochet follows the same principles but mirrors the movement. Many resources and tutorials cater specifically to left-handed crocheters to make learning easier.
What’s the easiest project for a beginner?
Simple projects like scarves, dishcloths, or granny squares are ideal for beginners. They use basic stitches like single crochet and double crochet while giving you the chance to practice.
How long will it take to complete a crochet project?
The time varies based on the project size, your skill level, and your schedule. Start with realistic goals and work at a steady pace. Small projects like dishcloths can take a few hours, while larger ones like blankets may take weeks.
Why does my work keep curling?
Curling can occur if your tension is too tight or you're unintentionally increasing or decreasing stitches. Check your tension and stitch count as you work, and consider blocking the finished piece to help it lay flat.

About Christa Patel
Christa Patel is a dedicated crochet enthusiast, instructor, and creator with over 10 of experience teaching in the fiber arts. Known for her easy-to-follow tutorials and practical tips, Christa aims to make crochet accessible to beginners while inspiring seasoned crocheters with creative patterns and techniques.
Her passion for teaching has helped thousands of crafters build their confidence, troubleshoot common mistakes, and create beautiful handmade pieces. With a keen eye for detail and a talent for simplifying even the trickiest crochet concepts, Christa has become a trusted name in the crochet community.
Christa shares her expertise through her blog, video tutorials, and workshops, focusing on approachable patterns, beginner guides, and thoughtful advice to help crafters at every step of their journey. Whether you’re picking up a hook for the first time or looking to sharpen your skills, her guidance ensures a fun and rewarding crochet experience.
Follow Christa Patel to stay inspired, discover new projects, and take your crochet to the next level!

