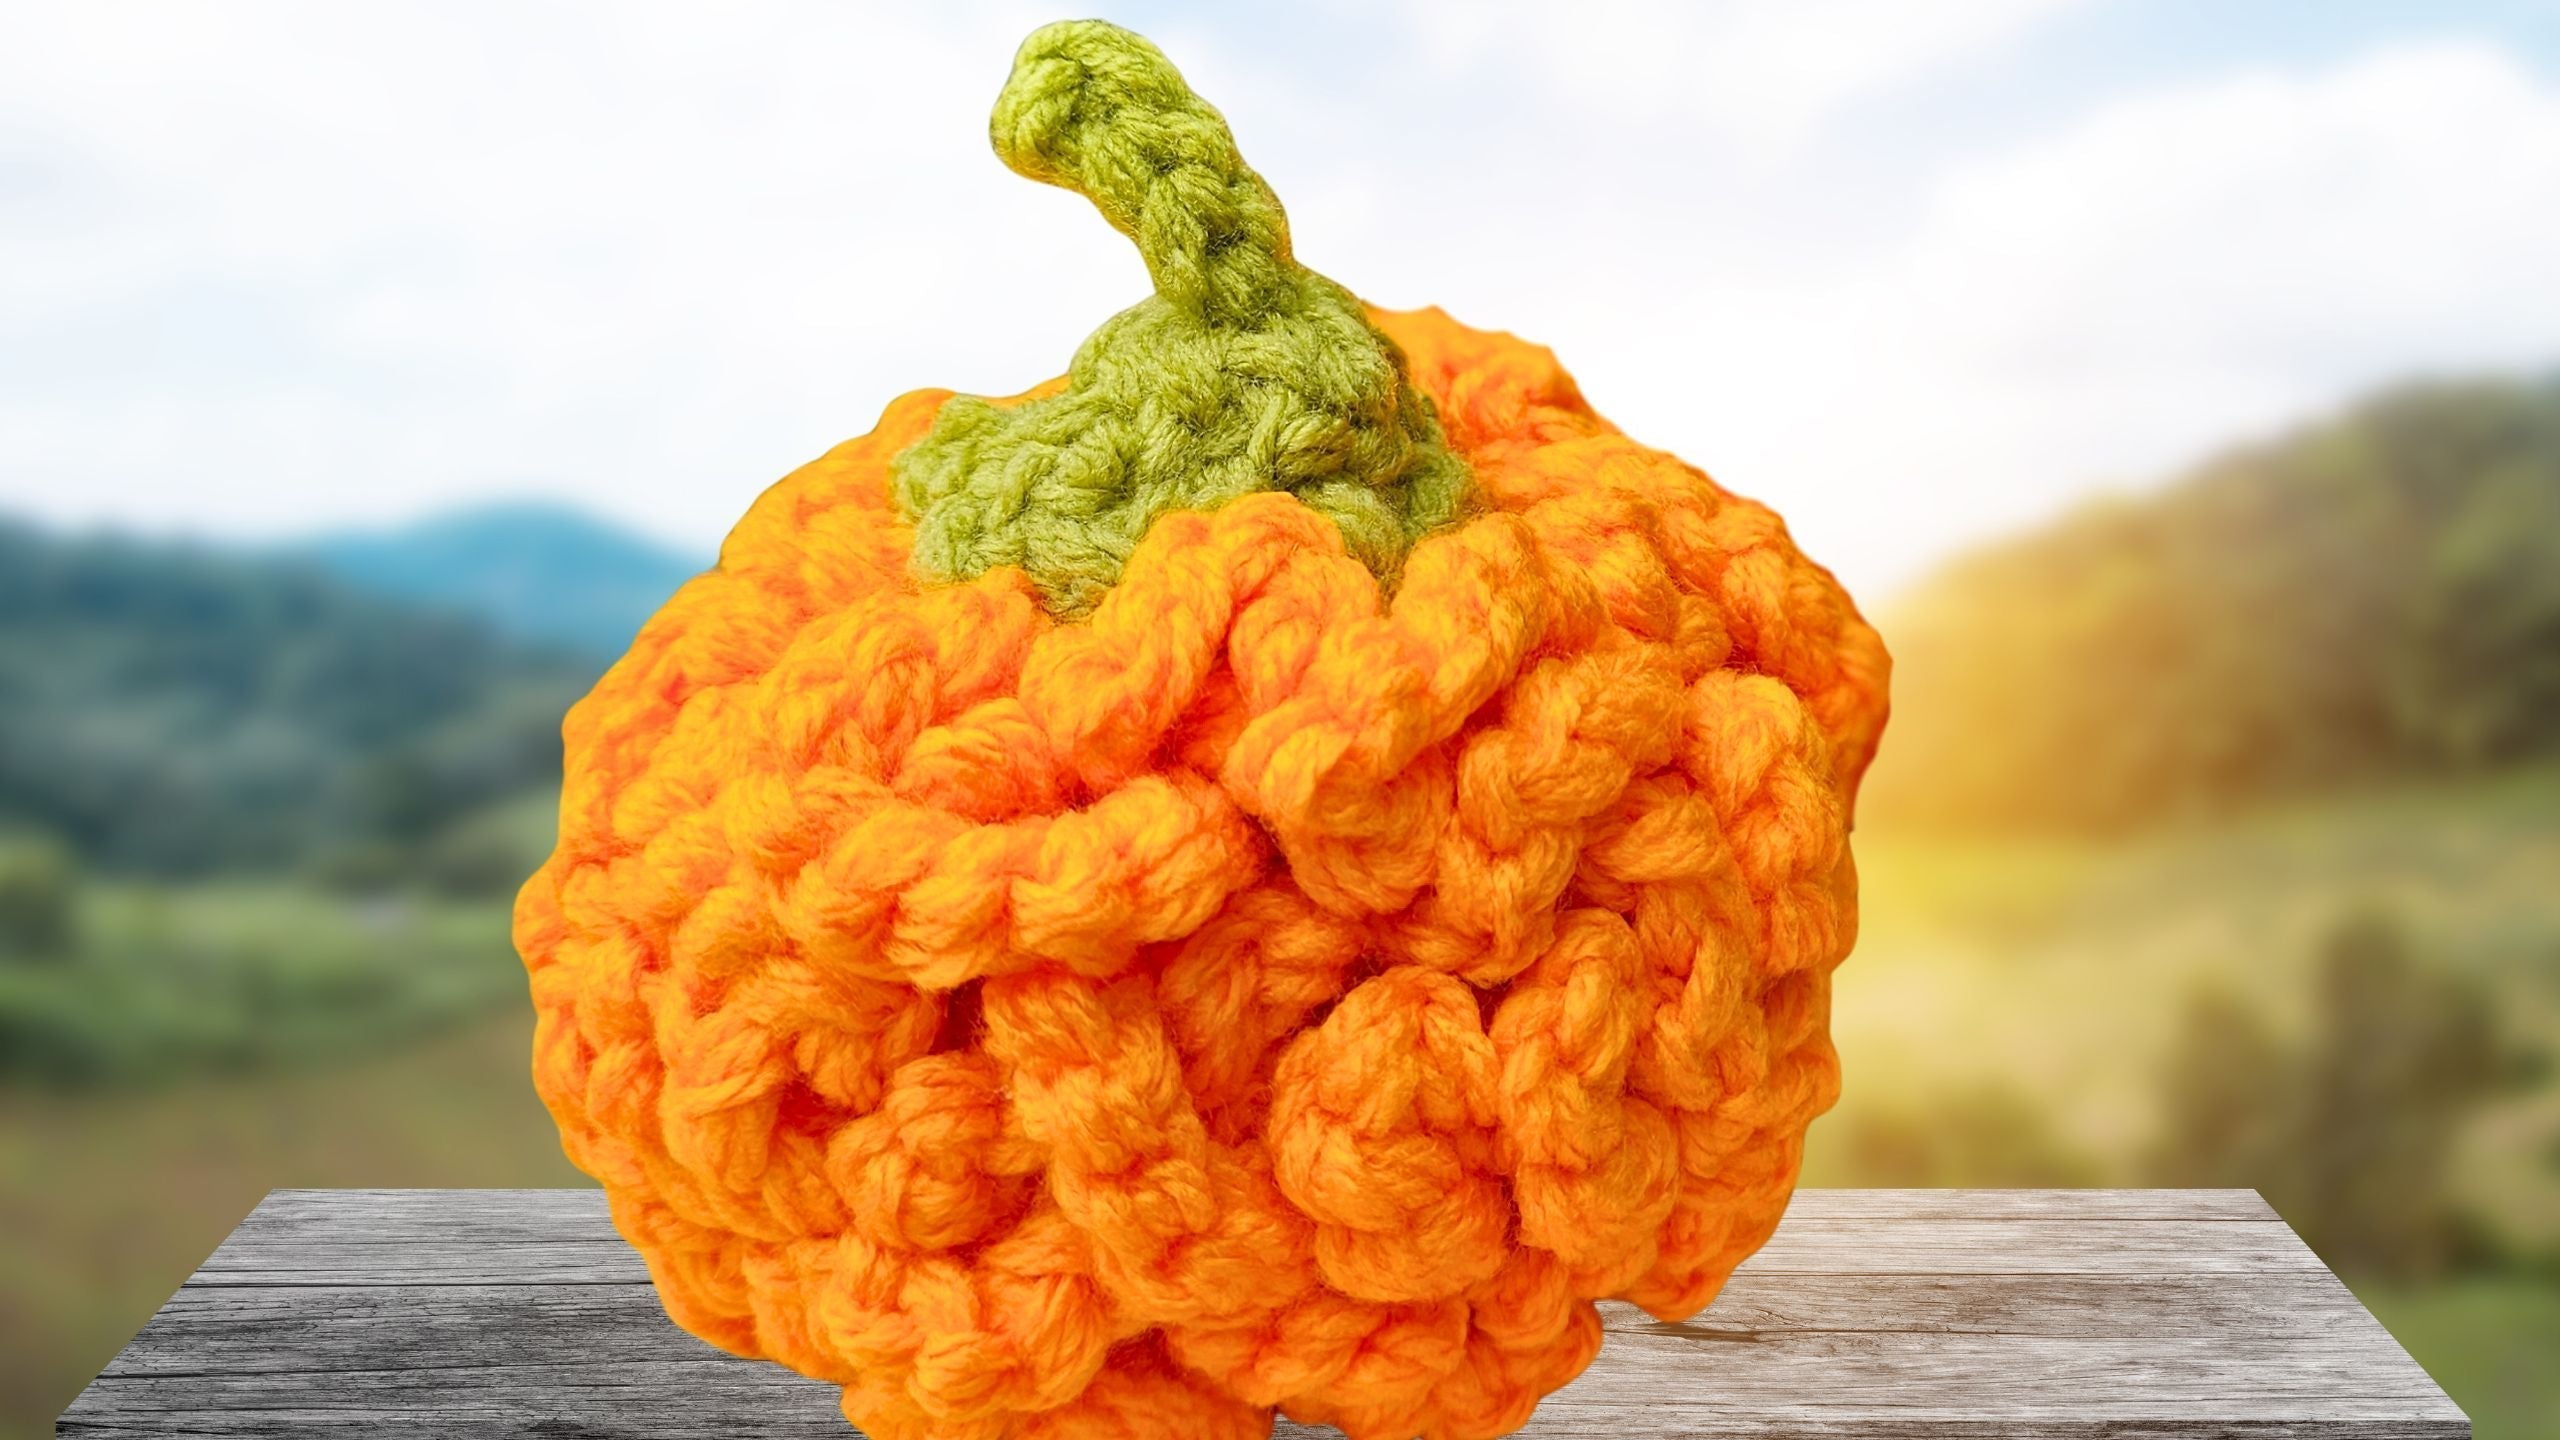
Crochet a No-Stuff Pumpkin (Beginner-Friendly, No Fiberfill Needed)
Want a fast, cozy, beginner-friendly fall project that looks great on any shelf or table? I’ve got you. This adorable, squishy crochet pumpkin uses only yarn and a hook, no stuffing at all. It builds from simple chains, gathers into tidy “petals,” and hides every tail under a neat little stem and cap. If you’re decorating for fall, Thanksgiving, or just want a sweet touch of handmade charm, this is your next make. It works up quickly, uses simple stitches, and you only need to attach the stem at the end. No sewing of ends, no fancy supplies, just pure crochet joy.
Why This No-Stuff Pumpkin Project Is Perfect for You
No stuffing, no stress, just straight crochet. This pumpkin is ideal if you’re short on time or supplies, or if traditional amigurumi stuffing feels fussy. The triple-strand method creates a thick, squishy texture that holds shape on its own, so your pumpkin looks plush without fiberfill.
It’s beginner-friendly, fast to finish, and easy to customize. Make one for your mantel, a whole patch for your table, or whip up sets as gifts. No ends to sew makes it even more approachable, since the stem and cap neatly hide everything at the top.
- Fast to make
- Adorable and squishy
- Great for fall, Halloween, and Thanksgiving decor
- Perfect stash buster for odd bits of green
If you love this one and want more ideas, I rounded up a few more pumpkin styles in these simple crochet pumpkin patterns for fall.

Materials You’ll Need
Orange Yarn for the Pumpkin Body
Use a full ball of orange yarn, 100 g. Worsted or similar weight works beautifully with the triple-strand method and an 8 mm hook.
Green Yarn for the Stem
Plan for about 15 g of green yarn. You won’t use a lot, so scraps often work.
If you want to shop supplies online, I’ve linked my favorites in the video description, including yarn options under YARN.
Crochet Hook Size
Use an 8 mm crochet hook. The larger size makes it easier to work with triple strands and keeps the chains soft and flexible.
Stitch Markers and Alternatives
You’ll need a lot of markers, about 80. If you’re short on markers, use small 2-inch yarn scraps in a contrasting color. Lay a scrap under your hook at the right spot, then make the chain to “trap” the marker in place. It slides out later.
Other Tools
- Yarn needle, only for attaching the stem and cap
- Scissors
If you prefer specific tools, the video description links to the hook and sharp-tip needles I use.

Preparing Your Triple-Stranded Yarn
Why Triple the Yarn?
Tripling your yarn builds a thick rope of stitches that creates that squishy, plump pumpkin texture. Thicker yarn = faster project, with no stuffing needed.
Step-by-Step Tripling Method
Finding the Yarn End
Find the tail end of your orange yarn ball. Hold it so you can keep track of your working direction.
Creating the Loop
Place a finger on the far side of the ball, pull a loop of yarn back toward the tail, and match the ends. You’re making three strands from one ball by looping.
It’s fine if the loop you pull is small. If you want a longer working length, pull your hands apart to draw out a bigger loop.
Adjusting Strand Length
Pull a length that gives you room to crochet. Treat the looped side as part of your working yarn, but the original tail is still the tail. To avoid tangles, toss your yarn down in widening circles, big to small, so it feeds smoothly.
Making the Slip Knot
From the tail end, make a slip knot and place it on your hook. Shrink it down so it sits snug on the hook and you’re ready to chain.

Crocheting the Base Chain
Starting Your First Chain
With triple strands held together, chain 15. Count aloud if it helps. Keep your tension even.
Pulling Up Loops to Avoid Twists
At Chain End Technique
Before your working loop shrinks down too far, slide your finger and thumb into the loop, grab the working yarn, and pull up a long loop. This gives you slack to keep chaining smoothly without fighting tight yarn.
Continuing to Chain 15
Finish the chain to 15. Roll the chain so you can see the back side for marking.
Placing the First Stitch Marker
Insert a stitch marker into the back loop, also known as the camel bump, along the back of your chain. You’ll see a row of bumps. Mark one of those bumps on the first chain segment. Any back loop works for the marker, since it’s used later to gather.

Repeating Chains and Markers
Second Chain of 15
Chain 15 again, pull a big loop at the end to give you working slack. If you crochet on a sofa or bed, pull more slack and let it rest beside you.
Second Marker Placement
Roll the chain to the back. Insert a marker into one of the back loops on this section. Look for those camel bumps, they are easy to catch.
Continuing Until Yarn Is Used
Repeat chain 15, mark a back loop on that chain, and keep going. Chain, mark, chain, mark. Continue until you’ve used the entire 100 g of orange yarn.
Handling Running Out of Markers
If you run out of stitch markers, switch to 2-inch scraps of contrasting yarn.
- Cut a handful of scraps
- Lay a scrap under your hook where you want a marker
- Make the next chain, trapping the scrap so it sits in the chain as a removable marker
Finishing the Last Chain Section
Crocheting to Yarn End
If your final segment ends short, like 12 chains, that’s fine. Use every last bit of your orange yarn.
Securing the Yarn End
At the very end, pull the yarn tail through the final loop to secure. Simple finish, no knot needed yet.
Preparing Contrasting Yarn for Assembly
Cut 3 to 4 feet of contrasting yarn and fold it in half. At the looped end, attach a stitch marker so those tails don’t slip back through. Thread both loose ends through your yarn needle.

Turning Chains Into Pumpkin Shape
Laying Out the Chain
Lay your long chained piece on a flat surface. Make sure the back loops, the side with all the markers, are facing up, and the pretty V’s of the chain are facing down. Find the first marked bump near one end.
Threading the First Back Loop
Starting with Needle
Thread your needle with both tails of the contrasting yarn. Leave a few inches of slack before the marker so you have room to tie later. Slide your needle under one strand of the very first back loop and pull the yarn through.
Securing Without Twists
Keep the whole chain flat as you work, no twists. Twists won’t ruin it, but keeping it flat makes a tidier gather.
Working Along the Chain
Bringing Next Marker Over
Bring the next marker along the chain toward your needle. Remove the marker, then catch a single strand of that next back loop with your needle and pull the yarn through.
Repeating for All Sections
Continue this rhythm. Move the next marker, catch a back loop, remove the marker, pull through. Work all the way down the chain, feeding each marked back loop onto the contrasting yarn. Pause to work steadily, and keep everything flat as you go.
Last Chain Handling
At the very end, catch one strand of the last back loop. You’ll notice the contrasting yarn runs straight down the center like a spine. That’s perfect, it helps when you gather.
Gathering and Cinching the Loops
Pushing Loops Together
Slide and push all your chained loops together along the contrasting yarn. You’re compressing the length into a thick, ruffled ring. Use both hands and squeeze, it will bunch up.
Tying the First Knot
Tie the two contrasting yarn tails with a double knot, like the first tie on hockey skates. Pull it tight, really tight. If you used acrylic, it can handle a strong pull.
Adjusting and Second Knot
Open the gathered ring a little to see the center. Pull again from the middle to tighten the gather. Tie another knot using the pumpkin tails, tying everything together right near the center so it stays compact. The tighter it is, the plumper the pumpkin.

Cutting and Preparing for Stem
Trimming Excess Yarn
Trim the extra tails to about a half inch. These ends sit under the stem and cap later, so this spot hides the stem later and all those tails with it.
Why This Covers All Ends
You don’t have to sew in ends around the pumpkin. The stem and cap will cover the center and lock everything in place. It keeps the project tidy, fast, and beginner-friendly.
Making the Stem With Green Yarn
Tripling the Green Yarn
Triple your green yarn the same way you did the orange. Start from the tail end and leave a small tail for knotting later.
Creating the Slip Knot
Make a slip knot, pop it on your hook, and leave a little tail to weave into the knot at the end.
Chaining for Stem Length
Choosing Chain Count
Chain any number from 6 to 12, depending on the stem length you want. I’m chaining 10 here for a medium stem.
Counting Chains
Count 1 through 10. A neat, even chain gives a clean stem shape.
Slip Stitching the Chain
Identifying Back Loops
Roll the chain so you see the back loops. Start in the second back loop from your hook. Skip the first little loop that sits right under the working yarn.
Working Slip Stitches
Slip stitch down the chain by sliding each back loop onto your hook and pulling through. Work into every back loop, all the way to the last stitch on top of the slip knot at the base. Chain 1 to secure.
Securing and Knotting the Stem
Cut a 5-inch tail, pull the tail through, and tie a hard knot right on the base of the chain. Include the chain in the knot so it cinches into a sturdy stem bottom. Pull very tight. You may lose a few chain stitches to the knot, and that’s fine, the stem will be secure.
Crafting the Stem Cap
Starting with Magic Ring
Tripling Yarn Again
Triple your green yarn again for the cap. Working with triple strands gives a sturdy little lid that covers everything at the top.
Forming the Ring
Lay the tails over your non-dominant hand. Wrap across two fingers to make an X, then around the third finger. Slide your hook under the short strand and over the long strand, pull the long strand under the short, rotate your hook away, and bring up a loop. Pull through to form the adjustable ring.
Half Double Crochets in Ring
Chaining and Stitching
Chain 1. The chain does not count as a stitch. Make 8 half double crochets into the center of the ring, working over all tails. Pull a slightly bigger loop when you chain to prevent tight stitches.
Counting Stitches
Pinch the starting chain out of the way and count the half double crochets, 1 through 8. Leave the ring open for now so the stem can pass through.

Attaching Stem to Cap
Positioning the Stem
Insert the stem up from the back of the ring so the knotted base stays underneath the cap. Keep the pretty sides facing up on top.
Closing the Magic Ring
Pull the magic ring tails to close the ring snugly around the stem. Tie the ring tails to the stem tails with tight knots. After knotting well, trim the tails to about 1/4 inch so they hide neatly under the cap.
Adding Slip Stitches for Cap Edge
Joining Round
Find the first real stitch, not the starting chain. Slip stitch to join and pull it snug to close the gap at the join. Chain 3.
Front Loop Slip Stitches
Work a simple edge around the cap: chain 3, then slip stitch into the front loop only of the next stitch. Repeat, a chain 3 and a front-loop slip stitch, all the way around. This creates a cute, ruffled edge. Work into the front loop only each time for a tidy finish.
When you reach the starting point, slip stitch into that same stitch where you began, chain 1 to secure, and cut a long tail, about 12 inches. Pull through and snug down.

Sewing Stem and Cap to Pumpkin
Preparing the Tail
Thread the long tail onto your needle. You can start with all three strands if you kept them together, then switch to one strand later if you prefer lighter sewing.
Placing Cap on Knot
Set the cap right on top of the gathered pumpkin center where all the knots and tails are. The cap hides everything and gives the pumpkin a clean top.
Stitching Around
Skipping Stitches
Sew through the pumpkin body under a few strands at a time, then bring the needle up through every other slip stitch around the edge of the cap. Skipping every other slip stitch helps you work around quickly while keeping the cap flat. Avoid catching any of the big outer loops of the pumpkin.
Securing with Multiple Strands
Work methodically around the cap. Take bites into as many pumpkin “petals” as you can. Use up the tail by weaving under the cap when you reach the starting point.
Finishing the Attachment
Weave the tail back and forth under the cap, choosing different paths so the yarn locks in place. If you still have a long strand, sew a few stitches in the opposite direction. When it feels secure, bring the needle out somewhere discreet and trim the tail. The cap should sit snug and the stem should stand up.

Shaping Your Finished Pumpkin
Molding Techniques
Set the pumpkin down and shape it with your hands. You can make different looks with simple pressure.
- Tall and skinny: hold the top and bottom, squeeze the sides inward
- Short and fat: press the top down while rounding the sides
- If it seems fluffy, squeeze and rotate it a few times until it settles
It will hold its shape well because of the triple-strand construction. If you make a few pumpkins, vary the chain count segments or stem length to get different sizes and styles.
Final Touches
That’s it. No extra stuffing or shaping needed. Enjoy your squishy new pumpkin on your table, bookshelf, or anywhere that needs a cozy pop of color. They make great gifts too.
Tips for Success and Troubleshooting
Common Beginner Mistakes
Triple strands can tangle if you pull too little slack. Pull long loops at the end of each chain section to keep yarn flowing. Check for twists as you thread the back loops with the contrasting yarn so the gather is clean and flat. If you do get a twist, it will still look cute, so don’t stress.
Yarn and Hook Alternatives
Acrylic yarn grips well, takes strong knots, and keeps its bounce, so it’s ideal here. An 8 mm hook works nicely with triple strands. If you crochet tightly, go up a size to keep the chains soft.
Where to Find More Help
If you like written support alongside videos, I write patterns in plain English, step by step. For other pumpkin ideas and variations, browse these easy beginner crochet pumpkins. You’ll find fun fall makes that pair well with this no-stuff cutie.

Wrapping Up Your Crochet Adventure
You made a plush, no-stuff pumpkin with nothing but yarn, a hook, and a few smart tricks. It works for any cozy corner, and it looks great in a group. Swap colors, play with stem length, and make a whole patch.
If this sparked ideas, try a set in different sizes for your mantel. Share yours with friends, or make a table centerpiece everyone will remember. No stuffing needed, just easy crochet and a little shaping at the end. Happy hooking, and stay hooked!
Left Handed?
FAQs
Great call, Christa. Here are 10 FAQs, numbered with bold questions and plain answers below each.
- Do I really not need fiberfill? Yes. The triple-strand chains gather into a dense, squishy shape that holds on its own.
- What yarn weight works best? Worsted (medium/4) is ideal. Acrylic grips and bounces back. Cotton works too, just a bit firmer.
- What hook size should I use? Start with 8 mm for triple-strand worsted. If you crochet tight, try 9 mm. If chains look loose, go down to 7 mm.
- Can I use bulky yarn instead of tripling? Yes. Use one strand of bulky or super bulky and size your hook so chains stay soft. You may need fewer chain segments.
- How long should each chain segment be? Chain 15 per segment as written. For larger pumpkins, increase to 18–20 or add more segments. For minis, use 10–12.
- I ran out of stitch markers. What can I use? Use 2-inch scraps of contrasting yarn. Lay a scrap under your hook where you want a marker, make the next chain, and it locks in place.
- My strands keep tangling while tripling. How do I fix it? Pull a long slack loop at the end of each segment and lay the yarn in big-to-small circles beside you so it feeds smoothly.
- My gather looks twisted. Is that a problem? Not really. It still looks cute. To tidy it, keep the chain flat while threading the back loops and check every few sections for flips.
- How do I make the stem stand up better? Tighten slip stitches, or shorten the stem by 1–2 chains. A tiny dab of fabric glue at the base can add stiffness.
- Can I sell pumpkins made from this pattern? Yes, you can sell finished items you make by hand. Please credit the tutorial and link to the video in your listing.
![]()
Christa Patel is the maker and teacher behind Secret Yarnery, where she shares friendly, step-by-step crochet tutorials that anyone can follow. She loves simple methods that look polished, with smart shortcuts that save time and hide ends. When she’s not filming stitch-by-stitch videos, Christa is writing plain-English patterns, testing hooks and yarns, and dreaming up quick projects that beginners can finish in a weekend.
Her favorite makes include no-stuff pumpkins, cozy blankets, and easy wearables that fit well without complex shaping. Christa’s mission is to help you feel confident with a hook in hand, one clear step at a time. Find more tutorials, printable patterns, and yarn picks at secretyarnery.com.
About the Author
With a passion for crafting easy, beginner-friendly tutorials and patterns, Christa inspires crafters of all skill levels to unleash their creativity worldwide. She encourages yarn lovers to connect, create, and crochet a world filled with beautiful handmade treasures!
Crochet a Simple No-Stuff Pumpkin! Beginner, No Fiberfill!