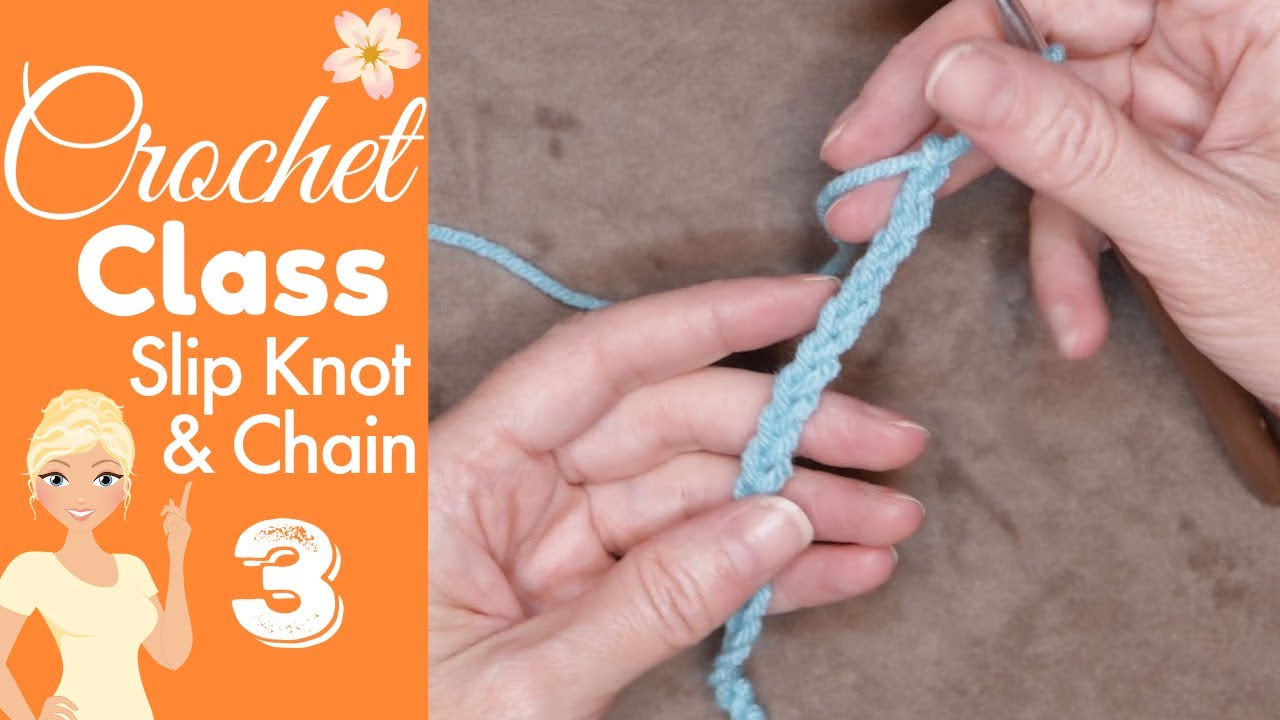
Crochet Class 3: Slip Knots and Chaining Made Easy!
Hi, I'm Christa from Secret Yarnery, and I’m so glad you’re here! If you’re just getting started with crochet or looking for a refresher on the basics, welcome to Crochet Class 3—where we dive into the first magical steps of turning yarn into beautiful, handmade projects. Whether you're picking up a hook for the very first time or coming back after a break, this class is all about making those first stitches feel easy, fun, and totally doable. In this lesson, we’re learning how to make a slip knot and start chaining—the foundation of nearly every crochet project. So grab your yarn, your favorite hook, and let’s hook along together!
What You’ll Need
To follow along with this class, you’ll need just a few simple things:
-
Yarn (I'm using a four-weight worsted acrylic)
-
Crochet hook (I prefer a 6mm, but a 5mm or 5.5mm will also work perfectly)
-
Comfortable place to sit and relax
Pro tip: Try to use a center-pull skein. It helps keep your stitches even and your yarn flowing smoothly. If you’re not sure how to find the center pull, don’t worry—I cover tips like this in my YouTube tutorials all the time!
Step 1: Making a Slip Knot
The slip knot is the first stitch on your hook and the beginning of everything in crochet. I know it might feel a bit fiddly at first, but once you’ve got the hang of it, it’s as natural as turning on your favorite podcast.
Here’s how I do it:
-
Leave about 5 or 6 inches of tail (we’ll sew this in later).
-
Lay that tail over your non-dominant hand and hold it down with your thumb.
-
Wrap the yarn around two fingers to make an “X”.
-
Flip your hand over and poke the working yarn (that’s the yarn coming from your ball) under that “X” between your fingers.
-
Pull it up and gently slide that loop onto your crochet hook.
And just like that—you’ve got a slip knot! 🎉
Want to see it in action? Head over to this beginner-friendly video tutorial where I walk you through it step by step. I also show how to remove the slip knot, so no pressure—it’s all part of the process!

Step 2: Starting Your Chain
-
Hold the yarn however feels comfortable for you. (I hold mine in what I call a “crazy” way—hey, it works!)
-
With your hook in the loop, push your hook down onto your working yarn.
-
Bring the hook up to about 11:30 (or 12 o’clock).
-
Rotate the hook so the toothy bit is facing your body.
-
Slide that hook back through the loop on your hook.
-
Gently let the new loop settle on the fatter part of your hook—this helps keep your stitches even and the right size.
Helpful Hints While You Chain
-
Move your fingers up every couple of chains to hold your work closer to the hook.
-
Make sure your chain loops are resting on the shaft of your hook, not the skinny neck. That’s how you get even stitches.
-
Don’t pull tight! This isn’t a tug-of-war—it’s a dance with yarn. 💃🧶
If you need a visual boost, check out the slow-motion section in my video tutorial on YouTube. I slow things down so you can follow each motion clearly and confidently.

How Long Should Your Chain Be?
For today’s class, just practice chaining until you have about 10 inches of stitches. They should all face the same direction and look about the same size. This is your crochet foundation—getting comfortable here sets you up for success.
Want to get a head start on the next class? Go ahead and make a chain that’s about 36 inches (90 cm) long. This will prep you perfectly for what’s coming next in our crochet adventure!
What If You Make a Mistake?
No stress. Seriously. If your chain looks a little wonky or you feel like you “messed up,” just frog it—that’s crochet-speak for pulling your work out—and start again. No yarn wasted. No pressure.
Crochet is forgiving, and learning is part of the fun.
What’s Next?
This was just the beginning! If you loved learning the slip knot and chaining, you’ll absolutely enjoy what comes next. In Class 4, we start working into the chain and really see our stitches take shape.
And if you haven’t yet, make sure to subscribe to my YouTube channel so you never miss a class. I release new videos regularly—everything from complete beginner tutorials to fun stitch-alongs, seasonal projects, and community challenges.
You can also visit Secret Yarnery for instant PDF pattern downloads, left- and right-handed tutorials, and loads of free crochet inspiration.

Final Thoughts
So keep practicing that chain, stay relaxed, and remember—it’s not about being perfect, it’s about enjoying the process. 💛Thanks for hooking along with me today in our crochet class for beginners. You’re doing amazing, and I can’t wait to see what you create next.Until then—stay hooked!
🧶 Follow Along:
-
📺 Subscribe on YouTube for free video classes
-
💻 Visit SecretYarnery.com for patterns, tutorials, and crochet goodies
-
✉️ Join the newsletter for exclusive updates, yarny inspiration, and behind-the-scenes fun!
FAQs
Q: What if my magic ring keeps loosening?
A: Check that you’re pulling the yarn tail, not the working yarn. Weave in the end securely to lock the ring in place.
Q: Do I need special yarn or hooks for the magic ring?
A: No, any yarn and compatible hook will work. Thinner yarns make smaller rings, while bulky yarns create larger, softer rings.
Q: Can I use the magic ring for patterns that call for a chain circle?
A: Yes. In most cases, you can swap in the magic ring for any pattern that starts in the round with a closed center.
Q: Should I always crochet over the yarn tail?
A: Yes, this helps secure the magic ring and saves time weaving in later.
Q: My ring still has a tiny hole—what can I do?
A: Gently wiggle and tighten the tail again after all stitches are made, then weave the end firmly.
Q: What if my project unravels later?
A: Always weave the tail back and forth three or more times. If it unravels, redo the weaving using a needle for extra security.
Q: How can I make my magic ring less bulky?
A: Use thinner yarn, a smaller hook, and avoid extra wraps when forming the ring.
Q: What projects benefit most from using the magic ring?
A: Amigurumi, granny squares, hats, coasters, and any round or spiral crochet projects.
Christa Patel is the creative mind behind the Secret Yarnery, a trusted resource for crochet enthusiasts worldwide. With years of experience, Christa specializes in designing beginner-friendly yet stunning crochet patterns that inspire creativity and confidence in crafters of all skill levels.
As a passionate crocheter, Christa is known for her clear and approachable teaching style, breaking down complex patterns into simple, easy-to-follow steps. Through her engaging video tutorials, written patterns, and helpful tips, she has cultivated a community where crocheters can connect, learn, and share their work.
Christa’s dedication to making crochet fun and accessible shines in every project she creates, from colorful blankets to intricate borders. Whether you’re a seasoned expert or just picking up a hook for the first time, Christa's guidance will help you craft something beautiful.
For more crochet patterns, tips, and inspiration, visit her website at The Secret Yarnery, or check out her YouTube channel filled with step-by-step tutorials.
About the Author
With a passion for crafting easy, beginner-friendly tutorials and patterns, Christa inspires crafters of all skill levels to unleash their creativity worldwide. She encourages yarn lovers to connect, create, and crochet a world filled with beautiful handmade treasures!
Crochet Class 3: Slip Knots and Chaining Made Easy!