Crochet Snowballs 2025: Easy Indoor Fun; Festive Winter Decor Ideas!
Who says snowball fights are just for winter? With crochet snowballs, you can bring the snowy fun indoors anytime! These soft, squishy snowballs are perfect for safe, mess-free fun. Whether you’re crafting for a playful afternoon or unique DIY holiday décor, this project is easy, quick, and oh-so-enjoyable. Let’s dive in and I’ll walk you through making your own crochet snowballs!
Table of contents
Why Crochet Snowballs?
Have you ever wanted an indoor snowball fight without the mess or cold? Crochet snowballs are the answer! Their soft texture makes them safe to toss around indoors—no broken vases or injured lamps. Plus, they double as charming winter décor. Place a basket full of white, fluffy crochet snowballs by the fireplace, and you’ll add a cozy, festive touch to any space.
And here’s the best part: you only need yarn and a crochet hook. No fancy stuffing materials or extra supplies are required. This project is perfect for using up leftover yarn from other creations, making it both budget-friendly and beginner-friendly.
Looking for added inspiration? Check out unique ways to use crochet for holiday décor in DIY Crochet Christmas Decorations.

Materials You'll Need
Before we start, let’s talk materials. For crochet snowballs, you only need:
- Yarn: Any regular 4-weight worsted acrylic or 10-ply yarn works great.
- Crochet Hooks: A 6 mm hook is ideal, but feel free to adjust based on your preference. Smaller hooks create firmer snowballs, while larger ones make fluffier and softer snowballs.
- Scissors: For cutting the yarn.
- Needle: To weave in tails and secure layers.
If you’re following along with the written pattern, you can find it on my website here for step-by-step instructions in plain English.
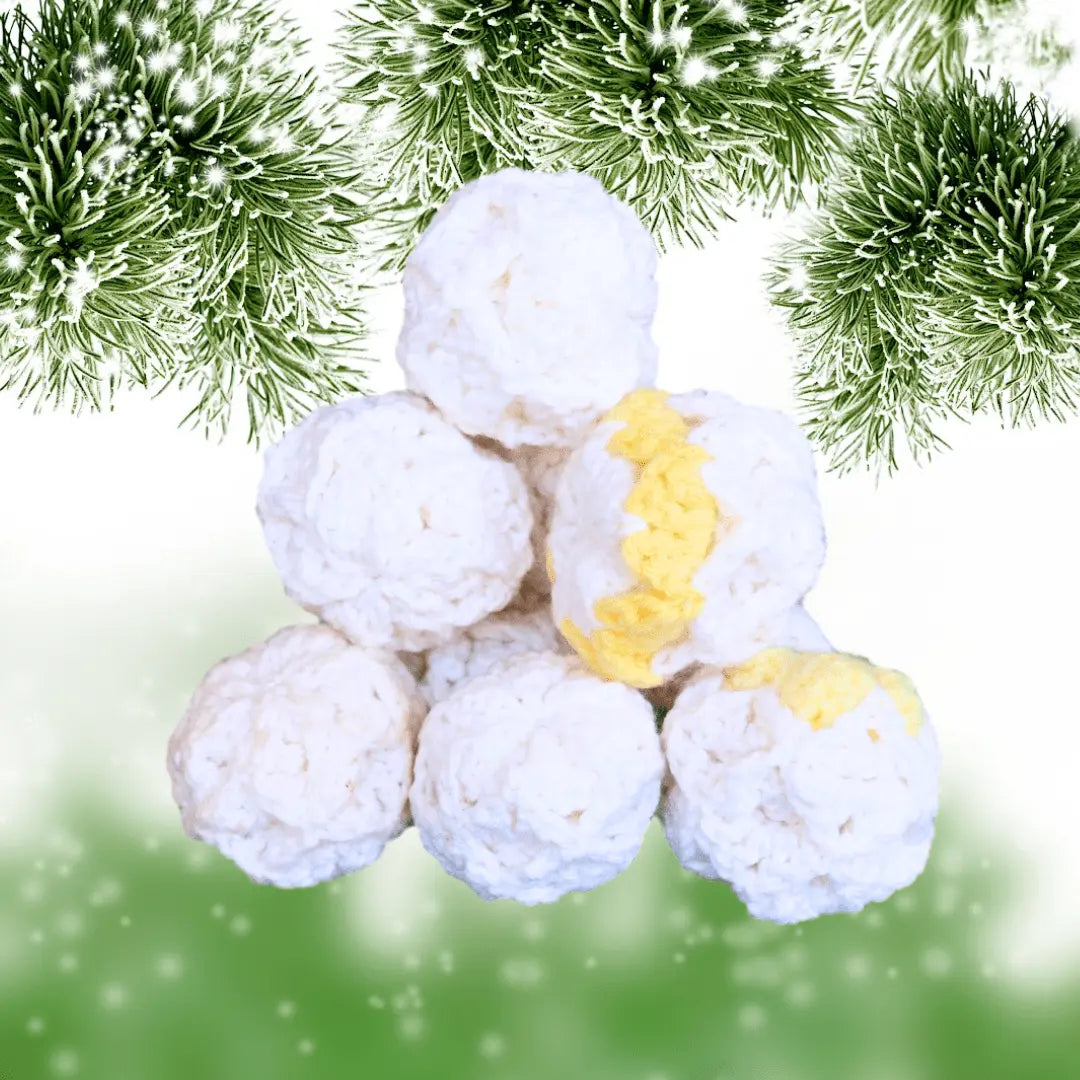
Optional Touches
Want to get creative? Add a splash of color between layers or even a cheeky yellow layer for laughs. These snowballs are entirely customizable, making them a fun project to personalize.

How to Crochet Snowballs: Step-by-Step Instructions
The process of making crochet snowballs involves layering, starting from the bottom layer (aka the “bun”) and building upwards. Each layer adds a bit of dimension and brings your snowball to life. Let’s break it into easy-to-follow steps:
Create Your Bottom Base (the "Bun")
- Start with a long yarn tail (about 5 inches).
- Chain three and slip stitch the ends to form a ring.
- Crochet a series of rounds using double crochets and chain stitches to expand the base.
- Secure the layer with slip stitches.
This section forms the foundation of the snowball and serves as the base for each additional layer.
Adding the Middle Layers
Each middle layer is crafted with chain stitches and loops to build the snowball’s body.
- Chain 12 and slip stitch to form a ring.
- Build each layer using double crochets and chain one stitches.
- Attach layers intermittently, securing them as you go.
Repeat these steps for multiple layers to create the “filling” of the snowball. The center layers will be slightly smaller than the base and top, giving the snowball its rounded shape.
For additional ideas for beginner-friendly projects, explore Easy Crochet Projects for Beginners.

The Top Layer (or Top "Bun")
The top layer mirrors the base, with a few slight modifications. It needs to fit snugly over the middle layers, so keep stitches consistent and evenly spaced.
- Chain three, and double crochet to shape the final covering layer.
- Secure the edges to the middle layer for a polished look.
Finishing the Snowball
Once all layers are ready:
- Thread a needle with the remaining yarn tail.
- Cinch the base and top layers to close the snowball.
- Secure the stitches tightly to keep the structure intact.
You’re done! Massage the snowball into a perfect round shape if needed, and trim any excess yarn for a neat finish.
Creative Uses for Crochet Snowballs
These crochet snowballs are more than just fun toys—they’re versatile! Here are a few ideas to try:
- Indoor Snowball Fights: Gather friends or family for harmless fun that’s safe for all ages.
- Holiday Décor: Fill a decorative bowl or basket with crochet snowballs for a festive winter display.
- Gifts: Bundle a few snowballs in a pretty bag for a unique homemade gift.
If you’re looking for more crochet inspiration, explore make your own indoor crochet snowballs for easy patterns and ideas.
Why You'll Love Crochet Snowballs
Crochet snowballs are a joy to make and use. They’re soft, safe, and endlessly customizable. Whether for play or decoration, these snowballs bring a touch of handmade charm into your home. Plus, they’re a wonderful way to learn or practice new crochet techniques without the pressure of a larger project.

Ready to Start Crocheting?
So, how many crochet snowballs will you make? Whether it’s one or a whole flurry, you’ll have fun crafting these winter wonders. Gather your materials, watch the tutorial above, and follow along at your own pace.
Stay creative and keep exploring new projects to add warmth and joy to your crochet journey. Don’t forget to subscribe to my YouTube channel for even more tips, patterns, and tutorials!

FAQs
1. What type of yarn is best for crochet snowballs?
Any 4-weight worsted acrylic yarn or 10-ply yarn works great. Acrylic yarn is durable, soft, and holds its shape well. You can use other types, but avoid extra stretchy or silky yarns as they might not provide the best structure.
2. Can I use leftover yarn from other projects?
Yes! Crochet snowballs are perfect for using up scrap yarn. Mixing yarn colors or textures can create fun and unique snowballs.
3. How many snowballs can I make with one skein of yarn?
One skein (typically around 200-220 yards) can make approximately 6–10 crochet snowballs, depending on their size.
4. Do I need any stuffing materials inside the snowball?
No stuffing is required! The layers of crochet stitches give the snowballs their form. If you want them firmer, you can lightly stuff them with leftover yarn or polyfill, but it’s optional.
5. Can I customize the snowballs with color or decorations?
Absolutely! You can add colorful stripes, create themed snowballs, or even attach small embellishments like beads or felt accents for added fun.
6. What size crochet hook should I use?
A 6 mm hook is recommended, but you can adjust based on your preference. Smaller hooks will give a tighter, firmer snowball, while larger hooks create a softer, fluffier one.
7. How long does it take to make one crochet snowball?
Once you’re familiar with the pattern, a single snowball can take about 20–30 minutes to complete, making it a quick and enjoyable project.
![]()
Christa Patel is a passionate crochet designer and lifelong fiber arts enthusiast. With years of experience, she specializes in creating fun, beginner-friendly crochet patterns that inspire creativity and joy. Christa is known for her approachable teaching style and love for sharing easy, practical projects like the crochet snowballs featured here.
When she’s not crocheting, Christa enjoys exploring new craft ideas, connecting with fellow creators, and curating seasonal décor tips for her growing online community. Through her blog and YouTube channel, she nurtures a space where everyone—from beginners to advanced crafters—can find inspiration and learn at their own pace.
To discover more of Christa’s creations and tutorials, visit her website or subscribe to her YouTube channel for regular updates, patterns, and ideas.
About the Author
With a passion for crafting easy, beginner-friendly tutorials and patterns, Christa inspires crafters of all skill levels to unleash their creativity worldwide. She encourages yarn lovers to connect, create, and crochet a world filled with beautiful handmade treasures!
Crochet Snowballs 2025: Easy Indoor Fun; Festive Winter Decor Ideas!