

How to Measure Yourself for Crochet Garments at Home
A crochet sweater can look perfect in the pattern photos and still feel wrong when you put it on. The body may feel too snug, the sleeves may pinch, or the hem may land awkwardly.
The right measurements should reflect your real body proportions, preferred fit, and whether you plan to layer clothing underneath. Learning how to measure yourself for crochet garments gives you a practical starting point.

With a measuring tape, light clothing, and a few written notes, you can choose a pattern size and plan a comfortable fit for the garment. Your body measurements are practical information for choosing a size and planning fit.
They reflect your body proportions, not a scorecard or judgment. Use your numbers to make clothes you want to wear.
Key Takeaways
- Use a flexible tape measure and record each measurement twice while standing naturally.
- Measure your bust or chest, natural waist, hips, shoulders, upper arm, and desired length when needed.
- Compare your measurements with the pattern’s finished bust and schematic, not the size label alone.
- Add ease for movement, layering, and your preferred style.
- Check gauge and try on the project during construction, before final seams and edging.
How to Measure Yourself for Crochet Garments at Home
To measure yourself accurately, gather a flexible measuring tape, a mirror, and paper or a notes app. If you don't have one, use non-stretch yarn or string, mark the overlap, then measure that length against a ruler.
Wear the undergarments or thin clothing you expect to wear beneath the finished item. A bulky sweatshirt adds inches that don't belong in your plan. Stand upright, let your arms rest, and breathe normally.
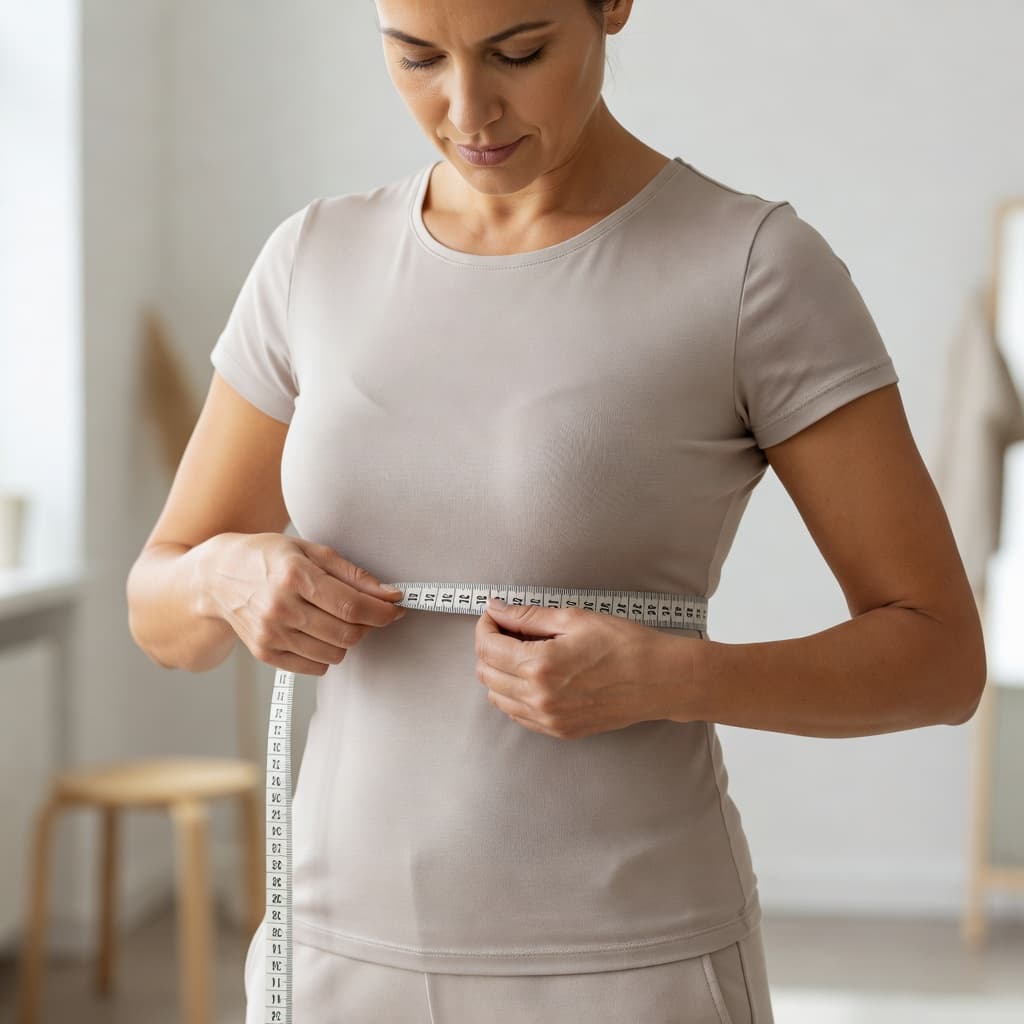
Keep the measuring tape level with the floor. It should touch your body without digging in. Take each set of body measurements twice, then record the results in inches or centimeters. Keep the same unit throughout the project.
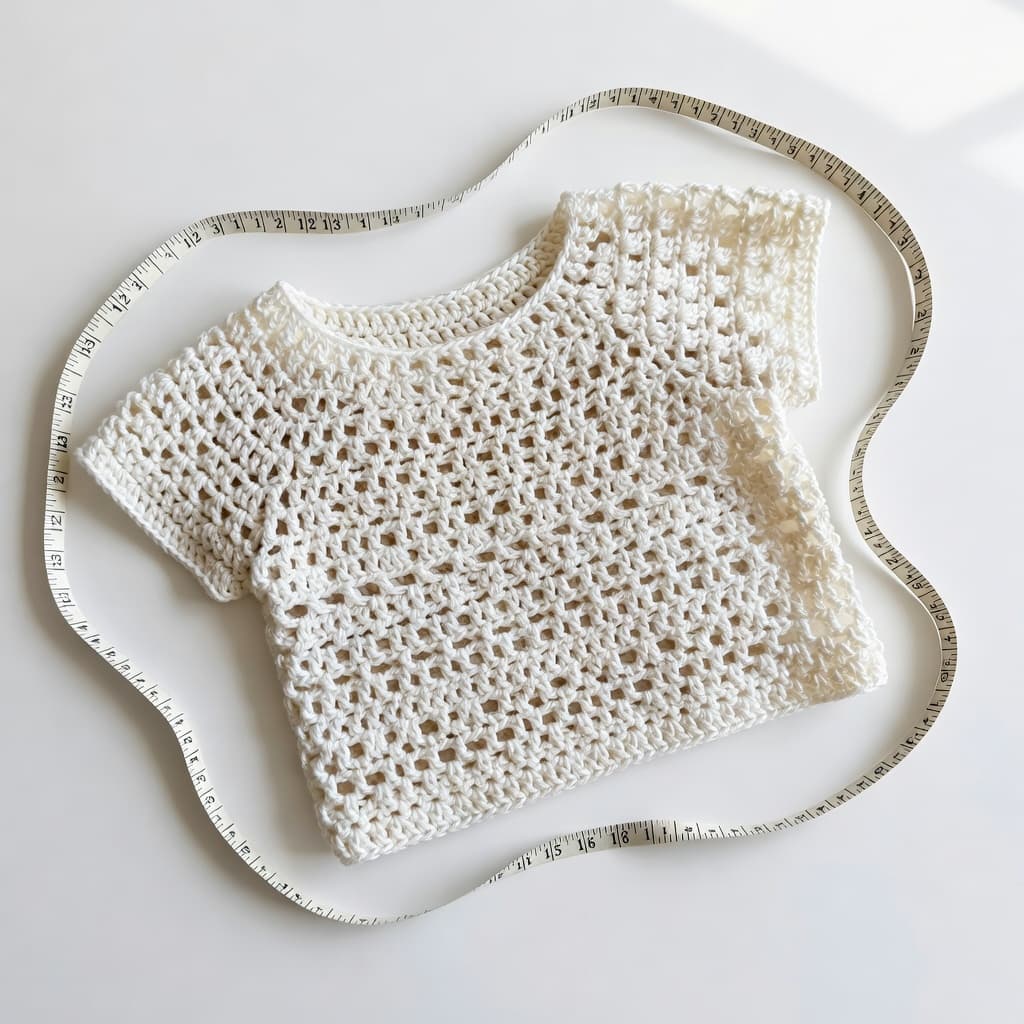
A mirror helps you see whether the tape slopes across your back. Shoulder width and back length may be easier with another person’s help. Ask someone to assist with a center-back neck-to-wrist measurement, too.
The Craft Yarn Council body-sizing guide is a useful reference for standard measurement placement. Craft Yarn Council terminology can help you locate common points, but it doesn't override your current measurements.
Measure Your Bust or Chest, Natural Waist, and Fullest Hip Area
Measure the fullest part of your bust or chest, and record the full bust measurement. Keep the tape straight across your shoulder blades instead of letting it rise in back. Don't hold your breath or pull your stomach in.
An upper bust is the circumference around your upper chest, above the fullest part of your bust. It can support fit or size comparisons, but it complements rather than replaces the full bust measurement.
Find your natural waistline by bending gently to one side. The crease usually marks your natural waistline. Wrap the tape around that point to measure your waist circumference without tightening it.
For your hip circumference, stand with your feet together and measure around the fullest part of your hips and seat. This number matters most for tunics, longer sweaters, dresses, and fitted cardigans.
These three measurements guide size selection. The upper bust can also help compare proportions between listed sizes. Your notes remain useful when adjusting a made-to-measure project and checking body measurements again later.
Record Upper-Body Measurements for Sleeves and Shoulders
Bust size alone can't predict sleeve comfort. Measure shoulder width across your back, from one shoulder point to the other. Then measure your upper arm circumference at its widest point, usually near the bicep.
For armhole depth, measure from the top of your shoulder down to the underarm. Measure your arm length from the shoulder point, or from the armhole edge for a dropped shoulder. Continue to the cuff location you want, since it may differ from the sleeve length listed in a pattern.
Write down where each measurement began and ended. If you remeasure next month, those notes keep your numbers consistent. They also help when using a made-to-measure crochet sweater tutorial and changing sleeve or body length as you work.
Choose the Right Crochet Garment Size by Adding Ease
Your bust measurement and finished garment dimensions are different numbers. Calculate the desired finished bust by adding your selected ease to your bust measurement. Positive ease means extra room between your body and the garment. Negative ease means the finished measurement is smaller and depends on fabric stretch.
For a closer-fitting top, about 2 inches or 5 cm of positive ease at the bust often feels comfortable. A relaxed fit sweater may use about 4 inches or 10 cm. The designer's instructions come first because fiber, gauge, stitch texture, and garment construction affect the final feel.
| Desired fit | Example bust measurement | Finished bust measurement |
|---|---|---|
| Closer fit | 40 inches | About 42 inches |
| Relaxed fit | 40 inches | About 44 inches |
A size chart can be misleading between brands and designers. Use it as a starting point, then compare your garment measurements with the pattern schematic. If the design has a yoke or fitted upper section, consider your upper bust when selecting a size, while checking the full-bust width separately.
Match Measurements to the Pattern Schematic and Gauge
A schematic is the map of a finished garment. It may list body width, total length, armhole depth, sleeve width, and neckline measurements. Compare these details with your notes before you begin.
A gauge swatch should be checked for both stitch gauge and row gauge. Too many stitches per inch make the garment narrower. Too few stitches per inch make it wider. Row gauge also changes length, so check both counts before altering the pattern.
When a pattern uses repeats, you may be able to add or remove a full repeat for extra width. Check the stitch pattern first, and follow the pattern instructions for stitch multiples. Randomly adding stitches can disrupt the stitch pattern, side shaping, necklines, or motif placement.
A swatch can match stitch gauge and still miss row gauge. Check both before using rows to set body or sleeve length.

Plan the Fit for Different Crochet Garment Styles
Tops and sweaters usually need bust, shoulder, upper-arm, and body-length measurements. Cardigans need room for a shirt or light sweater underneath, especially at the upper arm and across the back. For top down garments, you can often try on the piece and adjust it progressively.
Tunics and dresses need careful hip circumference and full-length measurements. If the fabric has little stretch, allow enough hip room for walking and sitting. For a loose, wearable layer, a customizable fit crochet cardigan pattern gives you room to adjust width, length, and sleeves as you go.
Shawls and wraps depend more on finished dimensions than body circumference. Measure a favorite wrap if you want a familiar length and depth. Hats and snug cowls need head circumference, plus enough stretch for easy wear.

Avoid Common Measuring Mistakes That Cause Poor Fit
Most fit problems begin before the first chain. Measuring over thick clothes adds bulk. Pulling the measuring tape tight gives you a number the garment cannot comfortably match. A tape that slopes upward across your back also changes the result.
Avoid guessing at the waist or measuring a high hip when the pattern ends at the full hip. Write the exact number down instead of rounding heavily. One inch can matter in a close-fitting sleeve or narrow neckline.
Use a size chart as a guide, not a verdict. Read the pattern's sizing information alongside its schematic and your own numbers. Crochet fabrics can vary more than many woven fabrics. For standard placement, the Craft Yarn Council offers helpful measurement guidance. Hobbii's body-measuring tips also stress a relaxed posture and a flat tape around the fullest part of the bust or chest.
Use a Measurement Check Before You Start Crocheting
Before you chain, take five minutes to review your recorded body measurements:
- Confirm you measured in the clothing you expect to wear under the garment.
- Repeat the bust measurement, waist circumference, hip, and upper arm circumference. If the garment has a fitted yoke or upper section, check the upper bust too.
- Compare your bust measurement plus the ease you want with the schematic's finished bust.
- Read the pattern's sizing information alongside its schematic and construction notes.
- Check your gauge swatch after washing and drying it, when your yarn label recommends this step.
Try on the project at natural stopping points. Check body width before adding a long hem. Test sleeve room before completing cuffs. For seamed garments, pin or clip pieces together before committing to the final seam.
Make Adjustments for Comfort, Shape, and Personal Style
Home measurements give crochet garments a reliable base, but personal preferences decide how the finished piece feels. You may want a longer hem, a looser sleeve, more hip room, or a higher neckline on a crochet sweater. Add those choices to your notes before beginning.
Fiber also matters. Cotton can feel firm and may relax with wear. Wool and acrylic blends often have more bounce. Open stitches can grow longer after washing, while dense fabric holds its shape more firmly.
Make small, measured changes instead of guessing. Add two rows, try it on, and check the length again. Add a repeat only after confirming how the stitch pattern changes its width and drape.

Check the Garment as You Work
Compare the growing garment with the schematic after the main body is complete. Check the intended finished bust before completing the hem or joining sleeves. Hold it against your torso while wearing the same light clothing used for your measurements.
Check again before joining sleeves and finishing the neckline. A small correction is easier before the final rows, seams, or edging lock everything in place.
A Better Fit Starts With Clear Notes
Accurate measurements, appropriate ease, a checked gauge, and the pattern schematic work together. Each one catches a different problem before it becomes a finished garment you avoid wearing.
Save your body measurements with the date and update them when needed. Record them consistently, compare finished dimensions, check gauge, and try on the work as you go. This process makes adjustments easier, more predictable, and more personal.
Frequently Asked Questions
Should I measure over clothes or directly on my body?
Measure over undergarments or a thin, fitted layer. Use the same clothing you plan to wear under the finished piece. Thick layers add bulk and may lead you to choose too much width.
What if my bust, waist, and hip fall into different pattern sizes?
Choose the size that fits the most important area for that design. Compare the size chart with the schematic before deciding. For a pullover, the bust measurement often controls the choice. For a fitted yoke or upper section, check your upper bust as well. A tunic that ends at the hip may need more room through that area.
How often should I update my crochet measurements?
Update them before starting a project if several months have passed since your last check. Recheck sooner if your body has changed or you want a different fit from your previous project.
Can I use a favorite sweater instead of body measurements?
A favorite sweater helps you compare finished width, sleeve length, and body length. Measure it flat, then double the width measurements when appropriate. Remember that finished bust is not the same as your body circumference. Stretch and fabric thickness can make a snug fit look roomier.
Do I need a gauge swatch for a made-to-measure pattern?
Yes, especially when the pattern relies on stitch counts, repeats, or yarn substitutions. Made-to-measure instructions offer flexibility, but gauge still affects drape, width, and yarn requirements.

I'm Christa Patel maker and voice behind Secret Yarnery, known for clear, beginner-friendly crochet tutorials and bold, colorful designs. I know how disappointing it feels to finish a crochet sweater only to find that the sleeves are too tight or the body does not sit where you wanted. That is why I encourage crocheters to measure carefully, check gauge, and make small fit adjustments throughout the project.
About the Author

With a passion for crafting easy, beginner-friendly tutorials and patterns, Christa inspires crafters of all skill levels to unleash their creativity worldwide. She encourages yarn lovers to connect, create, and crochet a world filled with beautiful handmade treasures!
How to Measure Yourself for Crochet Garments: 2026 Guide


