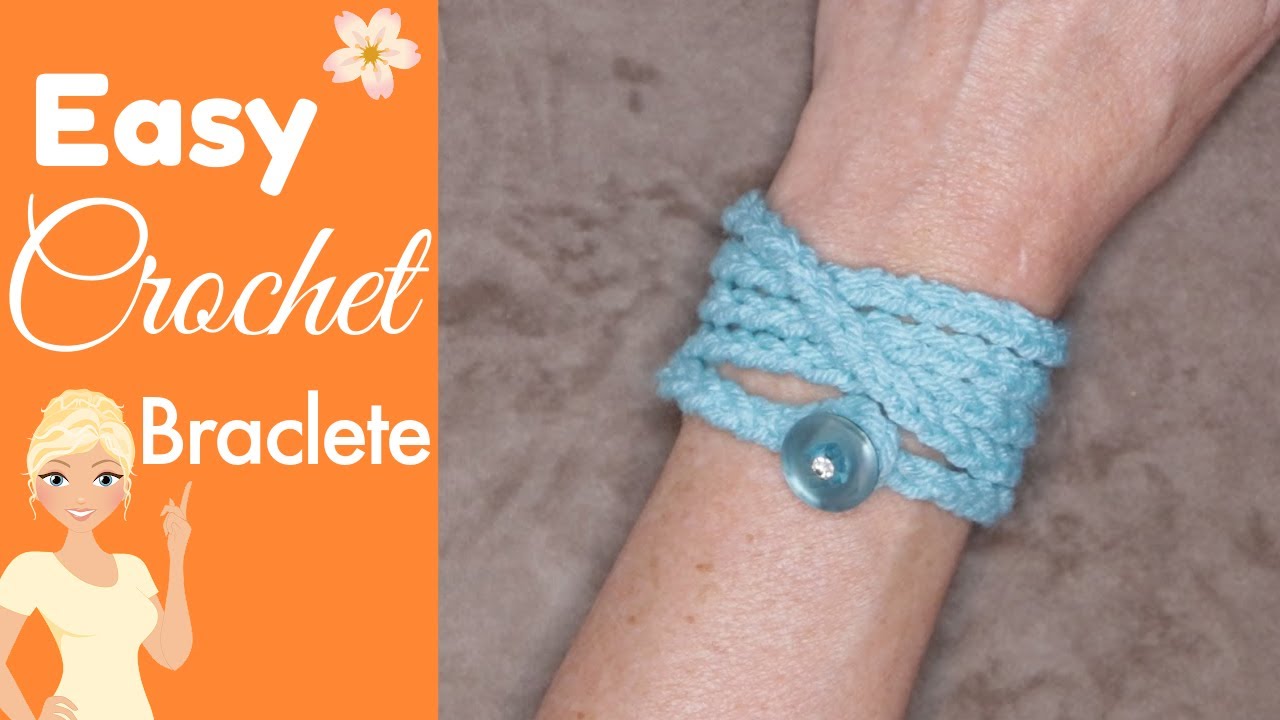
The Perfect First Project: How to Crochet an Easy Bracelet for Beginners
There's something magical about creating wearable art with just yarn and a hook. This simple crochet bracelet is the ideal first project. It teaches fundamental skills while producing a tangible result you can show off immediately.
Gathering Your Supplies
You won't need much to get started. Here's what should be in your crochet toolkit:
- Yarn: A 4-weight worsted acrylic yarn works perfectly. I like using one with a bit of stretch that won't easily fray.
- Hook: A 6mm hook gives nice, even stitches for this project.
- Scissors: Sharp fabric scissors make clean cuts.
- Button: Any button from your sewing box will do. A shank-back button works particularly well.
- Needles: Both sharp-tip and blunt-tip needles have their uses. The sharp tips grip yarn better when weaving in ends.
- Thread: Strong sewing thread to attach your button securely.
Creating the Foundation
Every crochet project begins with a slip knot. Make one however you're comfortable - there's no wrong method here. Slide it onto your hook, leaving a 5-inch tail. This extra length gives you room to weave in ends neatly later.
Hold the working yarn between your fingers with gentle tension. Too tight makes stitching difficult, too loose creates uneven loops. Finding that sweet spot comes with practice.
Mastering the Chain Stitch
The chain stitch is crochet's ABCs. Here's how it works:
- Yarn over - wrap the yarn over your hook.
- Pull through - draw that loop through the one on your hook.
- Repeat - create stitch after stitch, keeping even tension.
Chain until your work measures 36 inches. This length wraps comfortably around most wrists several times. Count stitches occasionally to stay on track - losing count happens to everyone.
Securing Your Work
Once your chain reaches length, finish with a simple knot:
- Cut the yarn about 6 inches from the last stitch.
- Pull the cut end all the way through your final loop.
- Gently tighten to form a secure knot.
This becomes your bracelet's endpoint opposite the button.
Weaving in Ends Like a Pro
Those dangling yarn tails need proper securing. Thread your sharp needle with the long tail at your starting end.
Work the needle carefully through several chain stitches, following the yarn's natural path. Go back the opposite direction for extra security. The goal is invisible ends that won't work loose with wear.
For the knotted end, create a snug button loop. Test different loop sizes with your button - you want a snug but functional fit. Stitch this in place firmly since it'll get regular use.
Attaching Your Button
Choose a button that reflects your style. The attachment process is simple but important:
- Double-thread your sewing needle for strength.
- Knot the thread ends together.
- Stitch through the button's holes several times.
- Secure with multiple small knots against the chain.
This method keeps buttons securely attached through daily wear.
Wearing Your Project
Wrap that beautiful chain around your wrist as many times as you like. Secure it by looping the end around your button. That satisfying click means you've just completed your first wearable crochet project!
Endless Customization Options
Now that you've mastered the basics, try:
- Using variegated yarn for colorful stripes
- Switching to metallic thread for evening wear
- Adding small beads between stitches
- Experimenting with different widths by chaining more or fewer times
Each variation makes the project feel fresh while reinforcing your skills.
This simple bracelet teaches essential techniques that form the foundation for all future crochet projects. The repetitive motion builds muscle memory for tension control and stitch consistency. Most importantly - you now have proof that you can create beautiful things with yarn and a hook.
What colors will your next bracelet be?
FAQs
1. Can I use any type of yarn for this bracelet?
Yes, you can use almost any type of yarn, but four-weight worsted acrylic is easiest for beginners. Thinner yarn creates a delicate bracelet, while thicker yarn makes a chunkier look. Choose what you like best.
2. What size crochet hook should I use?
A 6 mm crochet hook works well with worsted weight yarn. If you use a different yarn, match your hook to the yarn’s label recommendation.
3. How do I make the bracelet fit smaller or larger wrists?
Simply adjust the length of your starting chain. For smaller wrists, make a shorter chain. For larger wrists, add more chains until you get the length you want.
4. How do I keep the chain from twisting?
Lay your chain flat and check for twists before making the button loop. Untwist if needed so the "V" shapes face the same way along the length.
Conclusion
Crocheting a simple bracelet is a great way to start your crochet journey. You only need basic materials and a little patience. This easy project teaches you the core skills needed for bigger, more complex work. With every bracelet, your confidence and technique will grow. Enjoy wearing your creation or make extras to share with friends and family. Remember, the possibilities for color and style are endless—so keep experimenting and have fun!
![]()
Christa Patel is the creative mind behind the Secret Yarnery, a trusted resource for crochet enthusiasts worldwide. With years of experience, Christa specializes in designing beginner-friendly yet stunning crochet patterns that inspire creativity and confidence in crafters of all skill levels.
As a passionate crocheter, Christa is known for her clear and approachable teaching style, breaking down complex patterns into simple, easy-to-follow steps. Through her engaging video tutorials, written patterns, and helpful tips, she has cultivated a community where crocheters can connect, learn, and share their work.
Christa’s dedication to making crochet fun and accessible shines in every project she creates, from colorful blankets to intricate borders. Whether you’re a seasoned expert or just picking up a hook for the first time, Christa's guidance will help you craft something beautiful.
For more crochet patterns, tips, and inspiration, visit her website at The Secret Yarnery, or check out her YouTube channel filled with step-by-step tutorials.
About the Author
With a passion for crafting easy, beginner-friendly tutorials and patterns, Christa inspires crafters of all skill levels to unleash their creativity worldwide. She encourages yarn lovers to connect, create, and crochet a world filled with beautiful handmade treasures!
The Perfect First Project: How to Crochet an Easy Bracelet for Beginners