How To Crochet the Easiest Mickey Mouse Granny Square: Step-by-Step Guide for Beginners
Looking for a fun, recognizable, and easy crochet project? Let me walk you through making a square, not round, granny square inspired by Mickey Mouse! This cheerful pattern is perfect for crocheters of all skill levels and can be customized for different sizes or color schemes.
Whether you’re making a blanket for a Disney-loving friend, decorating a nursery, or just want to learn some new crochet techniques, this pattern delivers both style and simplicity. Ready to get started? I’ll show you everything you need, from essential materials to handy tips for a neat finish, and how to troubleshoot common hiccups along the way.
Introducing the Mickey Mouse Granny Square Pattern
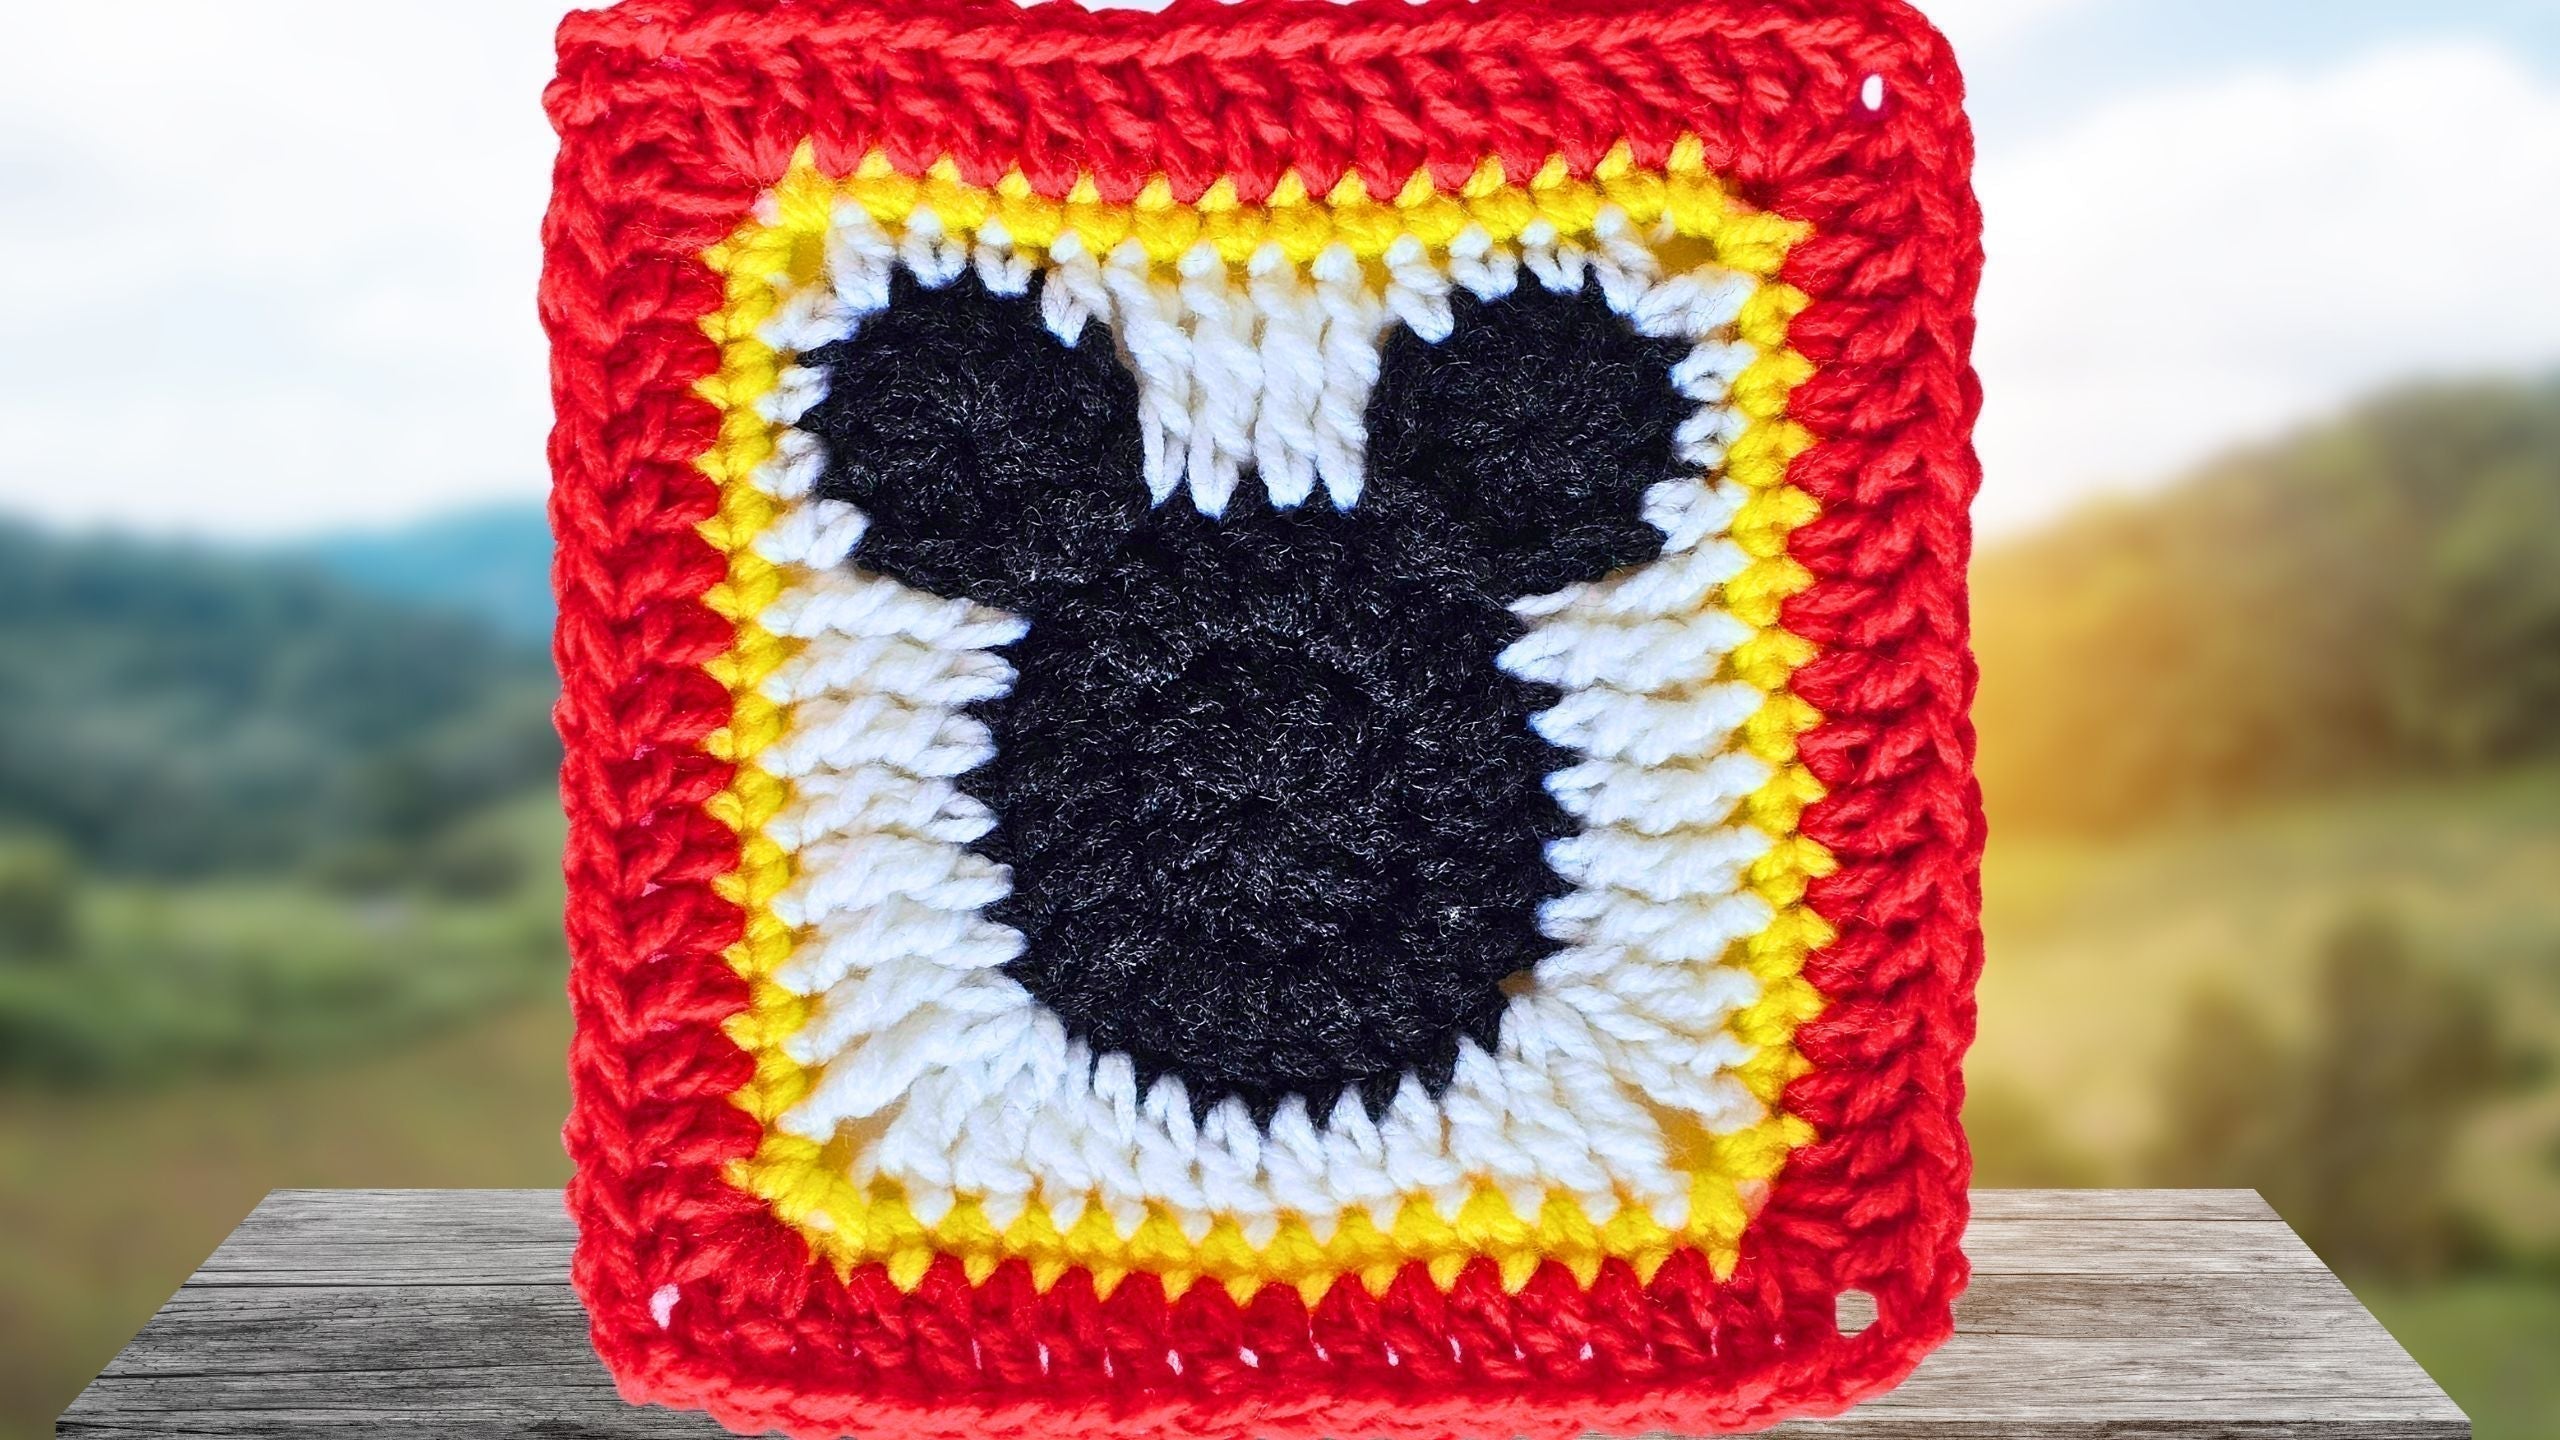
This Mickey Mouse granny square stands out because it’s both square and easy to whip up. With clear geometric lines and iconic design, it works for blankets, pillows, or even as a statement patch. I wanted something with simple construction, a forgiving margin for error, and lots of room for creative touches.
I learned this square from Christa at Secret Yarnery, whose instructions make the process feel like you have a friend right beside you. She offers step-by-step free and printable PDF patterns if you want written instructions you can take on the go. If you’re a left-handed crocheter, there’s a dedicated left-handed video tutorial too.
Let’s crochet some magic, one square at a time.

Materials and Tools Needed
Before you dive in, gather the following supplies:
-
Yarn Colors:
- Black (for the mouse face)
- White (background)
- Yellow (for the highlight/accent)
- Red (for the border and joining)
- Crochet Hook: 6 mm is best for a sturdy square; use 5 mm for a slightly smaller version.
-
Other Essentials:
- Scissors
- Yarn needle (for sewing in loose ends)
- Sharp tip needles if you want precise weaving (see this Amazon option)
You’re free to use whatever colors make you happy. This is a great chance to use up small scraps.
Size Options for Your Granny Square
You can make two main sizes:
| Square Size | Measurement Across |
|---|---|
| Small | 6 inches |
| Large | 7 inches |
The smaller version is covered here and in the video. The 7-inch square is included in the printable pattern for anyone who wants a bolder block or plans to join many together for a blanket.

Stitch Skills You’ll Need
Here are the primary stitches and skills:
- Chain (ch)
- Double crochet (dc)
- Slip stitch (sl st)
- Treble crochet (tr)
- Half double crochet (hdc)
- Single crochet (sc)
- Magic ring / magic loop (an alternative to starting with a slip knot and chain ring)
If you’re new to any of these, I suggest checking a basic granny square crochet tutorial or stitch glossary to brush up.
Step 1: Making the Mickey Mouse Face Circle With the Magic Ring
The magic ring (or magic loop) gives the smoothest center for crochet circles. Here’s how I approach it:
- Lay your yarn tail along your non-dominant hand and anchor it with your thumb on the ring finger.
- Wrap the yarn around your top two fingers, creating an “X” shape on the front.
- Pass the yarn around your three fingers, keeping it under the thumb.
- Flip your hand over. There’s a short strand (tail) and a long strand (working yarn).
- With the hook facing down, slide it under the short strand and over the long strand.
- Pull the long strand through, then turn your hook upwards and draw that working yarn under everything.
- Yarn over and pull through the loop. You’ve started your magic ring.
- Chain 2 (counts as your first double crochet).
- Crochet 12 double crochets into the center of the magic ring, working over your tail. (Total: 13, including the starting chain.)
- Gently pull the tail to snug up the circle.
- Slip stitch into the top of your starting chain to join.
It helps to use a bright color (green, in Christa’s demo) if your yarn is hard to see.
Troubleshooting magic ring issues:
- If your ring comes undone, pull tighter and anchor the tail.
- If the center gaps, mean you’ve missed a stitch or the yarn isn’t snug enough. Try again!

Step 2: Expanding the Mickey Mouse Face
Now it’s time to add fullness to the face impression:
- Chain 3 (for your first double crochet).
- In the same spot, work one double crochet.
- Then, two double crochets in each stitch around. This builds a round, sturdy base.
- As you approach your starting chain, add one extra double crochet into the joining space for symmetry.
- Slip stitch to the top of your chain.
- Chain 1, secure, and cut your yarn, leaving enough tail to weave in later.
Visualizing the layout helps keep the circle even. Imagine each stitch like a spoke on a wheel, filling the ring edge to edge.
Step 3: Creating the Ears
Both ears are crocheted using the magic ring, just like the face, but with slightly fewer stitches.
For each ear:
- Make a magic ring with the black yarn.
- Chain 2 (counts as a double crochet).
- Crochet 9 double crochets into the ring (10 total, counting chain two).
- Gently shrink the ring, but not too tight.
- With the last loop of your ear still on your hook, find the correct stitch on the “face” circle: skip 5 stitches from the join (for the first ear), then attach in the sixth.
- Slip stitch to join, then one double crochet into the ear.
- Lay the big circle (face) on top, then slip stitch into the next face stitch, and work one more double crochet into the ear.
- Slip stitch again into the face to anchor.
- Slip stitch into the chain at the top of the ear to close the circle.
- Chain 1, fasten off, and leave a yarn tail.
Repeat for the second ear:
- After doing the first ear, skip two stitches, and join the second ear into the third stitch.
- Mirror all other steps as above.
Consistent stitch count and spacing between the ears is key for a cute symmetrical face. Use a little extra tension to keep ears perky and neat.

Step 4: Sewing in the Ears’ Tails
Flip your square so the back faces you. Thread your yarn needle and work the magic ring tail back through the thickest part of the circle, making sure you don’t poke through to the front.
Tips for a tidy finish:
- Weave the yarn back and forth at least twice.
- Tug lightly to check it won’t unravel, but don’t pull so hard that it puckers the circle.
- Trim excess when you’re happy.
Step 5: Adding the White Background Border (First Round of Color Change)
Time to frame your Mickey face with a soft background:
- Pick up your background color (traditionally white, but Christa uses orange for demo).
- Start on the opposite side from where you joined—locate the sixth stitch after skipping five to maintain symmetry.
- Insert your hook, pull up a loop, and slip stitch to join the new color.
- Chain 3 (counts as your first treble crochet).
- In the same stitch, make a treble crochet.
- Continue treble crocheting into each stitch along the face's side until you reach the ear.
- With the ear, start picking up stitches along its edge.
Best practice: hold the tail along your work as you go to “trap” it in place and simplify later weaving.
Corner stitch breakdown:
- Half double crochet, chain one, half double crochet (all in a single corner stitch).
- Going along the ear, place single crochets and half doubles for a smooth turn.
- Continue treble crochets down the next side.
Precise placement here gives Your Mickey Mouse granny square a neat, sharp border. Keep an eye on where stitches actually land, not just the nearest space.

Step 6: Completing Rounds Around Ears
As you work the border beyond the ears:
- Finish the treble crochets between the ears, with four trebles spaced evenly.
- Skip a stitch on the ear, then place a half double crochet in the next.
- Single crochet in each of the next two stitches.
- In corner stitches, again work half double crochet, chain one, half double crochet.
Pay attention to working into the joins between sections for a flat, even edge.
Control your tension around the ears and between color joins so the square lays flat. If stitches pucker, loosen up. If holes appear, tighten down.
Step 7: Finishing the Background Border
Work up the last side:
- Into the stitch where you joined the ear, add a treble.
- Treble crochet into each stitch until you approach the join.
- At the corner or join, work two trebles, chain two, then two trebles into the same stitch.
- On the bottom, switch to double crochets, making sure to work into the actual chain stitches for a neat edge.
- Slip stitch into your starting chain when you get back to where you began.
- Chain 1 to secure, cut the yarn, and pull through.
Corner Stitch Table:
| Position | Stitches to Make |
|---|---|
| Each Corner | 2 trebles, chain 2, 2 trebles |
| Between Ears | 4 trebles evenly between join points |
Maintaining consistent corners is the trick to a square, flat finish.

Step 8: Adding the Yellow Accent
Time for a flash of brightness:
- Join yellow yarn with a slip stitch in a corner space before your last join.
- Chain 1 (counts as your first single crochet).
- Single crochet in every stitch around, working over loose tails when practical.
- In corners: single crochet, chain two, single crochet in the same corner stitch.
- Continue single crocheting on all sides.
- At the end, slip stitch to the starting chain to join.
- Chain 1, cut yarn, pull through, and secure.
Quick Tips:
- When traversing chain stitches, go under both loops for strength.
- Pull the yarn tail forward at each new corner to keep it out of your way, then weave it in later.
- Neatness now makes final assembly a breeze.
Yellow Accent Corner Pattern:
- Single crochet, chain two, single crochet in every corner.
- Single crochet in every border stitch.
Step 9: Final Round in Red (Outline Round)
The last round really frames your Mickey Mouse granny square:
- Join your red yarn in the corner space before your previous join.
- Chain two (counts as your first double crochet).
- In the same corner, work another double crochet.
- Double crochet into every stitch along each edge.
- At each corner: two double crochet, chain two, two double crochet into the corner space.
- At the end of the first edge, bring the yarn tail forward.
- Continue crocheting double crochets along each side, repeating corners as above.
- On your last corner, finish with two double crochets, chain two, and slip stitch into your starting chain to join.
- Chain one, cut yarn, and fasten off securely.
Step-by-Step Corner on Red Round:
- Two double crochet in corner.
- Chain two.
- Two more double crochet in same space.
A tight, even edge will make joining squares for blankets or assembling other projects that much simpler.

Step 10: Final Touches—Sewing in Ends
Once all rounds are complete, turn your square over and use your yarn needle to sew in every remaining tail. Tie knots where necessary but keep them hidden in thicker crochet sections, not at the edges where they’ll poke out.
Tips for pro-looking results:
- Always thread the tail back at least twice for security.
- “Wiggle” the yarn as you weave to avoid tension lines.
- Smooth out corners and block the granny square if needed for a perfect finish.
Tips and Tricks for Beginners
- Yarn tension: Keep it even for consistent square size.
- Use stitch markers to mark ear positions or tracking corners.
- Read patterns aloud or watch the video tutorial for reference.
- Christa from Secret Yarnery writes patterns in plain English, which is much easier for beginners.
- If you get tangled or skip a stitch, it's okay to undo a few and redo.
- Pause, rewind, and replay tough sections in the video for clarity.
- Mistakes are part of learning. You’ve got this!

Customizing Your Mickey Mouse Granny Square
Want to make your square stand out or fit a theme? Here are some quick ideas:
- Swap classic colors for team, holiday, or room décor colors.
- Try variegated or sparkly yarn for a playful effect.
- Use a smaller or larger hook for a different texture or size.
- Add a bow or face embroidery for a Minnie twist.
- Join multiple granny squares to create pillows, blankets, or wall art.
Creativity is encouraged—this pattern is just a starting point!
Where to Find the Pattern and More Resources
- Free and downloadable written patterns, including PDF format, are on the Secret Yarnery website.
- Left-handed video tutorials are available for accessible learning.
- Find my favorite crochet tools and supplies at my Amazon Storefront.
- Subscribe to the Secret Yarnery YouTube channel for weekly inspiration and live Q&A.

Additional Learning Support
- Join Christa’s weekly Crochet Q&A live streams for real-time help.
- Download a free crochet cheat sheet for at-a-glance stitch and term reminders.
- Look for supplementary resources like basic video tutorials, stitch glossaries, and friendly Facebook or Pinterest groups to share progress and get advice.
- Being part of a crochet community keeps you inspired and learning—even when projects don’t go as planned.
Quick Glossary: Key Stitches and Techniques
- Magic ring: Adjustable loop to start crochet in the round.
- Chain (ch): Foundation of rows or rounds.
- Double crochet (dc): Common stitch, taller than single or half double.
- Slip stitch (sl st): For joining rounds and moving yarn.
- Treble crochet (tr): Taller stitch, good for rapid row growth.
- Half double crochet (hdc): Between single and double crochet in height.
- Single crochet (sc): Short, tight stitch for borders and detail work.
Perfect your skills here and they’ll serve you well in other projects, too.
Share Your Finished Mickey Mouse Granny Square!
I'd love to see your take on the Mickey Mouse granny square. Share a photo on Instagram, Facebook, or crochet forums with hashtags like #SecretYarnery and #MickeyMouseGrannySquare, and let’s inspire one another! If you enjoyed this how-to, don’t forget to subscribe to the Secret Yarnery YouTube channel and check back for more easy, creative crochet ideas.

Troubleshooting Common Problems
- Magic ring won’t close: Tug the starting tail gently but firmly, then weave it in securely.
- Ears or face look uneven: Double-check your stitch count and spacing, adjust and redo if needed.
- Yarn ends slip out: Use longer tails and weave in further, or try a sharp-tipped needle.
- Messy color joins: Work over tails for at least a few stitches when changing colors.
- Square curls or puckers: Recheck tension, especially on borders or corners; block if needed.
If you hit a snag, pause and rewatch, or ask for advice in a helpful crochet group. Practice brings progress.
Left Handed?
FAQs
Can I use different yarn types?
Absolutely! Just stick to the same weight throughout for a balanced look.
How do I make the granny square bigger?
Add rounds in your preferred color, increasing at the corners as in standard granny squares.
Tips for changing hook sizes?
Drop to a 5 mm or even 4 mm hook for petite squares, or go up for a softer, drapier texture.
Are there left-handed tutorials?
Yes, check out the left-handed video 👉 here for clear instruction.
How do I keep my joins invisible when changing colors?
Work over tails for 4 to 6 stitches, then weave the rest. You can also use an invisible join by cutting the yarn and threading the tail through the top two loops of the first stitch.
My magic ring keeps loosening. Help!
After closing the ring, weave the tail in two directions through the first round. If your yarn is slippery, tie a tiny securing knot on the back before weaving.
Can I use a different stitch for the yellow or red rounds?
Sure. Try moss stitch for texture or half double crochet for a tighter look. Keep corner math consistent.
What’s the easiest way to weave ends so they don’t pop out?
Use a sharp-tipped needle, weave under the “plumbing” of stitches for 2 inches, change direction once, then trim.
Embrace your creativity and have fun with every stitch. That’s the true magic behind the Mickey Mouse granny square!
![]()
Christa Patel is the maker and teacher behind Secret Yarnery, a cozy corner for crochet lovers of all levels. She’s known for clear, plain-English patterns, left- and right-handed video tutorials, and cheerful live Q&As that make learning fun. When she’s not filming or designing, Christa is testing yarns, answering community questions, and dreaming up beginner-friendly projects that look amazing with simple stitches.
Find more from Christa:
- Website: secretyarnery.com
- YouTube: Secret Yarnery
- Free and printable patterns: secretyarnery.com
- Tools and faves: Amazon Storefront (link in the post)
- Join the community: Weekly live chats and crochet Q&A on YouTube
About the Author
With a passion for crafting easy, beginner-friendly tutorials and patterns, Christa inspires crafters of all skill levels to unleash their creativity worldwide. She encourages yarn lovers to connect, create, and crochet a world filled with beautiful handmade treasures!
Easiest Mickey Mouse Granny Square: Step-by-Step Pattern!