Easy Cakes & Candles Crochet Baby Blanket Pattern for Beginners!
Are you ready to crochet a beautiful and cozy keepsake? The Cakes & Candles Baby Blanket is a fantastic project for crocheters of all skill levels, especially beginners. This blanket is not only easy to make, but it’s also incredibly versatile. You can customize it to any size you like and choose colors that perfectly match your nursery or home decor. The pattern consists of just two repeating rows, making it simple to memorize and a joy to create.
If you're a visual learner, you can follow along with the right-handed tutorial. Left-handed crocheters, don't worry. There's also a left-handed tutorial available!
What You'll Need: Gathering Your Supplies
To get started on your Cakes & Candles Blanket, you'll need a few essential supplies. Choosing the right yarn and hook can make all the difference in the final result, so let's take a closer look at what you'll need.
Yarn Selection
In the video, I used Ice Yarn Magic DK, which is 100% acrylic. This yarn is soft, durable, and comes in a variety of beautiful colors. Each ball contains 100 grams and measures about 340 meters. However, the beauty of this pattern is that you can use almost any yarn you have on hand.
If you're looking for a substitute, any size 3 yarn (DK or light worsted) will work well. The key is to find a yarn that you love and that feels good to work with. Don't be afraid to experiment with different fibers and colors to create a truly unique blanket. Explore different types of yarn materials to get a feel for what's out there.
You can find a wide variety of yarns.
Hook Size
I recommend using a 5 mm crochet hook for this project. This size works well with DK weight yarn and creates a fabric that is soft and drapey. However, the best hook size for you will depend on your individual tension and the yarn you choose.
If your yarn label gives you a range of hook sizes, it’s generally best to choose the larger size. This will help to create a looser, softer fabric. If you use a smaller hook, your blanket will be denser and less drapey. Experiment with different hook sizes until you find one that feels comfortable and produces the desired result.

Other Notions
In addition to yarn and a hook, you'll also need a few other basic notions:
- Scissors
- Tapestry needle (for weaving in ends)
- Stitch markers (optional, but helpful)
These tools will help you to complete your blanket with a professional finish. You can find many of these CROCHET MUST HAVES on sale to help you save money!
Gauge and Blanket Size
The finished size of the blanket made with three balls of yarn is approximately 34 inches square. However, one of the great things about this pattern is that the size is easily customizable. You can simply add more rounds to make it larger, or stop earlier for a smaller blanket.
If you want to make an adult-sized throw, you'll need approximately five or six balls of yarn. Keep in mind that the gauge isn't critical for this project, but it will affect the finished size. If your tension is tighter, your blanket will be smaller, and if your tension is looser, it will be larger.
Tension is something many beginners struggle with and practicing helps.
Getting Started: The Foundation
Let's dive into the first steps of creating your Cakes & Candles Blanket. It all starts with a simple slip knot and a chain.
Making a Slip Knot
To begin, make a slip knot. There are many ways to make a slip knot, so use your preferred method. I just wrap the yarn and poke it through, but you can find many tutorials online if you need a refresher.
Chain Four
Next, we'll create a chain of four stitches. To do this, push your hook onto your yarn, turn it, and bring it through. Repeat this process until you have four chains. It is important to count the chains to make sure you have the correct number.
Joining into a Ring
Now, we'll turn the chain into a ring by slip stitching into the first chain. Insert your hook into the first chain, making sure to get two loops of that stitch on your hook. Hold the center open with your finger and thumb while you grab the yarn and pull it through both loops on your hook. This will create a small ring that will serve as the foundation for your blanket.
Round 1: Building the Center
In this round, we'll start building the center of our blanket by working double crochets into the ring.
Chain Three
First, chain three. This chain counts as the first double crochet of the round.
Double Crochets into the Ring
Next, we'll work 15 double crochets into the center of the ring. Here are the steps to do a double crochet:
- Wrap the yarn around the hook.
- Insert the hook into the ring.
- Wrap the yarn around the hook again and pull through the ring (3 loops on hook).
- Wrap the yarn around the hook and pull through the first 2 loops on the hook (2 loops on hook).
- Wrap the yarn around the hook and pull through the last 2 loops on the hook (1 loop on hook).
Repeat this process until you have a total of 15 double crochets in the ring. Remember that the initial chain three counts as one double crochet, so you should have a total of 16 stitches in this round. If you need a refresher check out a Crochet Stitch Dictionary (Double Crochet).
Joining the Round
To join the round, we'll slip stitch to the top of the chain three. It’s important to join to the top of the chain three, not the top of the double crochet. If you look closely, you'll see a little V hiding down there. That's where you want to insert your hook.
Round 2: Increasing the Circle
In this round, we'll increase the size of our circle by working two double crochets into each stitch.
Chain Three and Turn
Begin by chaining three and turning your work. This chain counts as the first double crochet of the round.
Two Double Crochets in Each Stitch
Next, we'll work two double crochets into the same stitch all the way around. Each stitch looks like a little dimple. That's where you'll insert your hook. By working two double crochets into each stitch, we're doubling the number of stitches in the round.
At the end of this round, you should have a total of 32 double crochets. Remember to pause the video and complete this step before moving on.
Joining the Round
To join the round, slip stitch to the top of the chain three. Be sure to join to the chain right after the double crochet, not the top of the double crochet itself.

Round 3: Introducing the "Cakes" and Corners
In this round, we'll start introducing the "cakes" and corners that give this blanket its unique design.
Chain Six and Turn
To begin, chain six and turn your work. This chain counts as a double crochet and a chain three.
Creating the First Corner
Next, work a double crochet into the same space as the chain six. This creates the first half of our corner.
Chain One and Skip Two Stitches
Now, chain one and skip two stitches. It’s important to be careful to skip the first small stitch, which can be easy to miss.
The "Cake" (Three Double Crochets)
Next, we'll create the "cake" by working three double crochets, one into each of the next three stitches. The cake stitch is a grouping of three double crochets.
Chain One and Skip Two Stitches
Repeat the chain one and skip two instructions.
Creating the Corner (Two V-Stitches)
Now, we'll create the corner by working a double crochet, chain three, and double crochet all into the same stitch, twice. This creates two V-stitches that are joined together. For new crocheters, a V-stitch is the double crochet, chain three, and double crochet combination.
Repeating the Pattern
Repeat the "cake" and corner pattern around the entire round. Remember to chain one between each "cake" and corner.
Joining the Round
To join the round, finish the corner and slip stitch to join to the fourth chain.
Round 4: Adding the "Candles"
In this round, we'll add the "candles" that complement the "cakes" and complete the pattern.
Chain Three and Turn
Begin by chaining three and turning your work. This chain counts as a double crochet.
Seven Double Crochets into the V-Space
Next, work seven double crochets into the V-space (corner). This creates a shell stitch.
Chain One and Double Crochet into the "Cake"
Now, chain one and work a double crochet into the center double crochet of the "cake". This single double crochet is the "candle".
Chain One and Seven Double Crochets into the Next V-Space
Repeat the seven double crochets into the next V-space.
Double Crochet into the Corner Stitch
Emphasize working a double crochet into the corner stitch to continue the line.
Repeating the Pattern
Repeat the pattern around the entire round.
Joining the Round
To join the round, describe slip stitching to the top of the chain three to join.

Rounds 5 and Beyond: Alternating the Pattern
From this point on, we'll alternate between the two rows we've learned to create the full pattern.
Chain Six and Turn (V-Stitch Row)
Explain starting with a chain six for rows that begin with a V-stitch.
Alternating "Cakes" and V-Stitches
Explain that "shells" (seven double crochets) get a "cake" (three double crochets) and that "candles" (single double crochet) get a V-stitch (double crochet, chain 3, double crochet).
Chain One Between Stitches
Remind crocheters to chain one between all stitches except in the corners.
Repeating the Pattern
Emphasize the importance of alternating the two rows to create the pattern. It is very important to follow this to get the correct pattern.
Customizing the Size
Encourage crocheters to continue until the blanket reaches the desired size or they run out of yarn. Give some size estimations (baby blanket vs. adult blanket).
Understanding the Stitch Pattern
Let's break down the individual stitches that make up this pattern.
The "Cake" Stitch
Explain the three-double-crochet group as the "cake."
The "Candle" Stitch
Explain the single double crochet stitch as the "candle."
The V-Stitch
Explain the double crochet, chain 3, double crochet combination as the "V."
Yarn Choices and Color Combinations
The Cakes & Candles Blanket looks beautiful in a variety of yarn choices and color combinations.
Solid Colors
Mention that the blanket looks great in a single color.
Variegated Yarn
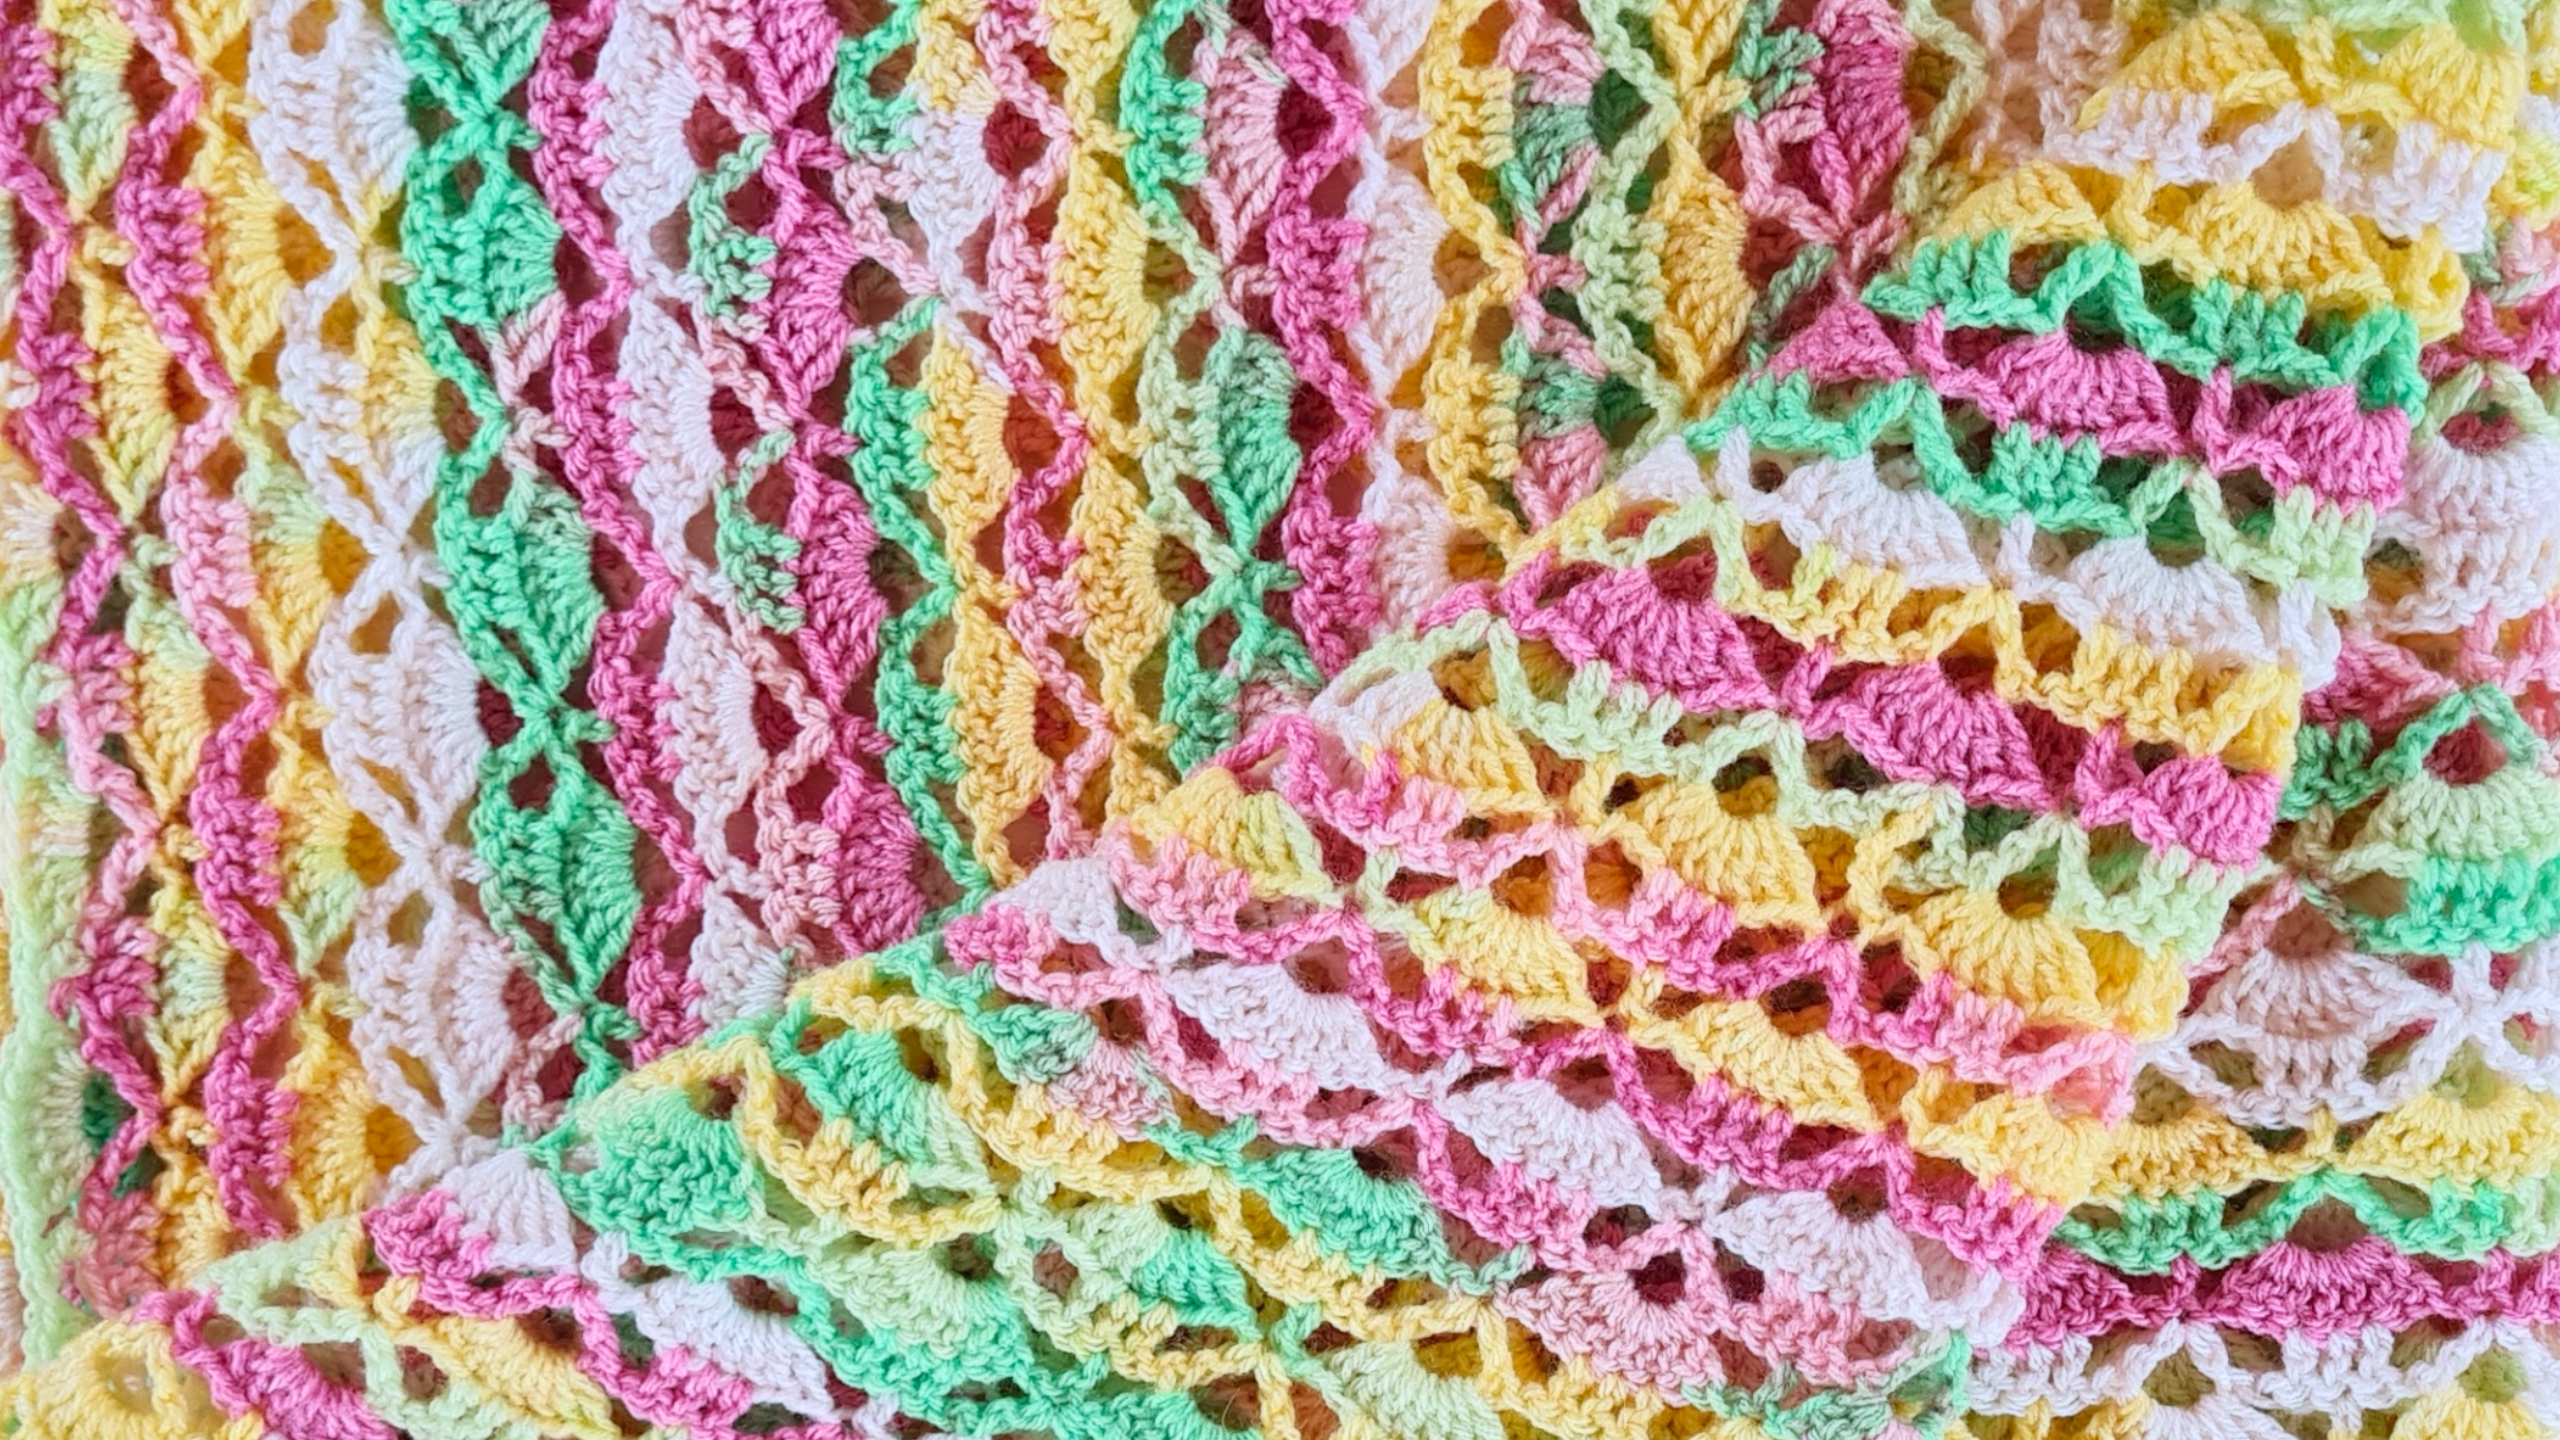
Explain that variegated yarn adds interest and depth. Variegated yarn is great for variegated blanket projects!
Color Changes
Suggest changing colors every few rows for a striped effect. You can also learn to seamlessly change colors for a nice professional look.
Personalization
Encourage crocheters to choose colors that match the nursery or the recipient's preferences. This adds a personal touch to the project.

Tips for Beginners
If you're new to crochet, here are a few tips to help you succeed with this project.
Practice Makes Perfect
Encourage beginners to practice the double crochet stitch before starting.
Counting Stitches
Emphasize the importance of counting stitches to maintain the pattern. Accurate stitch counts help ensure the integrity of the pattern!
Relax Your Tension
Suggest relaxing the tension for a softer blanket. Using a larger hook can help with tension.
Don't Be Afraid to Frog
Encourage crocheters not to be afraid to undo (frog) their work if they make a mistake.
Troubleshooting Common Issues
Here are a few solutions to common problems you might encounter.
Hole in the Center
Suggest pulling the starting tail tight to close the hole.
Uneven Edges
Emphasize the importance of consistent tension and accurate stitch counts.
Finishing Touches: Weaving in Ends and Blocking
Once you've completed your blanket, it's time to add the finishing touches.
Weaving in Ends
Describe how to weave in the yarn ends securely.

Pattern Abbreviations
Here are some common crochet abbreviations you might encounter in this pattern:
- ch = chain
- dc = double crochet
- sl st = slip stitch
For a printer-friendly version of this pattern, download the free pattern PDF. You can also view the written pattern.
Expanding Your Crochet Skills
If you enjoyed making this Cakes & Candles Blanket, there are many other beginner-friendly crochet projects you can try. A great place to start is with easy crochet patterns.
Why This Pattern is Great for Relaxation
The rhythmic, repetitive nature of this pattern makes it a perfect project for relaxation. Crochet has meditative qualities that can help to reduce stress and promote a sense of calm.
Perfect Gift Idea
The Cakes & Candles Blanket makes a thoughtful handmade gift for baby showers, birthdays, or other special occasions.
Share Your Projects!
Encourage readers to share their finished blankets on social media, tagging The Secret Yarnery and using relevant hashtags (#SecretYarnery, #CakesAndCandlesBlanket).

Get More Free Patterns
To get even more patterns check out the selection of FREE STUFF!
Considerations for Left-Handed Crocheters
Left-handed crocheters can find all my left-handed tutorials online. Some adjustments might be needed for left-handed crocheters, so be sure to watch the left-handed tutorial for guidance.
Tips for Using Variegated Yarn
Variegated yarn can add a unique and beautiful touch to your Cakes & Candles Blanket.
Embrace the Randomness
Explain that variegated yarn creates a unique and unpredictable color pattern.
Strategic Color Placement
Suggest starting each round with the same color for a more uniform look.
Choosing the Right Variegated Yarn
Recommend yarns with gradual color changes for a smoother transition.
How to Calculate Yarn Requirements for Different Sizes
If you want to make a blanket that's a different size than the one in the pattern, you'll need to calculate how much yarn you'll need.
Swatching
Explain the importance of creating a gauge swatch.
Calculating the Area
Describe how to calculate the area of the desired blanket size.
Estimating Yarn Usage
Explain how to use the swatch to estimate the amount of yarn needed per square inch/cm. For example, if a 4x4 inch swatch took 50 yards of yarn, the yarn usage is 50/16 or 3.125 yards per square inch.
Accounting for Extra
Suggest adding extra yarn to account for waste and variations.
Customizing the Pattern: Adding a Border
You can customize your Cakes & Candles Blanket by adding a border.
Simple Border Options
Suggest a single crochet border for a clean edge.
More Elaborate Borders
Suggest a picot border or shell border for a decorative touch.
Color Contrast
Recommend using a contrasting color for the border to make it stand out.
No need to add a border - the last row looks like a fancy border all on it's own!
How to Crochet a Solid Granny Square
The Cakes & Candles Blanket is similar to a solid granny square, but with its own unique twist.
The Difference
Explain how this pattern differs from the traditional granny square.
Center Start
Explain the importance of starting with a tight center circle to avoid holes.
Stitch Placement
Explain the specific stitch placements for creating the solid effect.
The Importance of Using Quality Crochet Hooks
Using high-quality crochet hooks can make a big difference in your crocheting experience.
Ergonomic Hooks
Recommend using ergonomic hooks to reduce hand fatigue.
Smooth Finish
Explain that a smooth hook finish helps the yarn glide easily.
Hook Material
Discuss the pros and cons of different hook materials (e.g., aluminum, bamboo, plastic).
Understanding Yarn Weights
Choosing the right yarn weight is essential for any crochet project.
Standard Yarn Weights
List the standard yarn weights (e.g., lace, fingering, DK, worsted, bulky).
Substituting Yarn Weights
Explain how to substitute yarn weights and adjust hook size accordingly.
Importance of Matching Weight
Explain the importance of matching yarn weight for consistent results.
Creating a Consistent Tension in Crochet
Consistent tension is key to creating a beautiful and even crochet fabric.
Holding the Yarn
Explain different methods of holding the yarn.
Hook Grip
Explain different methods of gripping the hook.
Practice and Repetition
Emphasize the importance of practice for developing consistent tension.
Best Lighting for Crochet
Good lighting is essential for comfortable and accurate crocheting.
Natural Light
Recommend crocheting in natural light whenever possible.
Artificial Light
Suggest using a bright, adjustable lamp for artificial lighting.
Neck Lights
Recommend using a neck light for hands-free illumination. You can find a great Neck Light online.
How to Read Crochet Patterns
Understanding how to read crochet patterns is a fundamental skill for any crocheter.
Understanding Abbreviations
Explain the common abbreviations used in crochet patterns.
Interpreting Instructions
Explain how to interpret the instructions and follow the stitch pattern.
Following Charts
Explain how to read crochet charts.

Avoiding Hand Pain While Crocheting
Crocheting can sometimes lead to hand pain, but there are steps you can take to prevent it.
Take Breaks
Recommend taking frequent breaks to stretch your hands and wrists.
Use Ergonomic Hooks
Suggest using ergonomic hooks to reduce hand strain.
Proper Posture
Emphasize the importance of maintaining good posture while crocheting.
Warm-Up Exercises
Suggest doing simple warm-up exercises before starting to crochet.
Different Project Ideas
Now that you have the skills for this project check out some other crochet ideas!
Different Types of Yarn Materials
Selecting the right yarn is a very important decision for crocheters. Yarns come in many different forms.
Acrylic
There are a lot of pros and cons of using acrylic yarn! Acrylic yarn is a great substitute for other, more expensive yarns.
Cotton
Cotton yarn is a great yarn with many different uses.
Wool
Wool yarn is a classic that is used for many purposes! You can find Yarn to make all kinds of projects.
What to do While Crocheting
What are some things you can do while crocheting? Well there are plenty of options!
- Listen to audio books
- Listen to podcasts
- Listen to music
- Watch movies and TV shows
This is a great way to spend your time doing something productive and keeping your mind engaged!
Final Thoughts: Enjoy the Process!
The most important thing is to have fun and enjoy the process of creating your Cakes & Candles Baby Blanket. Let the rhythmic motion of the hook and yarn soothe your mind, and take pride in the beautiful, handmade creation you're bringing to life. I hope you found this Crochet Lacy Blanket Easy Crochet pattern helpful!
FAQs
Is this pattern suitable for beginners?
Yes, the Cakes & Candles Baby Blanket pattern is beginner-friendly. It uses simple stitches like the double crochet and includes easy-to-follow instructions. Plus, there are video tutorials available for both right- and left-handed crocheters.
What type of yarn works best for this pattern?
DK weight (size 3) yarn works best, but you can substitute with any yarn you prefer. Acrylic, cotton, or blends all work, depending on the texture or aesthetic you want. Variegated yarns and solid colors both look beautiful with this pattern.
Can I use a thicker or thinner yarn?
Yes, but if you use a thicker yarn (e.g., worsted), the blanket will turn out larger with the same number of rounds, and you may need a larger hook. For thinner yarns, the blanket will be smaller, requiring more rounds to achieve your desired size.
How do I adjust the size of the blanket?
You can customize the size by continuing the alternating pattern rounds until your desired dimensions are reached. For larger blankets, ensure you have more yarn available. A baby blanket may need approximately 3 balls, while a throw may require 5–6 balls.
What if my blanket is curling at the edges?
Curling can often be corrected by blocking the blanket after completion. This involves wetting or steaming the blanket and pinning it flat to dry. Ensure consistent tension throughout your project to reduce curling.
How do I calculate how much yarn I’ll need for a larger size?
Make a small swatch of the pattern, measure how much yarn it uses, and calculate the yarn required based on the area of your blanket. Add extra yarn to your estimate to account for variations and a border (if adding one).
Can I add a border to the blanket?
Yes! While the final row of the pattern already creates a decorative effect, you can add borders like a simple single crochet border, a picot edge, or a shell stitch for extra flair.
How do I prevent a hole in the center of the blanket?
After creating the initial ring, pull the starting tail tightly to close any gap. You can also weave the tail several times to secure it.
Can variegated yarns be used?
Yes! Variegated yarns add a dynamic and colorful look to the blanket. They work especially well in this pattern to highlight the alternating rows of “cakes” and “candles.”
Christa Patel is a passionate crochet designer and fiber artist, known for her beginner-friendly patterns and engaging video tutorials. With years of experience and a deep love for crafting, Christa specializes in creating accessible projects that inspire creativity and relaxation.
Through her platform, The Secret Yarnery, she has helped crocheters of all skill levels—from absolute beginners to seasoned pros—unlock their full potential. Christa's unique approach to crochet combines simplicity with beautiful designs, making it easy to create stunning handmade items.
When she's not crocheting or designing new patterns, Christa enjoys connecting with her community of yarn enthusiasts around the world. Sharing tips, tricks, and insights, she has built a welcoming space where others can learn, grow, and share their love for crochet.
Follow Christa Patel on social media and YouTube to explore more of her free patterns, detailed tutorials, and expert guidance. Join her mission to bring joy and creativity into the world, one stitch at a time!
-
YouTube: The Secret Yarnery
-
Instagram: @secretyarnery
-
Website: The Secret Yarnery
Unleash your creative spirit with Christa’s easy-to-follow crochet designs and discover the endless possibilities of yarn artistry!
About the Author
With a passion for crafting easy, beginner-friendly tutorials and patterns, Christa inspires crafters of all skill levels to unleash their creativity worldwide. She encourages yarn lovers to connect, create, and crochet a world filled with beautiful handmade treasures!
Easy Cakes & Candles Crochet Baby Blanket Pattern for Beginners!