Easy Crochet C2C Square for Beginners – Step-by-Step Guide!
Have you ever wanted to create stunning, textured blankets or unique home décor? The corner-to-corner (C2C) crochet technique might just be your new favorite skill! C2C is incredibly versatile, allowing you to create everything from cozy blankets to intricate scarves.
This blog post will guide you through creating a simple C2C square. It serves as a helpful companion to the video tutorial, offering extra tips and detailed instructions. Let’s get started on this fun and rewarding crochet journey!
Table of contents
What You'll Need for Your Easy Crochet Project
Before diving in, gather your supplies. The beauty of crochet is its simplicity! For this project, you'll need:
- Yarn: Any yarn will do, making it perfect for beginners. Choose your favorite color!
- Crochet Hook: A 5.5 mm hook is used in the video, but select a size appropriate for your yarn.
- Scissors: For snipping those yarn ends.
- Yarn Needle (Optional): To weave in ends for a neat finish.
- Blocking Board and Pins (Optional): To perfect your square's shape.
You can find these Crochet Must Haves and more on Amazon to get started!
Understanding the Basics of C2C
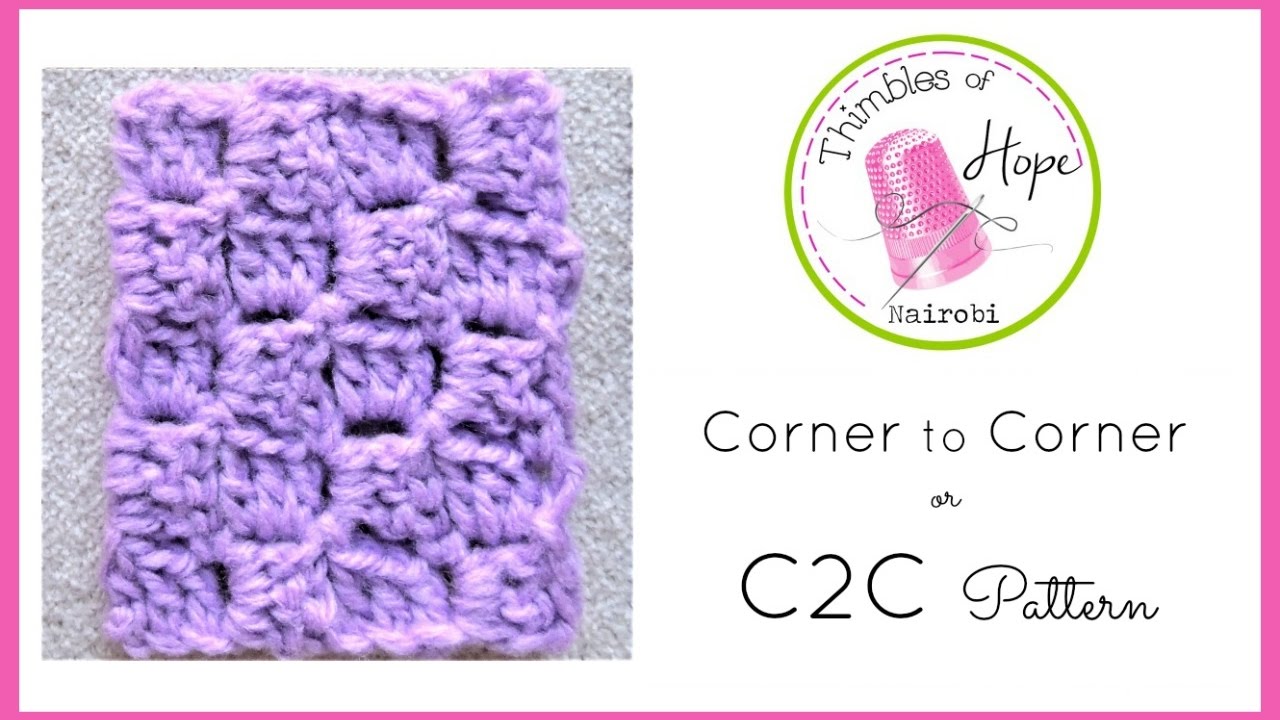
The C2C technique works by creating "blocks" that form a diagonal pattern. Each block consists of a chain-3 and three double crochets. By increasing and decreasing the number of blocks in each row, you gradually create your desired shape.
In this tutorial, we'll make a square that's four blocks by four blocks. Keeping consistent tension is key to achieving a neat and even fabric. This ensures your finished project looks its best!

Getting Started: Making a Slip Knot and Foundation Chain
Let's create a slip knot to begin. Simply loop the yarn, then pull the yarn through the loop. Now, chain six stitches. A loose foundation chain is much easier to work into for subsequent rows.
Creating the First Block
Time to make our first block! Make a double crochet into the fourth chain from the hook. This is where a little trick comes in: keep two loops on the hook for these starting blocks. This creates a neater edge that closely matches the double crochets in the center of the square.
Repeat the double crochet in the next two chains. Congratulations, you've completed your first block, which is also your first row!
Row 2: Increasing and Joining
Each row starts the same way when you're increasing. Chain six to begin the next row. Make a double crochet into the fourth chain from the hook (remember, keep two loops on the hook). Then, double crochet in the next two chains.
Now, flip your previous work up and slip stitch into the chain-3 space of the first block to join. Chain three to start the next block and make three double crochets into the same chain-3 space. Round two is complete! Notice that the second round has two blocks. It’s coming together! Keep your tension consistent to avoid uneven edges.
Row 3: Continuing the Increase
Chain six to start the next row. Double crochet into the fourth chain from the hook, and double crochet in the next two chains. Flip your work up and slip stitch to join.
Chain three to start the next block, then make three double crochets into the chain-3 space. Slip stitch to the next chain-3 space to join. Chain three to start the next block, and three double crochets into the chain-3 space.
The third row has three blocks. Can you see the pattern forming? Each row increases by one block!

Row 4: The Last Increase Row
Chain six to start this row. Double crochet into the fourth chain from the hook, and double crochet in the next two chains. Flip your previous work up and slip stitch to join.
Chain three to start the next block, and make three double crochets into the chain-3 space. Slip stitch to the next chain-3 space to join. Chain three to start the next block, and three double crochets into the chain-3 space. Slip stitch to the next chain-3 space to join. Finally, chain three to start the last block, and three double crochets into the chain-3 space.
Row four is complete, with four blocks! You’ve finished increasing and are ready to shape the square.
Understanding the Square vs. Rectangle Concept
Here’s an important tip: the number of blocks on each side determines the shape of your C2C project. If you start decreasing on an odd number of blocks, you'll end up with a rectangle. To create a perfect square, begin decreasing when you have an even number of blocks on each side.
Decreasing: Shaping the Square
Now for the fun part: decreasing to shape our square! Instead of chaining six as usual, we'll slip stitch. Turn your work and slip stitch up the side (one, two) and slip stitch into the chain-3 space.
Chain three to start the next block, and make three double crochets into the chain-3 space. Slip stitch to the next chain-3 space to join. Chain three to start the next block, and three double crochets into the chain-3 space. Slip stitch to the next chain-3 space to join. Chain three to start the next block, and three double crochets into the chain-3 space. Slip stitch to join.
With each row, you decrease one block. Keep going!
Final Rows of Decreasing
Turn your work. Slip stitch up to the chain-3 space. Chain three to start your block. Make three double crochets into the chain-3 space and slip stitch to join.
Turn your work again. Slip stitch up to the chain-3 space and slip stitch into the space. Chain three to start your last block. Three double crochets into the chain-3 space and slip stitch to join.
You’re almost there! Each row gets smaller, bringing you closer to the final point of the square.

Finishing Off
Chain one. Cut your yarn, pull your hook out with the yarn, and tug it down a little bit. That's it! You've created a C2C square!
Weaving in the Ends
Don't forget to weave in those ends! This secures the yarn and prevents unraveling. Use a yarn needle to weave the ends back into the stitches on the back of your work. This ensures a clean and professional finish.
FAQs
What is C2C crochet?
C2C stands for "corner to corner." It's a crochet technique where you build your project diagonally, starting from one corner and working towards the opposite corner.
Can I use any yarn for C2C crochet?
Yes, you can use any type of yarn. Just match your hook size to your yarn for best results.
How do I change colors in C2C crochet?
To change colors, finish the last double crochet of a block with the new color. Carry the yarn or weave in the ends for a neat look.
Why are my edges uneven?
Uneven edges usually mean your stitch tension isn't consistent. Focus on keeping your hands relaxed and the yarn tension steady.
How can I join multiple C2C squares?
Common joining methods for C2C squares include whip stitch, slip stitch, or mattress stitch along the sides.
What size will my C2C square be?
The size depends on your yarn, hook size, and number of blocks per side. Adjust to suit your project.
What projects can I make with C2C squares?
Popular projects include blankets, pillows, scarves, coasters, and washcloths. Mix colors and squares for creative results.
Ideas for Using C2C Squares
Now that you've mastered the C2C square, what can you make with it? The possibilities are endless!
- Blankets: Create cozy Easy Crochet Blankets, baby blankets, afghans, or throws.
- Scarves: A C2C scarf is warm and stylish.
- Pillows: Add a personal touch to your home décor.
- Coasters: Perfect for protecting your furniture.
- Washcloths: A textured and practical project.
Experiment with different colors and patterns to create unique designs!
Color Changing Techniques
Want to add some flair to your C2C projects? Changing colors is easy! You can change colors every row, halfway through a square, or for each individual square.
Creating Patterns with C2C
You can create simple geometric patterns or more complex designs. Try using graph paper to plan out your designs, or use a C2C pattern generator online for inspiration.
Joining C2C Squares
Once you have multiple squares, you'll need to join them. There are several methods to choose from:
- Whip stitch
- Slip stitch
- Mattress stitch
Choose a joining method that creates a neat and secure seam.
Troubleshooting Tips
Encountering problems? Here are some common issues and solutions:
- Uneven edges: Ensure consistent tension throughout your project.
- Holes in the corners: Tighten the slip stitch when joining blocks.
- Crooked square: Blocking can help correct minor imperfections.
Beyond the Basics: Advanced C2C Techniques
Ready to take your C2C skills to the next level? Explore advanced techniques like using different stitches (half double crochet, treble crochet), creating textured C2C, or even working in the round.
Inspiration and Resources
Need inspiration? Check out these resources:
- Ravelry
- Etsy
- Crochet blogs and websites
Connect with Symbols of Hope
Don't forget to share your C2C creations on Instagram and tag @secretyarnery!
Thank you for following along, I hope this has been an Easy Crochet project! Stay hooked for more tutorials!
Call to Action
Do you have questions or suggestions for future tutorials? Leave a comment below!
Christa Patel
Christa Patel is the creative mind behind the Secret Yarnery, a trusted resource for crochet enthusiasts worldwide. With years of experience, Christa specializes in designing beginner-friendly yet stunning crochet patterns that inspire creativity and confidence in crafters of all skill levels.
As a passionate crocheter, Christa is known for her clear and approachable teaching style, breaking down complex patterns into simple, easy-to-follow steps. Through her engaging video tutorials, written patterns, and helpful tips, she has cultivated a community where crocheters can connect, learn, and share their work.
Christa’s dedication to making crochet fun and accessible shines in every project she creates, from colorful blankets to intricate borders. Whether you’re a seasoned expert or just picking up a hook for the first time, Christa's guidance will help you craft something beautiful.
For more crochet patterns, tips, and inspiration, visit her website at The Secret Yarnery, or check out her YouTube channel filled with step-by-step tutorials
About the Author
With a passion for crafting easy, beginner-friendly tutorials and patterns, Christa inspires crafters of all skill levels to unleash their creativity worldwide. She encourages yarn lovers to connect, create, and crochet a world filled with beautiful handmade treasures!
Easy Crochet C2C Square for Beginners – Step-by-Step Guide!