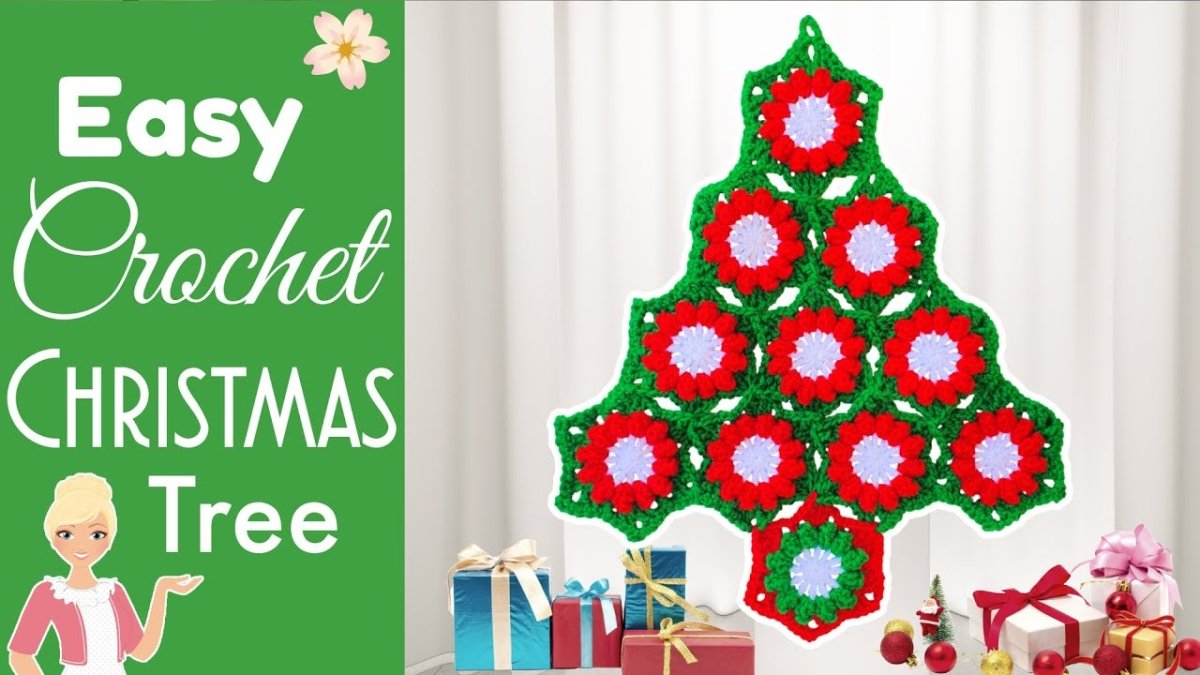
How to Crochet an Easy Christmas Tree Wall Hanging
I'm super excited to share this gorgeous and easy crochet Christmas tree wall hanging decoration with you today! Whether you're a seasoned pro or just starting out, this project is super beginner-friendly, and it's perfect for adding a personal touch to your holiday decor.
In this blog, I'll walk you through everything you need to know to make this fun, festive tree. You'll see how quickly it works up, making it a satisfying project for anyone with limited crafting time!
Before we jump in, if you're someone who prefers a written pattern, I've got you covered! You can easily find it on my website—but don’t worry if you’ve never followed a written pattern before. I write all of mine in plain English, just like how I talk in tutorials.
Watch the full step-by-step video guide here:
Table of contents
Materials Needed
To get started, you won’t need anything too fancy—just some basic supplies that you probably already have in your yarn stash.
Materials List:
- Three types of yarn: I’m using standard 4-weight acrylic yarn. You can mix and match colors depending on the look you want.
- Crochet hook: For this project, I'm using a 5.5mm hook, but make sure your hook matches your yarn.
- Scissors: Essential for trimming the ends.
- Needle: You’ll need a needle at the end to sew in your yarn tails.
That’s it! Keeping it simple makes this project even more fun.

Starting with the Magic Ring
We’re kicking off our crochet journey with the magic ring technique, which is perfect because it avoids leaving that annoying hole in the center of your flowers.
New to the magic ring? Don’t panic! It’s super easy with a bit of practice. If you’re still learning, I’ve got a dedicated tutorial on how to make a magic ring.
Step-by-Step for a Magic Ring:
- Hold the tail of the yarn under your non-dominant hand.
- Wrap the yarn around two fingers, forming an “X”.
- Slide your hook under the short part of the "X" and then over the long loop.
- Pull the long loop through, and you’ve got your magic ring!
If the magic ring feels tricky, you’ve got the option to chain 3 and slip stitch into a ring as an alternative.
Creating the First Round
Once you’ve mastered that magic ring, it’s time to start building your first round.
- Chain 4: This counts as your first treble crochet.
- Add 11 trebles into the center of the ring while making sure to work over the yarn tail as well.
In total, you’ll have 12 treble crochets. Don't forget—you've got to pull and cinch that yarn tail tightly to close the center. Make sure to count your stitches to have exactly twelve.

Finishing Round One
After completing your 12 treble crochets, slip stitch to the top of your initial chain-4 to join the round. Then cut your yarn, leaving a long enough piece to sew in later. Secure it with a little snug tug, and you’re done with your first section!
Here’s a neat trick—make up several of these centers ahead of time. You’ll need a total of 11 circles to complete your tree.
Sewing in the Magic Ring Tails
Sewing in tails can feel tricky, but following the natural direction of your crochet helps a lot.
I like to reinforce the ring by weaving the yarn through the fat part of the stitches. You only need to go about ¾ of the way around, then work backward in the opposite direction to make sure the tail stays secure.
And with a sharp tip needle, you can even go through the fibers of the yarn, locking that tail in super tight.
Here's a complete guide on securing yarn tails.
Continuing On: Starting Round Two
After your first round is in the bag, it’s time to work on round two.
Place your completed round so that the pretty side is facing up (those little V’s should be visible).
Joining Your New Yarn
- Pick a space between the stitches and join your new yarn (red for most flowers, green for one).
- Slip stitch to find a space between stitches and secure it with a chain of two.
You’re ready to start your popcorn stitches! Once you get going, this round is so satisfying and really gives your Christmas tree texture.
How to Make Popcorn Stitches
- Work 5 double crochets into each space.
- Pull your loop up and remove your hook.
- Insert the hook into the first double crochet, chain 2, and then pull the yarn back through.
Keep going with your popcorns! After finishing each, chain 2 and move on to the next stitch space. You’ll want to keep everything even around the flower shape.

Joining the Flowers
Now comes the fun part—joining those flowers together to start shaping your tree!
First Layer: You’ll make a row of 4 flowers. Join each flower on two sides.
- Start your joins at three sides for the trunk and the bottom-most flowers and work your way up.
Building Up the Tree: After your first layer, add a row of 3 flowers above (just joining two sides). Then a row of 2, and at the top, a single flower.
Joining each flower in a structured way creates a beautiful triangle shape, making it truly look like a crochet Christmas tree.
Need more details? Check out this Christmas tree guide.
Adding the Trunk
No Christmas tree would be complete without its trunk! Don’t forget to add it before you move on to the edging. Use a classic brown or red yarn for the perfect pop at the bottom.
Simply place it where the lowest two flowers meet and join it with three sides like you've done before.
Creating the Edging
Now that your tree is all joined together, it’s time to give those edges a nice, clean finishing touch.
Work into the back side of your tree and start in the spaces where the trunk meets the bottom flowers. Crocheting around all the edges, you’ll alternate with single crochets and chains, following this strategy:
- Work a single crochet in each stitch and two in the chain spaces.
- When you reach the corners or points, create a little chain loop by chaining 5 stitches.
This final round not only finishes off the piece but holds everything neatly in place. Plus, the loop at the top makes the tree easy to hang on doors or walls.
Finishing Touches & Final Review
Now, for the fun part! Once your tree is finished, flip it over, and adjust all the chain loops at the corner points of the flowers as needed.
Are your popcorn stitches looking nice and full? Tug them into shape slightly if they're misbehaving. To me, this is one of the best parts—putting those final tweaks that make your crochet project come to life.
If you find any uneven areas in your tension, don’t stress! A quick steam block or light spray with water can help even things out, especially with acrylic yarn.

Looking for More Fun Crochet Patterns?
I know you're going to love having this cute tree hanging proudly in your home, but why stop here? If you’re eager to keep the crochet Christmas spirit alive, there are more holiday-inspired projects you can check out. Explore more Christmas patterns here.
This project is perfect as a stand-alone decoration, a festive gift, or even a creative holiday project for the kids!
Share Your Crochet Tree:
Have you finished your tree? I'd love to see how yours turned out! Be sure to share it using #SecretYarnery on Instagram and Facebook. Let’s keep spreading the crochet love this holiday season!
Happy hooking!
Frequently Asked Questions
1. What skill level is required for this crochet project?
This project is beginner-friendly, suitable for those who are just starting out as well as experienced crocheters. The steps are simple and concise, making it accessible to all skill levels.
2. What kind of yarn is best for the Christmas tree wall hanging?
Standard 4-weight acrylic yarn is recommended, but you can experiment with different textures or colors based on your preference.
3. Can I substitute different hook sizes?
Yes, you can use a different hook size, but ensure it matches the yarn you choose to maintain the right tension and appearance.
4. What is a magic ring, and why is it used?
A magic ring is a crochet technique used to create a tight loop that avoids a hole in the center of your circle. It's perfect for projects like this where a neat finish is desired.
5. How do I secure the yarn tails in the magic ring?
It's best to sew the yarn tails through the fat part of the stitches, weaving in the natural direction, and then reversing for strength.
6. What is a popcorn stitch, and why is it used?
The popcorn stitch involves working multiple double crochets into the same stitch space, creating a textured, 3D effect that adds to the tree's character.
7. How many flowers make up the Christmas tree?
You will need a total of 11 flowers joined together in a triangular configuration to form the tree shape.
8. Can I add decorations or embellishments?
Absolutely! Feel free to add small beads, buttons, or sequins to decorate your tree and make it uniquely yours.
Christa Patel is the creative mind behind the Secret Yarnery, a trusted resource for crochet enthusiasts worldwide. With years of experience, Christa specializes in designing beginner-friendly yet stunning crochet patterns that inspire creativity and confidence in crafters of all skill levels.
As a passionate crocheter, Christa is known for her clear and approachable teaching style, breaking down complex patterns into simple, easy-to-follow steps. Through her engaging video tutorials, written patterns, and helpful tips, she has cultivated a community where crocheters can connect, learn, and share their work.
Christa’s dedication to making crochet fun and accessible shines in every project she creates, from colorful blankets to intricate borders. Whether you’re a seasoned expert or just picking up a hook for the first time, Christa's guidance will help you craft something beautiful.
For more crochet patterns, tips, and inspiration, visit her website at The Secret Yarnery, or check out her YouTube channel filled with step-by-step tutorials.
About the Author
With a passion for crafting easy, beginner-friendly tutorials and patterns, Christa inspires crafters of all skill levels to unleash their creativity worldwide. She encourages yarn lovers to connect, create, and crochet a world filled with beautiful handmade treasures!
Easy Crochet Christmas Tree Wall Hanging Guide - 2024 Holiday Project