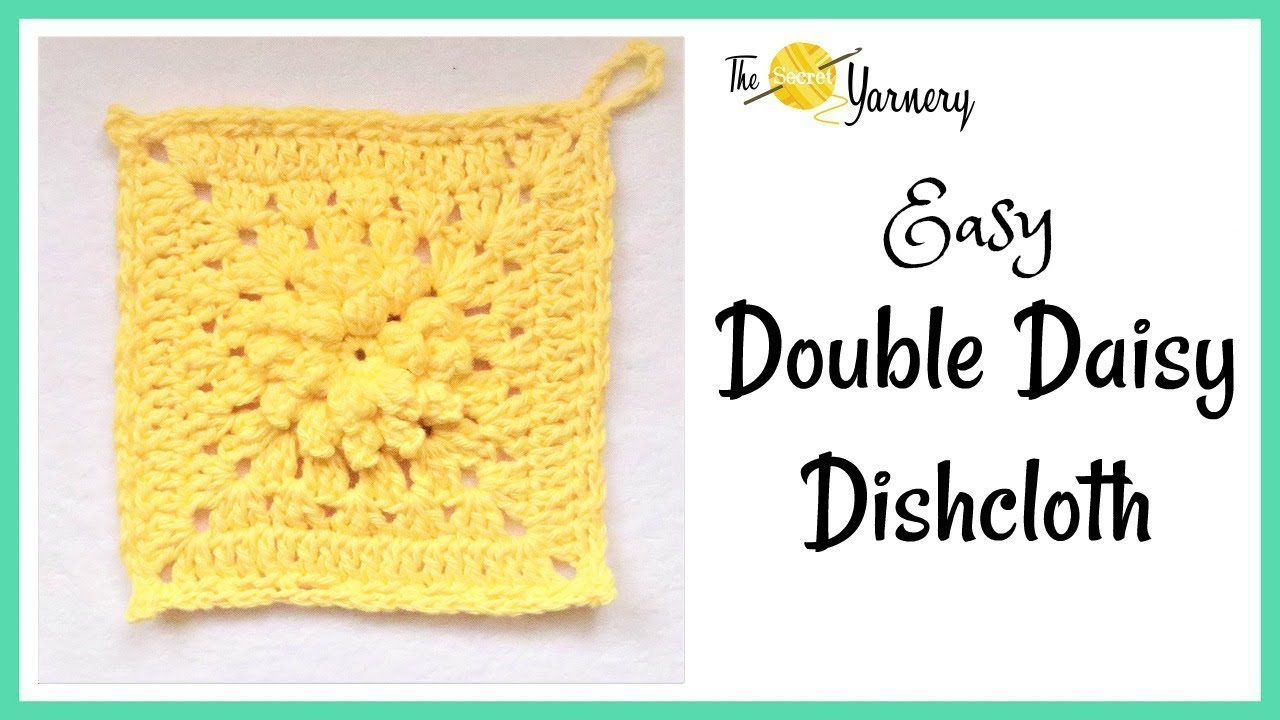
Easy Double Daisy Dishcloth Crochet Tutorial – Step-by-Step!
Have you ever wanted a dishcloth that's not only functional but also adds a touch of handmade charm to your kitchen? This Easy Double Daisy Dishcloth is just the thing! I'll guide you through creating this delightful dishcloth, complete with a built-in scrubby center, inspired by Christa from The Secret Yarnery's fantastic tutorial. It's a simple project that's perfect for using up scrap yarn and adding a personal touch to your home. Plus, making your own dishcloths is a great way to save money, reduce waste, and enjoy a satisfying creative activity.
Table of contents
Materials You'll Need
Before we dive in, let's gather our supplies. Here's what you'll need to create your own Easy Double Daisy Dishcloth:
- Cotton yarn: I recommend using a durable cotton yarn like Sugar and Cream. It's absorbent and can withstand frequent washing. You can find a wide variety of colors on Amazon to match your kitchen decor.
- 5 mm crochet hook: A Clover hook is my personal favorite for its smooth feel and comfortable grip. If you're looking to upgrade your hook, check out the clover hook on Amazon.
- Scissors: For snipping yarn.
- Yarn needle: To weave in those pesky ends for a clean finish.
A quick tip: While I recommend a 5 mm hook, don't be afraid to experiment! Just ensure your hook isn't too large for your chosen yarn to maintain a tight, scrubby texture.
Getting Started: The Slip Knot and Chain
Let's get this project rolling! First, we need to create a slip knot. This is the foundation of almost every crochet project. Leave a short tail, about an inch long, because we'll crochet over it to secure it later. Now, with the slip knot on your hook, chain three. This initial chain sets the height for our first round.

Forming the Center Ring
Now it's time to create the center ring. Insert your hook into the very first chain you made. Here's a little trick: hold the loop open with your thumb and finger to keep it stable. Next, slip stitch to join the chain into a ring. Keep holding that loop open as you slip stitch; it makes everything much easier!
Creating the First Round: Single Crochet
With our center ring formed, chain one. This doesn't count as a stitch, it's just to give us some height. Now, we're going to make six single crochets into that center ring, working over the yarn tail. This not only secures the tail but also adds extra padding to the center of our dishcloth.
If you're new to crochet, here's a quick rundown of the single crochet stitch:
-
Insert your hook into the ring.
-
Yarn over (wrap the yarn around your hook), and pull through a loop. You should have two loops on your hook.
-
Yarn over again, and pull through both loops on the hook. Voila! You've made a single crochet.
Repeat this five more times, for a total of six single crochets. Remember, that initial chain one we made? Don't count it as a stitch!
If you are a beginner, be sure to check out this beginner's guide to crochet on the Secret Yarnery website to guide you along!
Joining the First Round
Time to close the circle. Slip stitch to the first single crochet to join the round. How do you find that first single crochet? Count back your stitches! Look for the "V" shapes on top of your work. The first full-size "V" is your first single crochet. When you slip stitch, make sure you go under both strands of that "V". This creates a nice, secure join.
Starting the Second Round: The Popcorn Stitch Base
Get ready for some texture! Chain three. This counts as our first double crochet. Now, we're going to make four double crochets into that first stitch, right where we slip stitched. Remember, the chain three counts as one double crochet, so we'll have a total of five.
Making the Double Crochet
The double crochet is a bit taller than the single crochet. Here's how it's done:
-
Yarn over (wrap the yarn around your hook).
-
Insert your hook into the stitch.
-
Yarn over, and pull through a loop. You should have three loops on your hook.
-
Yarn over, and pull through two loops. You should have two loops on your hook.
-
Yarn over again, and pull through the remaining two loops. There you have it! A double crochet stitch.
Repeat the double crochet four times, for a total of five in the round.

Forming the First Popcorn Stitch
Now for the fun part: the popcorn stitch! This is what gives our dishcloth its delightful texture and scrubby power.
-
Pull up a large loop on your hook. Don't worry about making it perfect; you'll get the hang of it.
-
Remove the hook from the loop.
-
Insert the hook into the top of the initial chain three.
-
Place the loop back on the hook.
-
Tighten the loop and slip stitch to join. It's like magic!
Securing the Popcorn and Chaining
To keep our popcorns nicely separated, chain two after creating the popcorn stitch. This chain two creates the space between the popcorns.
Completing the Second Round: Six Popcorns
For this round, we will make a popcorn stitch into each of the six stitches from the previous round. Remember, each popcorn stitch consists of five double crochets clustered together, secured at the top.
Forming the Remaining Popcorns
Time to create the remaining five popcorn stitches. Here's the breakdown:
-
Yarn over, insert your hook into the next stitch.
-
Create five double crochets in the same stitch.
-
Pull up a large loop, and remove the hook.
-
Insert the hook into the first double crochet of the popcorn.
-
Place the loop back on the hook, tighten it, and slip stitch.
-
Chain two.
Keep your tension consistent for a uniform look.
Identifying the Last Stitch
When you're nearing the end of the round, it can be tricky to spot the last stitch. Remember, the initial chain/slip stitch doesn't count as a working stitch. Only work into the actual stitches.
Flipping Your Work
Once you've completed all six popcorns, flip your work to the back side. This might seem a bit odd, but trust me, it's part of the process.
Joining the Popcorns from the Back
On the back side, find the first chain from closing the popcorn. You'll slip stitch into this chain to join the round. It might seem far away, but that's where we're headed! Getting under both strands of the stitch secures all the popcorns to be equal.
Starting the Third Round: Chain Three
Now we're going to chain three to start the next round. This chain three provides height for the next set of popcorns.
Creating Popcorn Clusters
For this round, we'll create two popcorns in between each popcorn from the previous round. Each popcorn is made with five double crochets in the same space, and the chain three counts as the first double crochet. After forming the popcorn, chain two.

Yarn Placement for Tight Stitches
Here's a helpful tip: when making your popcorns, try laying your yarn in the crack between the previous popcorns. This helps keep the stitches side by side and creates a tighter, more defined look. Pushing the stitches to the side creates more space.
Repeating the Popcorn Clusters
Keep going, creating two popcorns in each space between the previous round's popcorns. Don't forget the chain two between each popcorn! Consistent tension is key for a uniform look.
Counting Your Popcorns
It's a good idea to count your popcorns to make sure you have the correct number. There should be a total of 12 popcorns in this round.
Finishing the Popcorn Round
After the last popcorn with a chain two, slip stitch to that first chain you made on the other side. It might seem really far away, but just slip stitch to that chain.
Transition to Granny Square Pattern: Chain Three
Chain three to start the next round, transitioning to the granny square pattern.
Creating the First Shell
We're moving into the classic granny square pattern! Shells are sets of three double crochets. Make two double crochets into the same corner space (with the chain three, this completes the first shell).
Making Regular Shells
Now, create a regular shell (three double crochets) in the next space. Repeat this in the following space.
Forming the Corner
Corners are made with three double crochets, a chain two, and three double crochets all in the same spot. To create the corner, put three double crochets in the space, chain two, and then create three more double crochets in the same space. Push the stitches back to create space for the double crochets along the chain.
Pattern Repetition: Corner, Side, Side, Corner
The pattern sequence is: corner, side (two regular shells), corner. The user can follow the steps along for the rest of the square/dishcloth. This sets the pattern for the square shape.
Completing the Sides
Make two regular shells (three double crochets in each space) to complete the side. Remember to work into each space between the previous shells.
Repeating the Pattern Around
Continue the "corner, side, side, corner" pattern around the entire round. Remember, each side consists of two regular shells.
Finishing the Corner
Complete the final corner, placing stitches on the side before the chain. For the join: chain one, then single crochet to the chain two space. This leaves you in the center of the corner.
Starting the Next Round: Chain Three
Chain three to start the next round. Don't turn your work; keep working from the same side.
Creating Shells in the Corners
Make two double crochets into the same corner space on top of the single crochet (with the chain three, this completes the first shell).
Repeating the Granny Square Pattern
This round is another repeat of the granny square pattern. Create shells (three double crochets) in each space between the previous round's shells.
Corner Repetition
Create corners in each corner space (three double crochets, chain two, three double crochets). Pull your stitches over if needed to create more space.
Customizing the Size
Repeat this round as many times as desired to reach the size you want for your dishcloth.
I recommend following along with this list of fun crochet projects to get more project ideas!
Joining the Round
Join the round with a chain one, then a single crochet to the top of the chain three. The single crochet join leaves you in the center of the corner spot.
Chain Three for Border
Chain three to start the border round.
Double Crochet in the Corner
Two double crochets will be in the corner space.
Creating the Border: One Double Crochet Per Stitch
Work one double crochet into each double crochet stitch along the side. Skip the first double crochet for a better look in the next round. Work into the stitch (through the "V").
Creating the Corner
Create corners in each corner space (three double crochets, chain two, three double crochets).

Finishing the Round and Joining
Finish the round and join with a chain one, then a single crochet to the top of the chain three.
Chain Nine
A chain nine will be the loop to hang the dishcloth. Chain nine, thinking about the size of the hook you have when chaining.
Slide Hook
Slide the hook into the stitch at the bottom and picking up both strands.
Securing the Loop: Single Crochet
Secure the loop with a single crochet into the same corner space. This completes the hanging loop.
Chain Two, Skip Two Pattern
The edge pattern is: chain two, skip two, single crochet into the third stitch. Repeat this pattern along the side.
Corner Picot
Create a picot in the corner:
- Chain three.
- Slip stitch into the first chain to form the picot.
- Single crochet into the same corner space.
Continuing the Edge Pattern
Continue the "chain two, skip two, single crochet" pattern around the entire dishcloth.
Finishing and Joining the Edges
Finish the edges and join with a slip stitch.
Knotting the Yarn
Create a knot on the yarn with a chain one. Use scissors to cut the yarn, leaving enough length to sew in.
Final Touches: The Completed Dishcloth
Ta-da! Behold your completed dishcloth. Take note of the scrubby center, the hanging loop, and the decorative edges. The chain keeps the dishcloth from stretching out.
FAQs
What type of yarn is best for this dishcloth
Cotton yarn works best because it’s absorbent, strong, and machine washable. Brands like Sugar and Cream are recommended.
How big will the finished dishcloth be
The finished size depends on how many granny square rounds you make and your tension, but most finish around 7–8 inches square.
Can I use acrylic yarn instead
Acrylic yarn isn’t recommended for dishcloths since it’s less absorbent and may melt with heat. Stick to cotton for best results.
Can I make the dishcloth larger or smaller
Yes! Add or omit granny square rounds at the end to customize the size.
What is the purpose of the hanging loop
The loop lets you hang the dishcloth to dry, which helps prevent odors and keeps it handy.
Weaving in the Ends
To keep your work neat and tidy, and to ensure the tail doesn't unravel, grab the yarn needle. Thread the yarn needle with the tail. Work the tail down underneath the corner stitches for security. Weave in different directions to prevent the end from pulling out. Loop the yarn around a strand going in a different direction. Weave back against the way you came. Cut the excess yarn.
Call to Action: Like, Subscribe, and Share
I hope you enjoyed making this Easy Double Daisy Dishcloth with me! If you did, please give this post a thumbs up, subscribe to my blog for more fun crochet projects, and share this tutorial with your crochet-loving friends.
Facebook Group and Ravelry
I'd love to see your finished dishcloths! Share your creations on The Secret Yarnery's Facebook group and Ravelry page. It's a great way to connect with other crocheters and get inspired!
This easy crochet dishcloth pattern is sure to be a great addition to any home!
Final Thank You
Thanks so much for watching and crocheting along with me!
Stay Hooked!
Stay hooked!
Christa Patel is the creative mind behind the Secret Yarnery, a trusted resource for crochet enthusiasts worldwide. With years of experience, Christa specializes in designing beginner-friendly yet stunning crochet patterns that inspire creativity and confidence in crafters of all skill levels.
As a passionate crocheter, Christa is known for her clear and approachable teaching style, breaking down complex patterns into simple, easy-to-follow steps. Through her engaging video tutorials, written patterns, and helpful tips, she has cultivated a community where crocheters can connect, learn, and share their work.
Christa’s dedication to making crochet fun and accessible shines in every project she creates, from colorful blankets to intricate borders. Whether you’re a seasoned expert or just picking up a hook for the first time, Christa's guidance will help you craft something beautiful.
For more crochet patterns, tips, and inspiration, visit her website at The Secret Yarnery, or check out her YouTube channel filled with step-by-step tutorials.
About the Author
With a passion for crafting easy, beginner-friendly tutorials and patterns, Christa inspires crafters of all skill levels to unleash their creativity worldwide. She encourages yarn lovers to connect, create, and crochet a world filled with beautiful handmade treasures!
Easy Double Daisy Dishcloth Crochet Tutorial – Step-by-Step!