Crochet the "Granny Takes a Hike" Square: An Easy Crochet Secret Stitches Project
Have you ever wanted to add a touch of whimsy to your crochet projects? The "Granny Takes a Hike" square is just what you need! This fun and unique design, part of Krista's Secret Stitches CAL 2021, brings a playful twist to the traditional granny square. Whether you're a seasoned crocheter or just starting out, this step-by-step guide will walk you through creating this delightful stitch.
What is the Secret Stitches CAL 2021?
If you're new to the crochet world, you might be wondering, "What's a CAL?" CAL stands for Crochet Along. It's like a book club, but for crochet! A group of people all work on the same project at the same time, sharing tips, encouragement, and their finished pieces. The Secret Stitches CAL 2021 was a year-long crochet adventure featuring 12 different stitch patterns. The idea was to join these patterns into a cozy blanket or stylish cowl. Each pattern offers a new and exciting crochet experience. The "Granny Takes a Hike" square is part 12 of this creative journey. You can see all of the patterns from the Secret Stitches CAL on my website. Secret Stitches CAL
The "Granny Takes a Hike" Stitch: A Unique Design
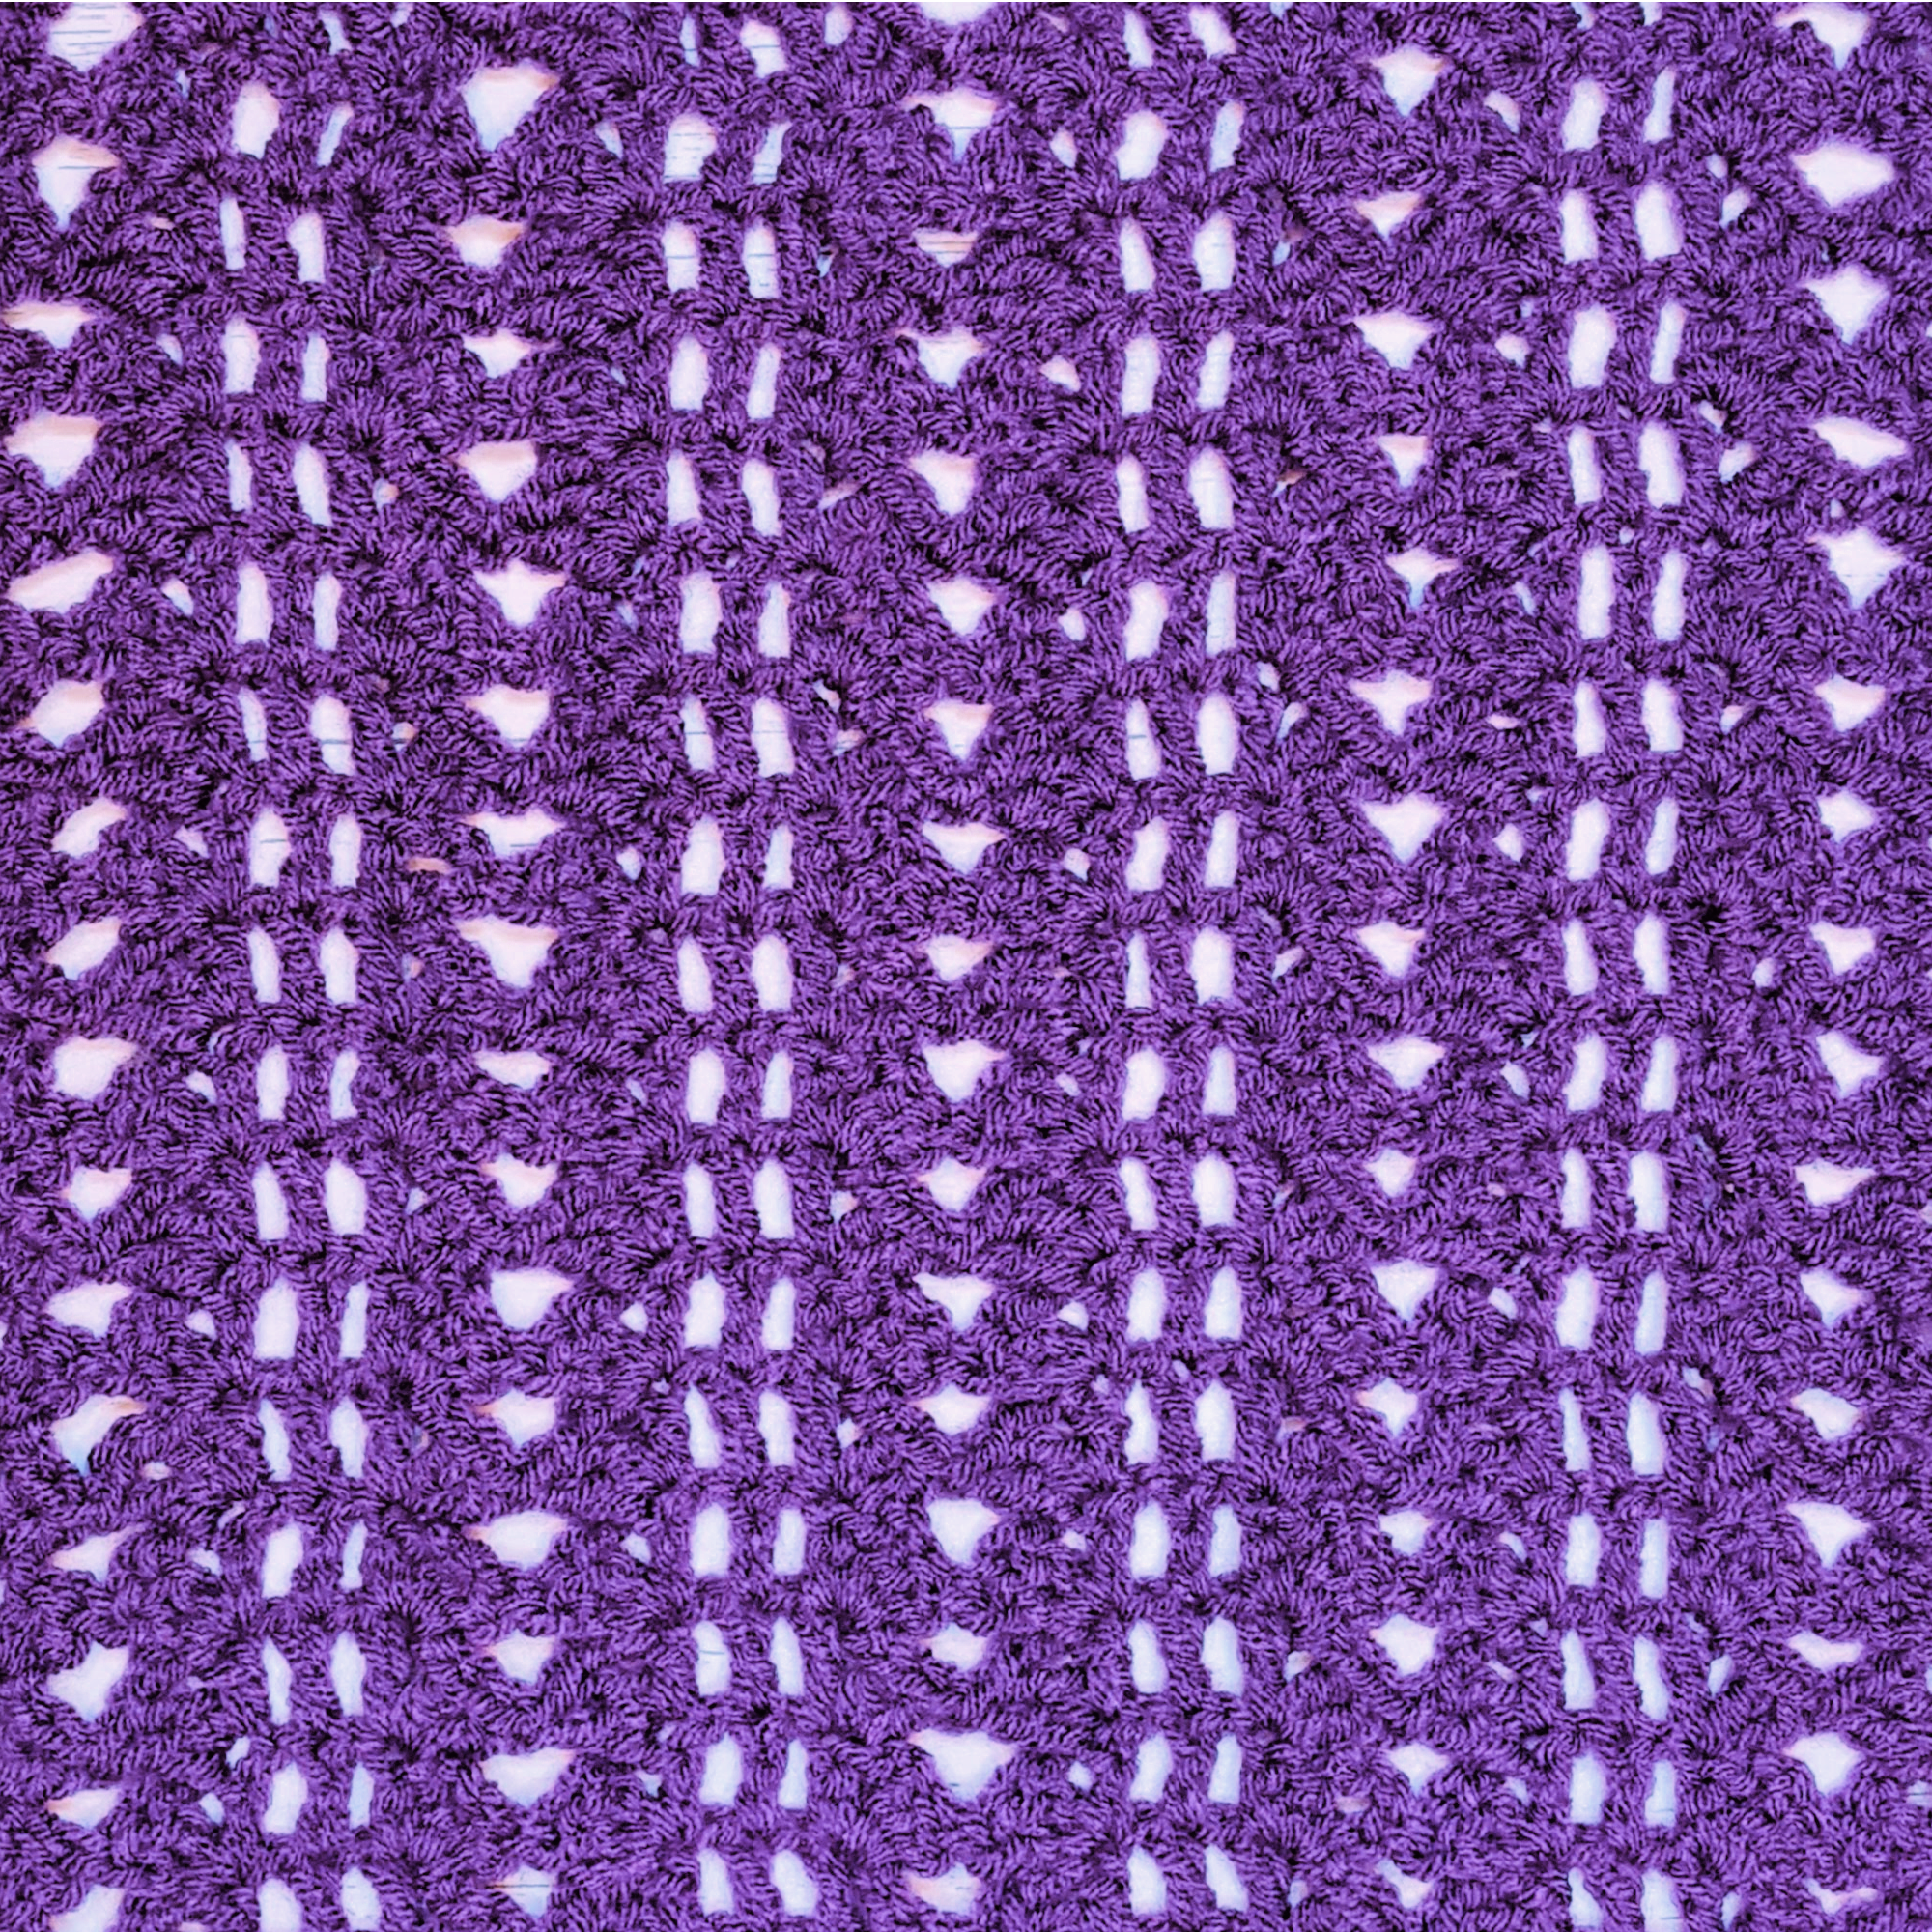
So, what makes the "Granny Takes a Hike" stitch so special? Imagine a granny square going for a scenic hike! The design features "uphills," "plateaus," and "downhills," creating a textured and visually interesting pattern. It's like a little landscape in crochet form. The best part? The pattern is easy to remember, making it perfect for crocheters of all skill levels. The one-row repeat makes it simple. Trust me, you'll be able to quickly memorize this stitch.

Why You'll Love This Easy Crochet Stitch
I know you're going to love working up this easy crochet stitch. The "Granny Takes a Hike" stitch isn't just pretty, it's also incredibly versatile. You can use it to create blankets, scarves, or any other project your heart desires. This pattern is sure to add a touch of fun and texture. Plus, there's something so relaxing about repetitive crochet patterns. The rhythmic motion of the hook and yarn can be almost meditative. It's a wonderful way to unwind after a long day. And of course, there's the satisfaction of creating something beautiful with your own hands.
Materials You'll Need
To make your own "Granny Takes a Hike" square, you'll need a few basic supplies.
Yarn
In the tutorial, I use Savor yarn from Ice Yarns. Savor is a soft, worsted-weight yarn that's perfect for this project. However, any worsted-weight yarn will work just fine. If you're making multiple squares for a larger project, like the Secret Stitches CAL blanket, I recommend using the same yarn you've been using for the other squares to ensure consistency. But don't be afraid to experiment with different colors! The "Granny Takes a Hike" stitch looks great in a variety of color combinations.
Crochet Hook
I use a 6mm crochet hook, which works well with my worsted weight yarn. However, the best hook size for you will depend on your yarn and your personal tension. If you're working on the Secret Stitches CAL, you might want to use the same hook size you've been using for the rest of the squares. This will help ensure that all your squares are the same size.
Stitch Markers
While not essential, stitch markers can be incredibly helpful for this pattern, especially when working the initial chain. I recommend having about five stitch markers on hand. They'll help you keep track of your stitch count and ensure that you're working into the correct loops.
Darning Needle
You'll need a darning needle for weaving in the ends of your yarn. This gives your finished square a clean, professional look and prevents the ends from unraveling.
Scissors
Of course, you'll need a pair of scissors for cutting the yarn.

Where to Find the Written Pattern
If you prefer to work from a written pattern, you can find the "Granny Takes a Hike" square pattern on my website, secretyarnery.com. My patterns are written in plain English, with no abbreviations. It is basically whatever I'm saying in the video, but on paper form. You don't need to know how to read a pattern to follow along! All the squares from the Secret Stitches CAL 2021 are also available on my website. Written Patterns
Following Along with the Video Tutorial
For those of you who prefer to learn visually, I've created a detailed video tutorial for the "Granny Takes a Hike" square on my YouTube channel. In the video, I walk you through each step of the pattern, from creating the initial chain to weaving in the ends. I recommend keeping both the written pattern and the video handy as you work. This way, you can refer to whichever resource you find most helpful. You can also find a left handed tutorial version of this pattern on YouTube.
Gauge
Gauge refers to the number of stitches and rows per inch or centimeter. It's important because it helps ensure that your finished project turns out the correct size. If your gauge is different from mine, your square may be larger or smaller than expected. Unfortunately I do not have specific gauge for this project. If you're not getting the same gauge, try adjusting your hook size. If you have too many stitches per inch, try using a larger hook. If you have too few stitches per inch, try using a smaller hook.
Abbreviations
While my written pattern doesn't use abbreviations, here are a few common crochet abbreviations you might encounter in other patterns:
- ch - chain
- sl st - slip stitch
- sc - single crochet
- dc - double crochet
Let's Get Started! Step-by-Step Instructions
Ready to start your "Granny Takes a Hike" square? Here's a detailed breakdown of the pattern:
Creating the Initial Chain
- Make a slip knot, leaving a long tail for sewing in later.
- Chain 51. The pattern is a multiple of 10 plus one.
Marking the Back Loops
- Roll the chain over and identify the "camel bumps" or back loops on the back of the chain.
- Place a stitch marker on every 10th back loop (5 markers total). This will help you keep track of your stitch count.
Row 1: Creating the Uphill and Downhill Shells
- Into the fifth chain from your hook, make two double crochets.
- Skip five chains, work into the sixth chain (before the stitch marker) and create an uphill shell: 2 double crochets, chain 2, 1 double crochet into the same stitch.
- Chain 1, skip 1, 1 double crochet into the next stitch (after the stitch marker), chain 1, skip 1.
- Into the next stitch, make a downhill shell: 1 double crochet, chain 2, 2 double crochets.
- Repeat from * to * across the row.
- Into the last chain before the knot do an uphill shell, just like the other uphill shells.
Understanding Uphill and Downhill Shells
The uphill and downhill shells are what give the "Granny Takes a Hike" stitch its unique look. The uphill shell consists of two double crochets, a chain two, and one double crochet, all worked into the same stitch. This creates a raised, "uphill" effect. The downhill shell consists of one double crochet, a chain two, and two double crochets, all worked into the same stitch. This creates a lower, "downhill" effect. Together, these shells create a fun, textured pattern that resembles a hike through rolling hills.
Row 2: Working into the Plateaus
- Chain 4 and turn your work.
- Work two double crochets into the first stitch right where the chain is.
- Skip the "valley" and work into the "plateaus" (the three double crochets from the previous row).
- In the first double crochet of the plateau, make an uphill shell.
- Chain 1, skip 1, 1 double crochet into the next stitch, chain 1, skip 1.
- In the last double crochet of the plateau, make a downhill shell.
- Repeat across the row.
- At the end of your row wrap yarn over, skip two chains, and in the third chain do your uphill shell.
How to Turn Your Work
Turning your work is a simple but important step in crochet. To make it easier to work into the chain, I like to slide my hand underneath the yarn and bring the work to the other side. This helps keep the chain from twisting and makes it easier to see the stitches.
Row 3 and Beyond: The Repeat
Row 2 is the main repeat for this pattern. Once you've completed Row 2, simply repeat it until your square reaches the desired size. Remember to continue working into the "plateaus" and creating the uphill and downhill shells. For the end of each row you want to wrap your yarn, and into the third chain two strands of that stitch on your hook, you'll make two double crochets, chain two, and one double crochet. As you continue crocheting, you'll start to see the "hiking" pattern emerge. It's so satisfying to watch the design come to life!
The Last Row: Adding the Finishing Touches
Once your square is the desired size, it's time to add the finishing touches:
- Chain 1 and turn your work.
- Into the first stitch, make one single crochet.
- Chain 4.
- Work into the plateaus: 1 single crochet into the first stitch, chain 1, skip 1, 1 single crochet into the second stitch, chain 1, skip 1, 1 single crochet into the third stitch.
- Chain 5.
- Repeat the plateau sequence.
- Chain 4.
- Into the same spot, that third chain down, make one single crochet. Chain 1, cut yarn and pull your hook up and your yarn through and snug that down to secure.
Finishing Your Easy Crochet Square
Now that you've completed the crochet work, it's time to finish your square.
Weaving in the Ends
Weaving in the ends is an essential step for any crochet project. It prevents the ends from unraveling and gives your work a neat, professional finish. To weave in the ends, thread the yarn tail onto a darning needle. Then, weave the needle through the stitches on the back of your work, following the path of the yarn. Weave in different directions to secure the end. Once you've woven in the end securely, trim off any excess yarn.
Blocking (Optional)
Blocking is a process that helps to even out the stitches and improve the overall appearance of your crochet project. It's not always necessary, but it can make a big difference, especially for projects like blankets or scarves. There are two main methods of blocking: wet blocking and steam blocking. To wet block, soak your square in lukewarm water for about 20 minutes. Then, gently squeeze out the excess water (don't twist or wring it). Lay the square flat on a blocking board or towel and pin it into shape. Let it dry completely. To steam block, lay the square flat on a blocking board or towel. Hover a steam iron over the square, being careful not to touch the iron directly to the yarn. Gently steam the square until it's slightly damp. Let it dry completely.

Tips for Success
Here are a few tips to help you create a perfect "Granny Takes a Hike" square:
Counting Stitches
Counting stitches accurately is crucial, especially in the initial chain. Use stitch markers to keep track of your progress and ensure that you're working into the correct loops.
Maintaining Tension
Maintaining consistent tension is key to creating even stitches and preventing your square from warping. If your stitches are too tight, try loosening your grip on the yarn. If your stitches are too loose, try tightening your grip.
Choosing Colors
Choosing colors is one of the most fun parts of crochet! When selecting colors for your "Granny Takes a Hike" square, consider using colors that complement each other and create a visually appealing design. You can use a color wheel for inspiration. Or, if you prefer a more monochromatic look, you can use different shades of the same color. Of course, there's no right or wrong answer when it comes to color choices. It's all about personal preference!
Adjusting the Size
Want to make your square larger or smaller? You can easily adjust the size by adding or subtracting rows. Just remember to keep the multiple of 10+1 in mind when adjusting the initial chain.
Troubleshooting Common Problems
Even experienced crocheters sometimes run into problems. Here are a few common issues you might encounter, along with solutions:
Square is Warping
If your square is warping, it could be due to uneven tension or an incorrect stitch count. Try blocking the square to see if that helps. If the warping is severe, you may need to redo the work, paying close attention to your tension and stitch count.
Stitches are Too Tight or Too Loose
If your stitches are too tight, try using a larger hook. If your stitches are too loose, try using a smaller hook. You can also try adjusting your tension by loosening or tightening your grip on the yarn.
Ways to Use Your "Granny Takes a Hike" Square
Once you've mastered the "Granny Takes a Hike" square, the possibilities are endless!
Joining into a Blanket
One of the most popular ways to use granny squares is to join them together to create a blanket or afghan. You can arrange the squares in any pattern you like and join them using a variety of methods, such as slip stitch, single crochet, or mattress stitch.
Creating a Cowl
Another fun project is to join the squares into a circle to create a cowl or neck warmer. This is a great way to show off the unique texture of the "Granny Takes a Hike" stitch. You can add a border to the cowl for a more finished look.
Other Project Ideas
Of course, you're not limited to blankets and cowls! You can also use the squares to make a bag, pillow, or wall hanging. Get creative and see what you can come up with!
Christa's Other Crochet Patterns
If you enjoyed making the "Granny Takes a Hike" square, be sure to check out my other crochet patterns on my website, secretyarnery.com. I offer a wide variety of patterns for all skill levels, from beginner-friendly projects to more advanced designs. You might also be interested in other patterns from the Secret Stitches CAL 2021!
Why not check out the Drunken Granny Square, it is part of the Secret Stitches CAL 2021 too!
Connecting with the Secret Yarnery Community
I love seeing what you create! I encourage you to join the Secret Yarnery crochet community on Facebook. It's a great place to share photos of your finished projects, ask questions, and connect with other crocheters.
Following Christa on Social Media
For more crochet inspiration, tutorials, and behind-the-scenes content, be sure to follow me on social media! You can find me on Instagram and Facebook at Secret Yarnery.
Check out my behind the scenes videos on YouTube.
Subscribing to the Secret Yarnery YouTube Channel
Don't miss out on new free crochet tutorials! Subscribe to my YouTube channel, SecretYarnery, and hit the notification bell so you don't miss out on new videos.
Buying Christa a Coffee
If you enjoy my tutorials and patterns, you can support my work by buying me a coffee on Ko-Fi! ko-fi
Join the Secret Yarnery Membership
Join the Secret Yarnery Membership and unlock exclusive perks! Join
Sign up for the Secret Yarnery Newsletter
Sign up for the Secret Yarnery newsletter to stay up-to-date on the latest patterns, tutorials, and news! Newsletter
Check out Christa's left handed tutorials
I have left handed tutorials available on YouTube! Left Handed Tutorials
Watch Behind the scenes with Christa
Watch my behind the scenes videos on YouTube! Behind the Scenes
Call to Action
I hope you enjoyed this tutorial and are inspired to try the "Granny Takes a Hike" square! Share your finished projects on social media using the hashtag #SecretYarnery. I can't wait to see what you create!
Disclaimer
As an Amazon Associate I earn from qualifying purchases.
FAQs
1. Do I need to know how to read a crochet pattern?
No! This pattern includes simple, plain-English instructions without abbreviations. The step-by-step video tutorial is perfect for visual learners.
2. What materials do I need?
You'll need worsted-weight yarn, a 6mm crochet hook, stitch markers, a darning needle, and scissors. Use the same yarn and hook as the rest of your project for consistent results.
3. Can I make this square bigger or smaller?
Yes! Adjust the foundation chain in multiples of 10+1, and add or reduce the number of rows to customize the size.
4. Is this pattern beginner-friendly?
Absolutely! With clear instructions and a one-row repeat, this is a great project for beginners looking to explore texture and pattern.
5. Is gauge critical for this pattern?
Gauge isn't crucial unless you’re making multiple squares for a joined project. If size matters, adjust your hook or yarn weight as needed.
6. Can I use different yarn types?
Yes! You can use any yarn you like, though worsted weight is recommended. Your finished square may vary in size based on yarn thickness.
7. Where can I find support if I have questions?
Join the Secret Yarnery community on Facebook or connect on Instagram for help and inspiration. Post your questions, and Christa is always happy to guide you!
Christa Patel is the creative mind behind The Secret Yarnery, a vibrant space where crochet passion meets fun, easy-to-follow patterns. Based in Kenya, Christa has built an international community of crocheters through her YouTube tutorials, detailed patterns, and online engagement. Her mission is simple: to make crochet accessible, enjoyable, and rewarding for everyone, regardless of skill level.
Known for her clear explanations and calming teaching style, Christa is adored by hundreds of thousands of crocheters worldwide. Whether you’re a beginner or an experienced crafter, her innovative designs and thoughtful guidance will inspire your creativity and elevate your crochet skills.
When she’s not crocheting or filming tutorials, you’ll find Christa sipping tea, surrounded by yarn, or engaging with her thriving online community. Follow The Secret Yarnery on YouTube and social media for free tutorials, crochet tips, and plenty of crafty inspiration!
About the Author
With a passion for crafting easy, beginner-friendly tutorials and patterns, Christa inspires crafters of all skill levels to unleash their creativity worldwide. She encourages yarn lovers to connect, create, and crochet a world filled with beautiful handmade treasures!
Crochet the "Granny Takes a Hike" Square: An Easy Crochet Secret Stitches Project