Granny Takes a Hike Square | Secret Stitches Easy Stitch Sampler Blanket Pattern Part 12
The Granny Takes a Hike Square is the twelfth and final square in the Secret Stitches Easy Stitch Sampler Blanket Pattern.
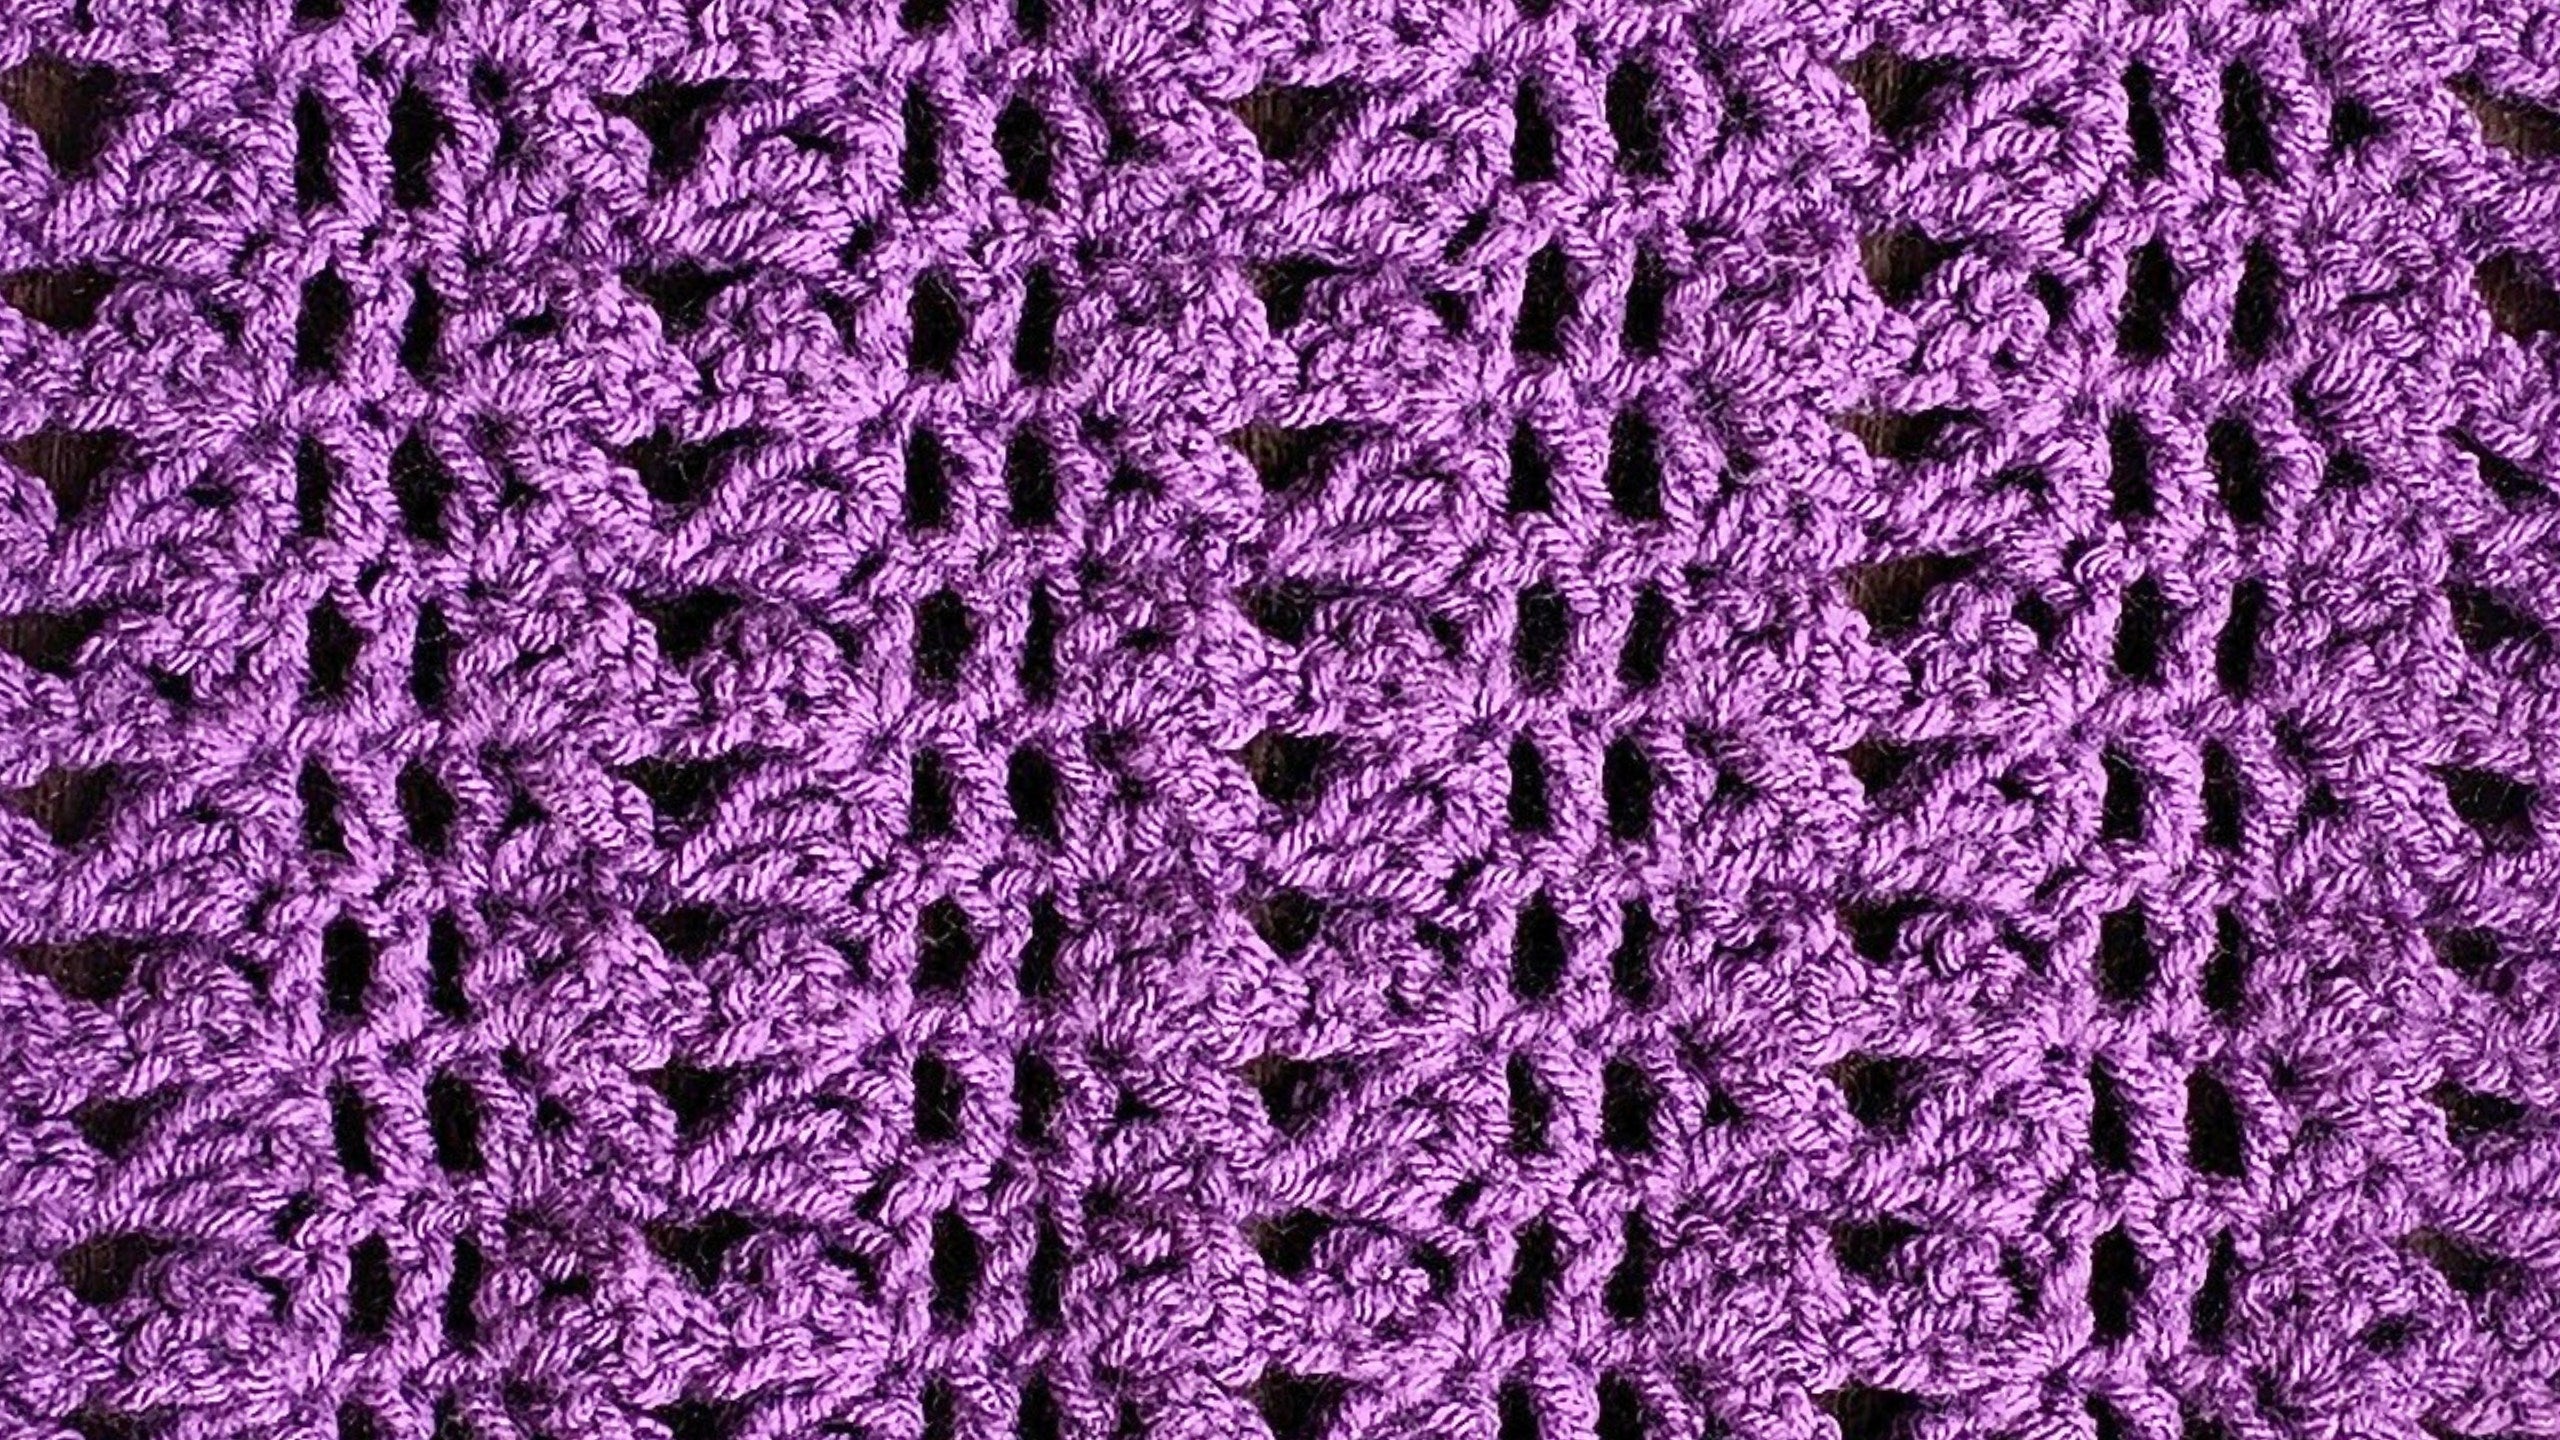
The repetitive row structure is easy to remember, making this square an excellent way to learn or refine fundamental crochet skills. Whether you stitch up this square solo or use it as part of the complete Stitch Sampler Blanket Pattern blanket, you’ll enjoy the charming texture and cheerful movement it brings.
About the Granny Takes a Hike Square
Part 12 of the Secret Stitches Stitch Sampler Blanket Pattern is all about this unique yet simple granny square. The pattern is built on a playful “hiking” theme, creating peaks (uphills), flat stretches (plateaus), and valleys (downhills) across every row. The one-row repeat keeps things easy, so you can crochet confidently while watching your square take shape.
You can use a single color for a classic look or change it up with your favorite color combinations. The finished square is lovely on its own or can easily join other squares in a blanket. If you prefer to work from a written pattern, the Written Pattern is available, written in plain English so you never need to decipher abbreviations.

What is the Secret Stitches Easy Stitch Sampler Blanket Pattern?
The Secret Stitches Stitch Sampler Blanket Pattern includes twelve different crochet stitch squares, each teaching a new technique or texture. Every square is designed to fit together with the rest, so you can join them into a stunning blanket when the series is done. You have the choice to keep all your squares in one color for a cohesive finish or to mix and match colors for something more vibrant—just like I did in my samples.
All written patterns for each square can be found at Secret Yarnery. You’ll also find clear video tutorials for every part of the Easy Stitch Sampler Blanket Pattern on my YouTube channel, so you can follow along at your own speed, whether you prefer visual, written, or both.
If you like exploring new ways to use squares in your projects, you might also enjoy browsing the Granny Squares Collection for more creative ideas.
What You’ll Need for the Granny Takes a Hike Square
Before getting started, gather these materials:
- Yarn: I used Savor from Ice Yarns (worsted weight), but any similar weight yarn will work.
- Hook: 6mm crochet hook, matching what you’ve used on the other squares for consistent sizing.
- Stitch Markers: Five markers make the foundation chain easier.
- Darning Needle: For weaving in your yarn ends.
- Scissors: Essential for trimming yarn.
If you’ve already worked on earlier squares in this CAL, stick with the same yarn and hook combo. This helps keep all your squares even. If you need help picking the perfect yarn or hook, check out the Yarn and Hook Recommendations in the video description to see exactly what I used.

Starting the Square: Foundation Chain Step-by-Step
Let’s walk through setting up for success with your foundation chain. Every good square starts with a solid base:
- Start with a slip knot, leaving a long tail. This helps secure your ends neatly later.
- Chain 10 stitches for the base.
- Roll the chain onto its side so you can see the back loops (the little camel bumps along the rear of the chain).
- Grab a stitch marker and place it on the first back loop—this is right beneath your working yarn.
- Chain 10 more, roll again, and mark the new first back loop. Continue until you’ve used all five markers.
- By the end, you’ll have 50 chains with markers at every set of ten. Add one more chain for a total of 51 (multiple of 10, plus one).
Rolling the chain onto its side makes it so much easier to spot those back loops and keeps your foundation neat. If you’re a visual learner, adding a photo or drawing of this step can help you master it quickly.
How Stitch Markers Make This Pattern a Breeze
Stitch markers aren’t just for advanced projects. With this pattern, they do the heavy lifting so you can relax and enjoy your crochet time. Here’s how they help:
- Mark where each segment of 10 chains begins—that’s your checkpoint.
- Make it easy to find the right chain for your shells, so you don’t lose your place.
- Help maintain a perfect stitch count, avoiding those frustrating “off by one” problems.
Benefits of stitch markers:
- Help track pattern repeats
- Prevent missing or extra stitches
- Speed up the process by clarifying working spots
- Reduce mistakes, especially if you’re multitasking or watching TV while crocheting
Once you get the hang of using markers on the foundation row, you’ll wonder how you crocheted without them.

Working the First Row: The Hike Begins
Row one is where the hiking pattern starts. Here’s where the “granny takes a hike” idea shows up—with uplifts, plateaus, and downhills stitched right into your row.
Start by finding the fifth chain from your hook.
- Into this chain, work two double crochets.
-
Skip five chains and in the sixth chain (which will be just before a stitch marker), make your first uphill shell:
- Two double crochets
- Chain two
- One double crochet (all into the same chain)
- Chain one, skip one, and work a single double crochet in the stitch after the marker.
-
Chain one, skip one, and work your downhill shell in the following chain:
- One double crochet
- Chain two
- Two double crochets (all into the same chain)
- This pattern repeats, using the markers to guide you all the way along the starting chain.
Steps for First Row Shells:
- Two double crochet, chain two, one double crochet (uphill shell)
- Chain one, skip one, double crochet in next
- Chain one, skip one, one double crochet, chain two, two double crochet (downhill shell)
This is your hiking trail—up, across, down—right from the start!
How to Work an Uphill Shell
To create the rising “hill” at each pattern repeat:
- Yarn over, insert your hook into the right chain, pull up a loop
- Complete one double crochet, then another into the same stitch
- Chain two
- One more double crochet, again in the same stitch
This sequence builds a peak. After the shell, chain one and skip one chain before moving to the next step. The uphill shell sets you up for the plateau and the next little climb.
A photo or two of the shell in progress would really help here if you're struggling to visualize it!

How to Work a Downhill Shell
The downhill shell is the counterpart to your climb:
- Yarn over, double crochet in the targeted stitch
- Chain two
- Two double crochets, all in the same stitch
This part is like setting up the downhill slope after your plateau. Just as you finished with the uphill shell, chain one and skip one stitch after completing your downhill shell to stay aligned.
Downhill shell stitches give your square both height and visual motion—making this pattern so dynamic and fun.
Patterning Between the Stitch Markers
Here’s how to tackle the main body of row one using the stitch markers for accuracy:
- Skip five chains after the previous shell.
- Work your uphill shell (two double crochets, chain two, one double crochet) into the stitch just before the next stitch marker.
- Chain one, skip one. In the stitch after the marker, work a single double crochet.
- Chain one, skip one. In the following chain, work the downhill shell (one double crochet, chain two, two double crochets).
- Repeat these steps across to the end of the row.
Following this rhythm keeps your rows even and your “hiking” pattern true to the design. Imagine the plates and valleys set in between marker points—it all comes together like a beautiful trail.

Completing Row One
Once you’ve followed these repeats all the way to the end:
- Finish with an uphill shell in the last chain right before the knot (this uses up your last chains).
- Pull out all your stitch markers so you’re ready for a clean start on the next row.
Remember: Always remove your stitch markers after the first row. Leaving them in can cause confusion and slow you down as you build up your square.
Starting Row Two: Turning Your Work
To move to the next row with clean edges:
- Chain four (this now counts as your starting double crochet plus chain two).
- Turn your work by sliding your hand beneath the working yarn and flipping your piece so your stitches are facing up and easy to access.
Turning your work with chain four instead of chain five makes all the difference in keeping a square shape.
The chain four at the start stands in for a double crochet and a chain two, keeping the edge tidy and squared off rather than stretching it out.
Working Into the Plateaus on Row Two
Now, it’s all about building on the plateaus created in row one. The key: ignore the peaks and valleys and work only into the three double crochets standing together at each plateau.
- Into the first of the three double crochets: two double crochets
- Into the next: uphill shell (two double crochets, chain two, one double crochet into the double crochet standing after chain two)
- Chain one, skip one, then a single double crochet in the center of the plateau
- Chain one, skip one, and finish with a downhill shell (one double crochet, chain two, two double crochets) in the last of the plateau’s three double crochets
Row Two Steps on Each Plateau:
- Work uphill shell
- Chain one, skip one, double crochet
- Chain one, skip one, downhill shell
Repeat this process across the row, finding each set of three double crochets for your “hiking” path.

Shells on Row Two: Keeping Up the Hiking Rhythm
You'll see the same rhythm as before—uphill shells, single double crochets, and downhill shells—all arranged over the plateaus from the previous row.
Uphill shell: Two double crochets, chain two, one double crochet
Downhill shell: One double crochet, chain two, two double crochets
Keep counting your stitches between shells to maintain the established rhythm and structure—this is what creates the charming hill and valley movement that makes the pattern pop.
Chain one, skip one between shells is as important now as in the first row. Double check as you go to avoid accidentally growing or shrinking the square!
Finding Working Spots Without Stitch Markers
The first row may be done, but it’s still important to find exactly where you need to work your stitches. While the markers are gone, you can spot the plateaus visually:
- Look for three double crochets standing tall together—these are your plateaus.
- Ensure each shell lands on either side of these clusters.
- If you’re ever in doubt, count the stitches—accuracy here is better than ending up with wonky edges.
Tips for success:
- Pause every row or two to verify your stitch count
- Keep an eye on your plateaus—they're your compass for each row
- Trust your eyes: the clusters should “stack” neatly above each other

How to Finish Row Two
Finishing row two is straightforward:
- After your last repeat, you'll be left with a long chain on the edge.
-
Skip two chains, then work your final uphill shell into the third chain of the starting chain below.
- Insert the hook under two strands of the third chain (for structure)
- Work two double crochets, chain two, one double crochet
This leaves your square tidy and ready for more rows!
Step-by-step recap:
- Complete last plateau
- Skip two chains at end of row
- Into third chain, work uphill shell
- End row with edges square and neat
The Pattern Repeat: Building Your Square
From row three onwards, the pattern is a one-row repeat—simple and relaxing! Always begin the row with a chain four and turn your work. Immediately add two double crochets at the edge (right beside the turning chain).
Work the sequence across:
- Uphill shell (two double crochets, chain two, one double crochet)
- Chain one, skip one, single double crochet
- Chain one, skip one, downhill shell (one double crochet, chain two, two double crochets)
Repeat until the square is the same height as the others in your CAL set. Consistency is the secret—chain four at the start, mirror the shells, and use your plateaus as a guide.

Why Use Chain 4 and Not Chain 5?
The chain at the start of each row matters far more than you’d expect. A chain four (rather than five) does two things:
- Keeps the edges looking neat, so your square forms a true square instead of a rectangle
- Makes it easier to join with other squares later on
Key Tip:
Chain 4 counts as a double crochet and chain 2 for square edges
You’ll notice the difference if you try both; the square with chain five will stretch and look less polished.
Continue Rows Until Your Square is Complete
Repeat the process—chain four, turn, work your shells, skip and chain—until the piece is perfectly square or matches your other project squares.
Throughout, the “granny takes a hike” motif will build row by row, resulting in a fabric that’s dynamic, easy to handle, and perfect for a cozy blanket.
If blanket projects are your passion, have a look at the Cozy Blankets Collection for more ideas to keep your hooks busy.
Finishing Off the Last Row
When your square is as tall as you want, the last row is a simple edging row:
- Chain one and turn your work
- Single crochet into the very first stitch
- Chain four, then single crochet into the first of the next set of three double crochets (the next plateau)
- Chain one, skip one, then single crochet in the next double crochet, chain one, skip one, single crochet in the last of the three
- Chain five, hop to the next plateau, repeat the single crochets
- At the very end, after your final repeat, chain four and work a single crochet into the starting chain from the row below
- Cut your yarn and pull through, then use a darning needle to weave in the ends
This edging row puts a “roof” on each plateau and frames your square, leaving it ready for joining or use on its own.

Tips for Great-Looking Squares
- Count your stitches at the end of every row so your square doesn’t skew or bulge.
- Use the same type and weight of yarn and hook used on other CAL squares.
- Weave in ends carefully to avoid unraveling later.
- Block your square if necessary for a crisp, polished finish.
If you love collecting unique and beginner-friendly blocks, explore more patterns in the Granny Square Blocks to keep the inspiration flowing.
Where to Find More Crochet Inspiration
You can always find the latest patterns, CAL information, and fresh project ideas at Secret Yarnery. Whether you’re looking for simple patterns or new blocks to master, there’s something for everyone. Visit the All Crochet Patterns at Secret Yarnery to discover even more.
Left Handed?
Wrap-Up: Enjoy Your New Granny Takes a Hike Square
The Granny Takes a Hike Square brings together simple stitches and a memorable motif, ideal for confident beginners and anyone who enjoys creating texture with basic crochet moves. Whether you use it in a blanket, a cushion, or just to enjoy the process, it’s satisfying to watch each “hike” row come alive.
Thank you for being part of the Secret Stitches Easy Stitch Sampler Blanket Pattern series. Keep exploring new patterns and building your crochet skills! You’ll always find support, inspiration, and community across our social platforms too.
Stay hooked!
FAQs
1. Can I use a different yarn or hook size for this pattern?
Yes, you can use any yarn and a suitable hook. For best results, use the same yarn and hook as your other Stitch Sampler Blanket Pattern squares so your blanket stays even.
2. How large should my finished square be?
Aim to match the size of your other Stitch Sampler Blanket Pattern squares. Adjust your row count as needed to keep everything even for joining.
3. What do I do if my square turns out smaller or larger than the others?
Check your stitch count, block your square by gently wetting and shaping it, or add/subtract rows as needed to match your set.
4. Why are stitch markers needed in the foundation row?
Stitch markers help keep track of your pattern repeats, making it much easier to find the right spots for shells and keep your stitch count perfect.
5. Can I use this pattern for other projects besides a blanket?
Yes! Try this square for cushions, bags, scarves, or even as a single statement piece. The pattern is versatile.
6. Do I have to use just one color?
No—feel free to use as many colors as you like! Color changes can make each “hiking” row pop with personality.
7. My edges look wavy. What should I do?
Wavy edges usually mean extra stitches have slipped in. Double-check your count each row, and block your square for a smooth finish.
![]()
Christa Patel is the creator behind Secret Yarnery, a vibrant hub for crochet lovers around the world. She has a passion for designing clear, accessible patterns and helping crocheters of all skill levels gain confidence with their hooks. Christa’s video tutorials are known for being easy to follow and full of useful tips. She enjoys building a welcoming community where everyone can share their creations, ask questions, and find inspiration. Whether you’re picking up a hook for the first time or looking for your next favorite stitch, Christa’s creative energy and love for yarn shine through in every project.
Find more of Christa’s patterns, Easy Stitch Sampler Blanket Patterns, and crochet resources at Secret Yarnery or on her YouTube channel.
About the Author
With a passion for crafting easy, beginner-friendly tutorials and patterns, Christa inspires crafters of all skill levels to unleash their creativity worldwide. She encourages yarn lovers to connect, create, and crochet a world filled with beautiful handmade treasures!
Part 12 - Secret Stitches Easy Stitch Sampler Blanket Pattern