Summer is here, and nothing says beach-ready style like a handmade crochet beach cover up! Whether you're lounging poolside or strolling along the shore, a lightweight, breathable cover-up is the perfect addition to your summer wardrobe. The best part? You can create one yourself with this free pattern that's both stylish and beginner-friendly.
In this comprehensive guide, I'll walk you through creating a beautiful, versatile crochet beach cover up that will have everyone asking where you got it. With simple stitches and straightforward construction, you'll be showing off your handmade creation in no time!
Want an ad-free, printable version of this pattern? Get the PDF for easy offline access!
Download Printable PDFMaterials You'll Need for Your Crochet Beach Cover Up

Yarn Recommendations
For the perfect beach cover up, you'll want to choose yarn that's lightweight, breathable, and holds up well to washing. Cotton or cotton blends are ideal for this project as they're comfortable against the skin and dry relatively quickly.
- Recommended Yarn: Light to medium weight cotton yarn (DK or worsted weight)
- Amount Needed: 800-1200 yards depending on size and desired length
- Suggested Brands: Lion Brand 24/7 Cotton, Hobby Lobby I Love This Cotton, or any comparable cotton blend
- Color Options: Choose a single color or create stripes with complementary shades
Yarn Tip: Natural fibers like cotton are best for beach wear as they're breathable and comfortable in hot weather. Avoid acrylic yarns as they can be hot and don't dry as quickly when wet.
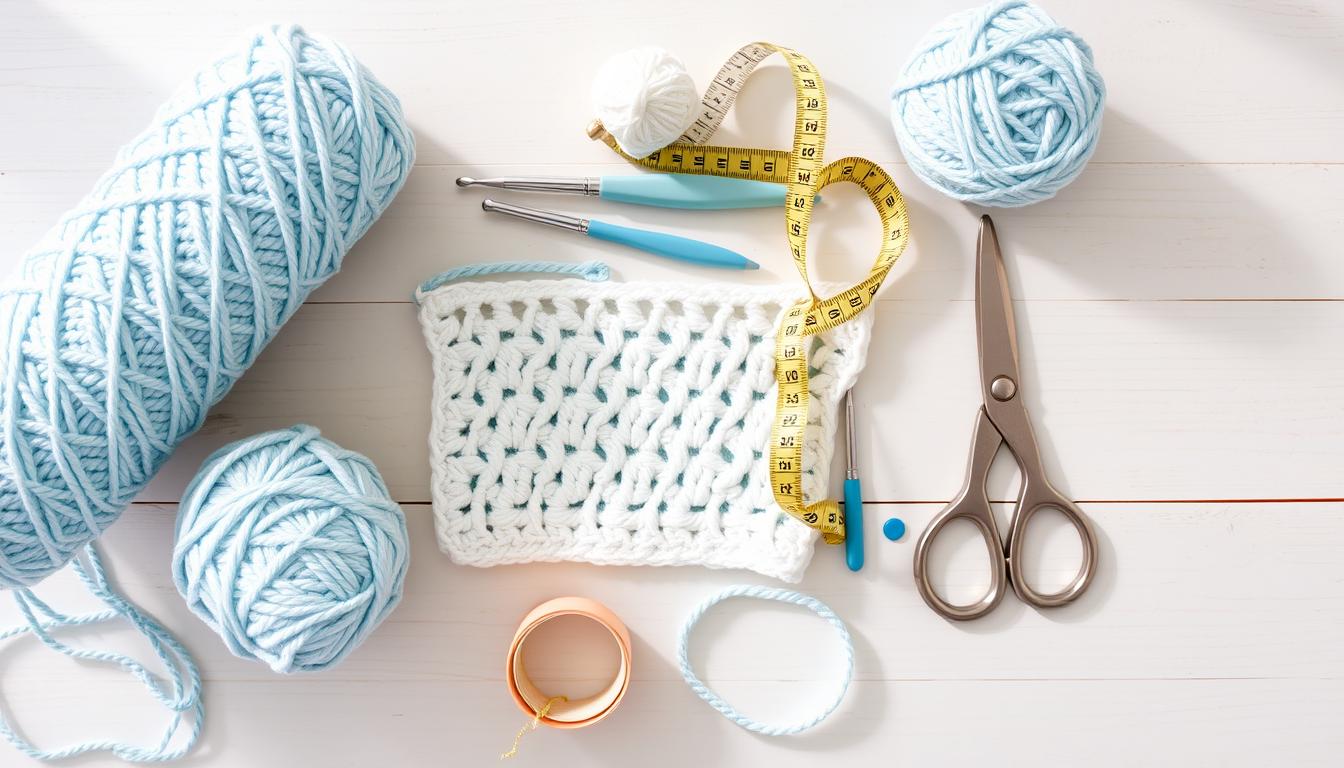
Tools Checklist
- Crochet Hooks: Size H/8 (5.0mm) for main pattern and Size K/10.5 (6.5mm) for edging
- Tapestry Needle: For weaving in ends
- Scissors: For cutting yarn
- Measuring Tape: For checking gauge and sizing
- Stitch Markers: To mark important points in your pattern
- Blocking Supplies: Spray bottle, pins, and a flat surface for blocking (optional but recommended)
Gauge: 14 double crochet stitches and 8 rows = 4 inches square. Checking your gauge is important to ensure your cover-up fits as expected!
Skill Level & Techniques

Beginner-Friendly Pattern
This crochet beach cover up free pattern is designed with beginners in mind. If you know the basic crochet stitches, you'll be able to complete this project successfully. The pattern uses simple, repetitive stitch combinations that create a beautiful mesh effect perfect for a beach cover-up.
- Basic chain stitch (ch)
- Single crochet (sc)
- Double crochet (dc)
- Slip stitch (sl st)
Special Stitches & Techniques
While most of this pattern uses basic stitches, there are a few special techniques that create the beautiful drape and texture of this cover-up:
- Mesh Stitch: A combination of chains and double crochets that creates an open, lacy pattern
- Working in the Round: For seamless construction
- Blocking: To help your finished piece lay flat and show off the stitch pattern
Need a refresher on these techniques? The premium PDF includes detailed photo tutorials for each special stitch.
Get the Premium PatternSizing Chart & Customization

This versatile crochet beach cover up pattern includes multiple size options from XS to XXL. The design features positive ease for a comfortable, flowy fit that's perfect for beach or poolside wear.
| Size | Bust Measurement | Length (Front) | Length (Back) | Yarn Required |
| XS/S | 32-36" | 29" | 35" | 800 yards |
| M/L | 38-42" | 30" | 36" | 950 yards |
| XL/XXL | 44-48" | 31" | 37" | 1100 yards |
Customization Tip: This pattern is easily customizable! For a longer or shorter cover-up, simply add or subtract rows in multiples of 2. Each additional 2 rows will add approximately 1" to the length.
Stitch Abbreviations & Terms
Basic Terminology
- ch - Chain
- sc - Single crochet
- dc - Double crochet
- sl st - Slip stitch
- st(s) - Stitch(es)
- sk - Skip
- sp - Space
- rep - Repeat
Pattern-Specific Terms
- ch-sp - Chain space
- BLO - Back loop only
- [ ] - Work instructions within brackets the number of times specified
- ( ) - Work everything within parentheses in the same stitch or space
- * - Repeat instructions following the asterisk as indicated
Note: In this pattern, the turning chain does NOT count as a stitch unless specifically noted.
Pattern Overview & Construction

Before diving into the detailed instructions, let's understand how this crochet beach cover up is constructed. This design is worked in sections that are then seamed together, creating a flattering silhouette with minimal shaping required.
Construction Method
- Two identical rectangular panels are created first
- Panels are seamed together, leaving openings for the neck and arms
- Edging is added around all openings for a finished look
- Optional side slits can be added for a more fashionable look
- The high-low hemline creates a flattering silhouette
Pattern Notes
- The mesh stitch pattern creates a beautiful drape
- The cover-up is designed with positive ease for a comfortable fit
- Blocking is recommended to help the stitches open up and lay flat
- The pattern includes options for customizing length and fit
Want to see more photos of the finished cover-up and detailed assembly instructions?
Get the Premium PatternFree Crochet Beach Cover Up Pattern

Remember: Check your gauge before beginning! 14 dc stitches and 8 rows should equal a 4-inch square.
Front and Back Panels (Make 2 identical)
Foundation
Row 1: Ch 221 (for size M/L, adjust to ch 201 for XS/S or ch 241 for XL/XXL), sc in 2nd ch from hook and in each ch across. (220 sts)
Row 2: Ch 3 (counts as dc + ch 1), turn, skip first st, dc in next st, *ch 1, skip next st, dc in next st; repeat from * across row.
Row 3: Ch 1, turn, sc in first st, *sc in ch-1 sp, sc in next dc; repeat from * across row, working last sc in top of turning ch. (220 sts)
Mesh Pattern Section
Row 4: Ch 5 (counts as dc + ch 2), turn, skip first 2 sts, dc in next st, *ch 2, skip 2 sts, dc in next st; repeat from * across row.
Row 5: Ch 1, turn, sc in first st, *2 sc in ch-2 sp, sc in next dc; repeat from * across row, working last sc in 3rd ch of turning ch. (220 sts)
Row 6: Ch 3 (counts as dc), turn, dc in next st, *ch 1, skip next st, dc in next st; repeat from * across row.
Row 7: Ch 1, turn, sc in first st and in each st and ch-1 sp across row. (220 sts)
Rows 8-15: Repeat Rows 4-7 twice.
Creating the Neck Opening (First Panel Only)
Row 16: Ch 3 (counts as dc), turn, dc in next 54 sts, ch 39 (for neck opening), skip 39 sts, dc in remaining sts. (220 sts including ch-39)
Row 17: Ch 1, turn, sc in each dc and in each ch across row. (220 sts)
Continuing the Pattern
Rows 18-47: Repeat Rows 4-7 seven more times, or until desired length is reached.
Fasten off at the end of Row 47.
Second Panel
Repeat all instructions for the first panel, EXCEPT do not create the neck opening in Row 16. Work straight across in pattern.
Finding the written instructions challenging to follow? The premium pattern includes step-by-step photos for each section!
Get Photo TutorialAssembly

Seaming the Panels
Step 1: Lay both panels flat with right sides facing up.
Step 2: Fold the second panel (without neck opening) in half to find the center point of the top edge.
Step 3: Align the center point of the second panel with the center of the neck opening on the first panel.
Step 4: Using a tapestry needle and matching yarn, whip stitch the shoulders together on each side of the neck opening, leaving the center open for the neck.
Step 5: Seam the sides of the panels together, starting 10" from the top (for armholes) and continuing down for 10". For a high-low effect, align the panels so the back extends 6" longer than the front.
Edging
Round 1: With right side facing, join yarn at any edge, ch 1, sc evenly around all edges of the cover-up, including neck opening, armholes, and bottom hem. Join with sl st to first sc.
Round 2: Ch 1, sc in each sc around, join with sl st to first sc. Fasten off.
Optional Embellishments
For a more decorative finish, consider adding one of these optional embellishments:
- Tassels: Add tassels to the bottom hem for a boho look
- Shell Edging: Work a shell stitch around the edges instead of the simple sc edging
- Tie Belt: Create a simple chain or i-cord belt to cinch the waist
Blocking Your Finished Cover-Up

Blocking is an essential step that will transform your crochet beach cover up from good to great. This process helps even out your stitches, opens up the mesh pattern, and gives your finished piece a professional look.
Blocking Instructions
Materials Needed
- Spray bottle with water
- Blocking mats or towels
- Rust-proof pins
- Measuring tape
Steps
- Lay your cover-up flat on blocking mats or towels
- Gently shape the garment to the desired dimensions
- Pin around the edges, stretching slightly to open the mesh pattern
- Spray with water until thoroughly damp (not soaking)
- Allow to dry completely before removing pins
Tip: If your cotton yarn tends to shrink, you may want to wet block by soaking the entire piece in water, gently squeezing out excess moisture, and then pinning to shape.
Styling Your Crochet Beach Cover-Up
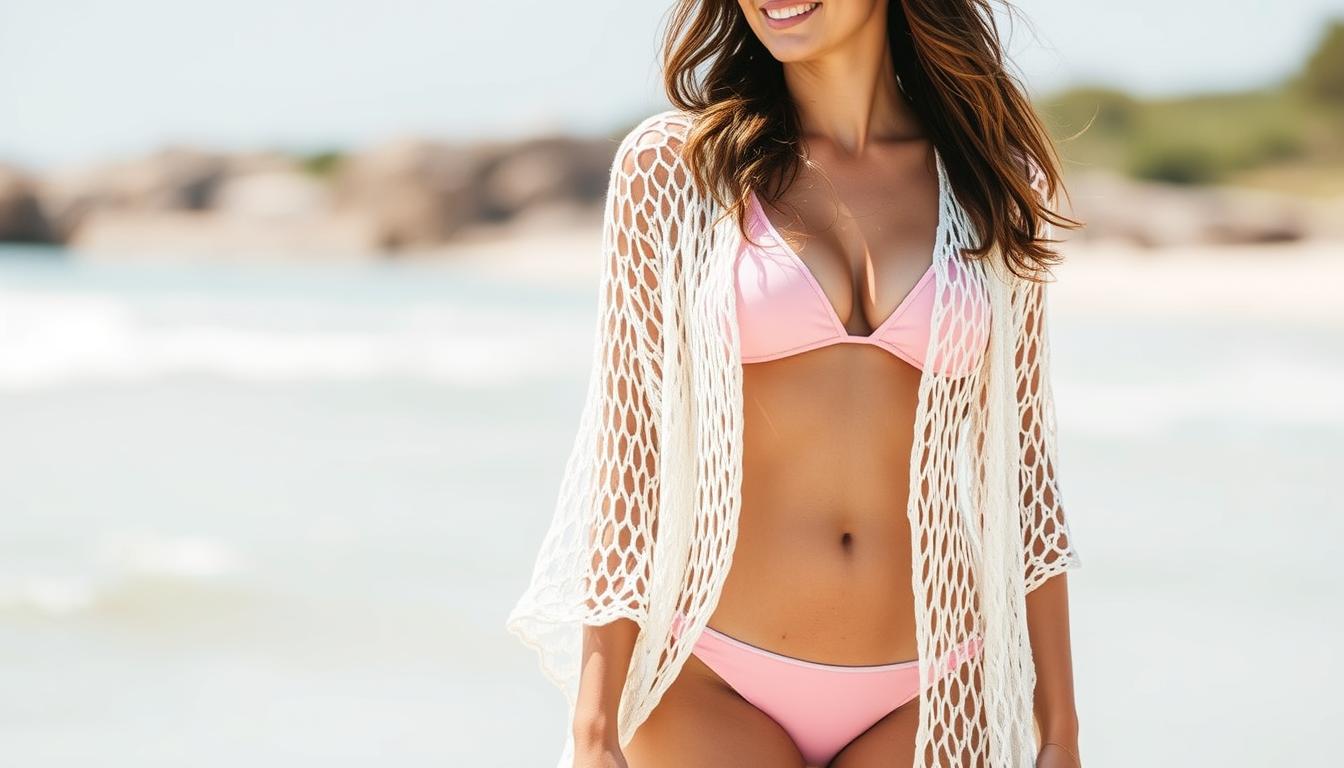
Your new crochet beach cover up is versatile and can be styled in multiple ways for different occasions. Here are some ideas to get the most out of your handmade creation:
Beach Day

- Pair with a colorful bikini or one-piece swimsuit
- Add a wide-brimmed hat and sunglasses
- Complete with comfortable sandals
- Bring a matching beach bag for a coordinated look
Pool Party

- Choose a solid-colored swimsuit underneath
- Add wedge sandals for a dressier look
- Accessorize with statement earrings
- Cinch the waist with a decorative belt for shape
Casual Outing

- Wear over a tank top and shorts
- Add a simple necklace and bracelet
- Pair with comfortable flat sandals
- Bring a crossbody bag for a hands-free option
Customization Ideas
Color Options
While a classic white or cream cover-up is timeless, don't be afraid to experiment with color! Here are some popular options:
- Ocean Blues: Light blue, aqua, or teal for a beachy vibe
- Sunset Hues: Coral, peach, or soft pink for a feminine touch
- Neutrals: Beige, tan, or light gray for versatility
- Bold Brights: Yellow, lime, or turquoise for a statement piece
Length Variations
Customize the length of your cover-up to suit your preference:
- Mini: End at mid-thigh for a youthful look
- Midi: End at knee length for classic coverage
- Maxi: End at ankle length for elegant beach style
- High-Low: Shorter in front, longer in back (as in our pattern)
Frequently Asked Questions
How much yarn do I need for this crochet beach cover up pattern?
The amount of yarn needed depends on the size you're making and your desired length. For the standard pattern, you'll need approximately 800 yards for size XS/S, 950 yards for size M/L, and 1100 yards for size XL/XXL. If you're extending the length or adding embellishments, consider purchasing an extra skein.
Is this pattern suitable for beginners?
Yes! This crochet beach cover up free pattern is designed with beginners in mind. If you know basic stitches (chain, single crochet, and double crochet), you can successfully complete this project. The mesh pattern is created through simple stitch combinations, and the construction is straightforward with minimal shaping required.
Can I use a different weight of yarn?
While the pattern is designed for light to medium weight cotton yarn (DK or worsted weight), you can adapt it for other weights. Using a lighter weight yarn will create a more delicate, airy cover-up but may require more stitches for proper sizing. A heavier weight yarn will create a more substantial cover-up but may be warmer to wear. Remember to adjust your hook size accordingly and check your gauge.
How do I customize the fit?
This pattern is easily customizable! To adjust the width, add or subtract starting chains in multiples of 2. For length adjustments, add or subtract pattern repeats. For a more fitted look, you can add decreases along the sides, or for a looser fit, increase the number of stitches. The premium pattern includes detailed instructions for various customizations.
Ready to Show Off Your Handmade Beach Style?

Congratulations on completing your beautiful crochet beach cover up! You've created a versatile, stylish piece that's perfect for summer adventures. Not only will you stay comfortable and look fashionable, but you'll also have the satisfaction of wearing something you made with your own hands.
Remember, practice makes perfect, so don't worry if your first attempt isn't flawless. Each project helps you improve your skills and develop your own unique crochet style. I'd love to see your finished cover-ups and hear about any customizations you made to the pattern!
Share Your Project!
Tag your photos with #CrochetCoverUpPattern on social media or join our crochet community to share your projects and get inspiration from other makers.
Happy crocheting, and enjoy your beautiful new beach cover-up!
![]()
Christa Patel is a passionate crochet designer and maker with over ten years of hands-on experience creating fun, beginner-friendly patterns. She specializes in easy, wearable crochet projects for all skill levels—especially those perfect for sunny days and laid-back getaways. Christa loves sharing step-by-step tutorials, clever tips, and creative inspiration to help crocheters bring their handmade dreams to life. When she’s not crocheting, you’ll find her exploring local beaches, hunting for new yarns, and chatting with fellow makers in the online craft community.
About the Author
With a passion for crafting easy, beginner-friendly tutorials and patterns, Christa inspires crafters of all skill levels to unleash their creativity worldwide. She encourages yarn lovers to connect, create, and crochet a world filled with beautiful handmade treasures!
How to Crochet a Beach Cover-Up: Free Pattern & Step-by-Step Guide