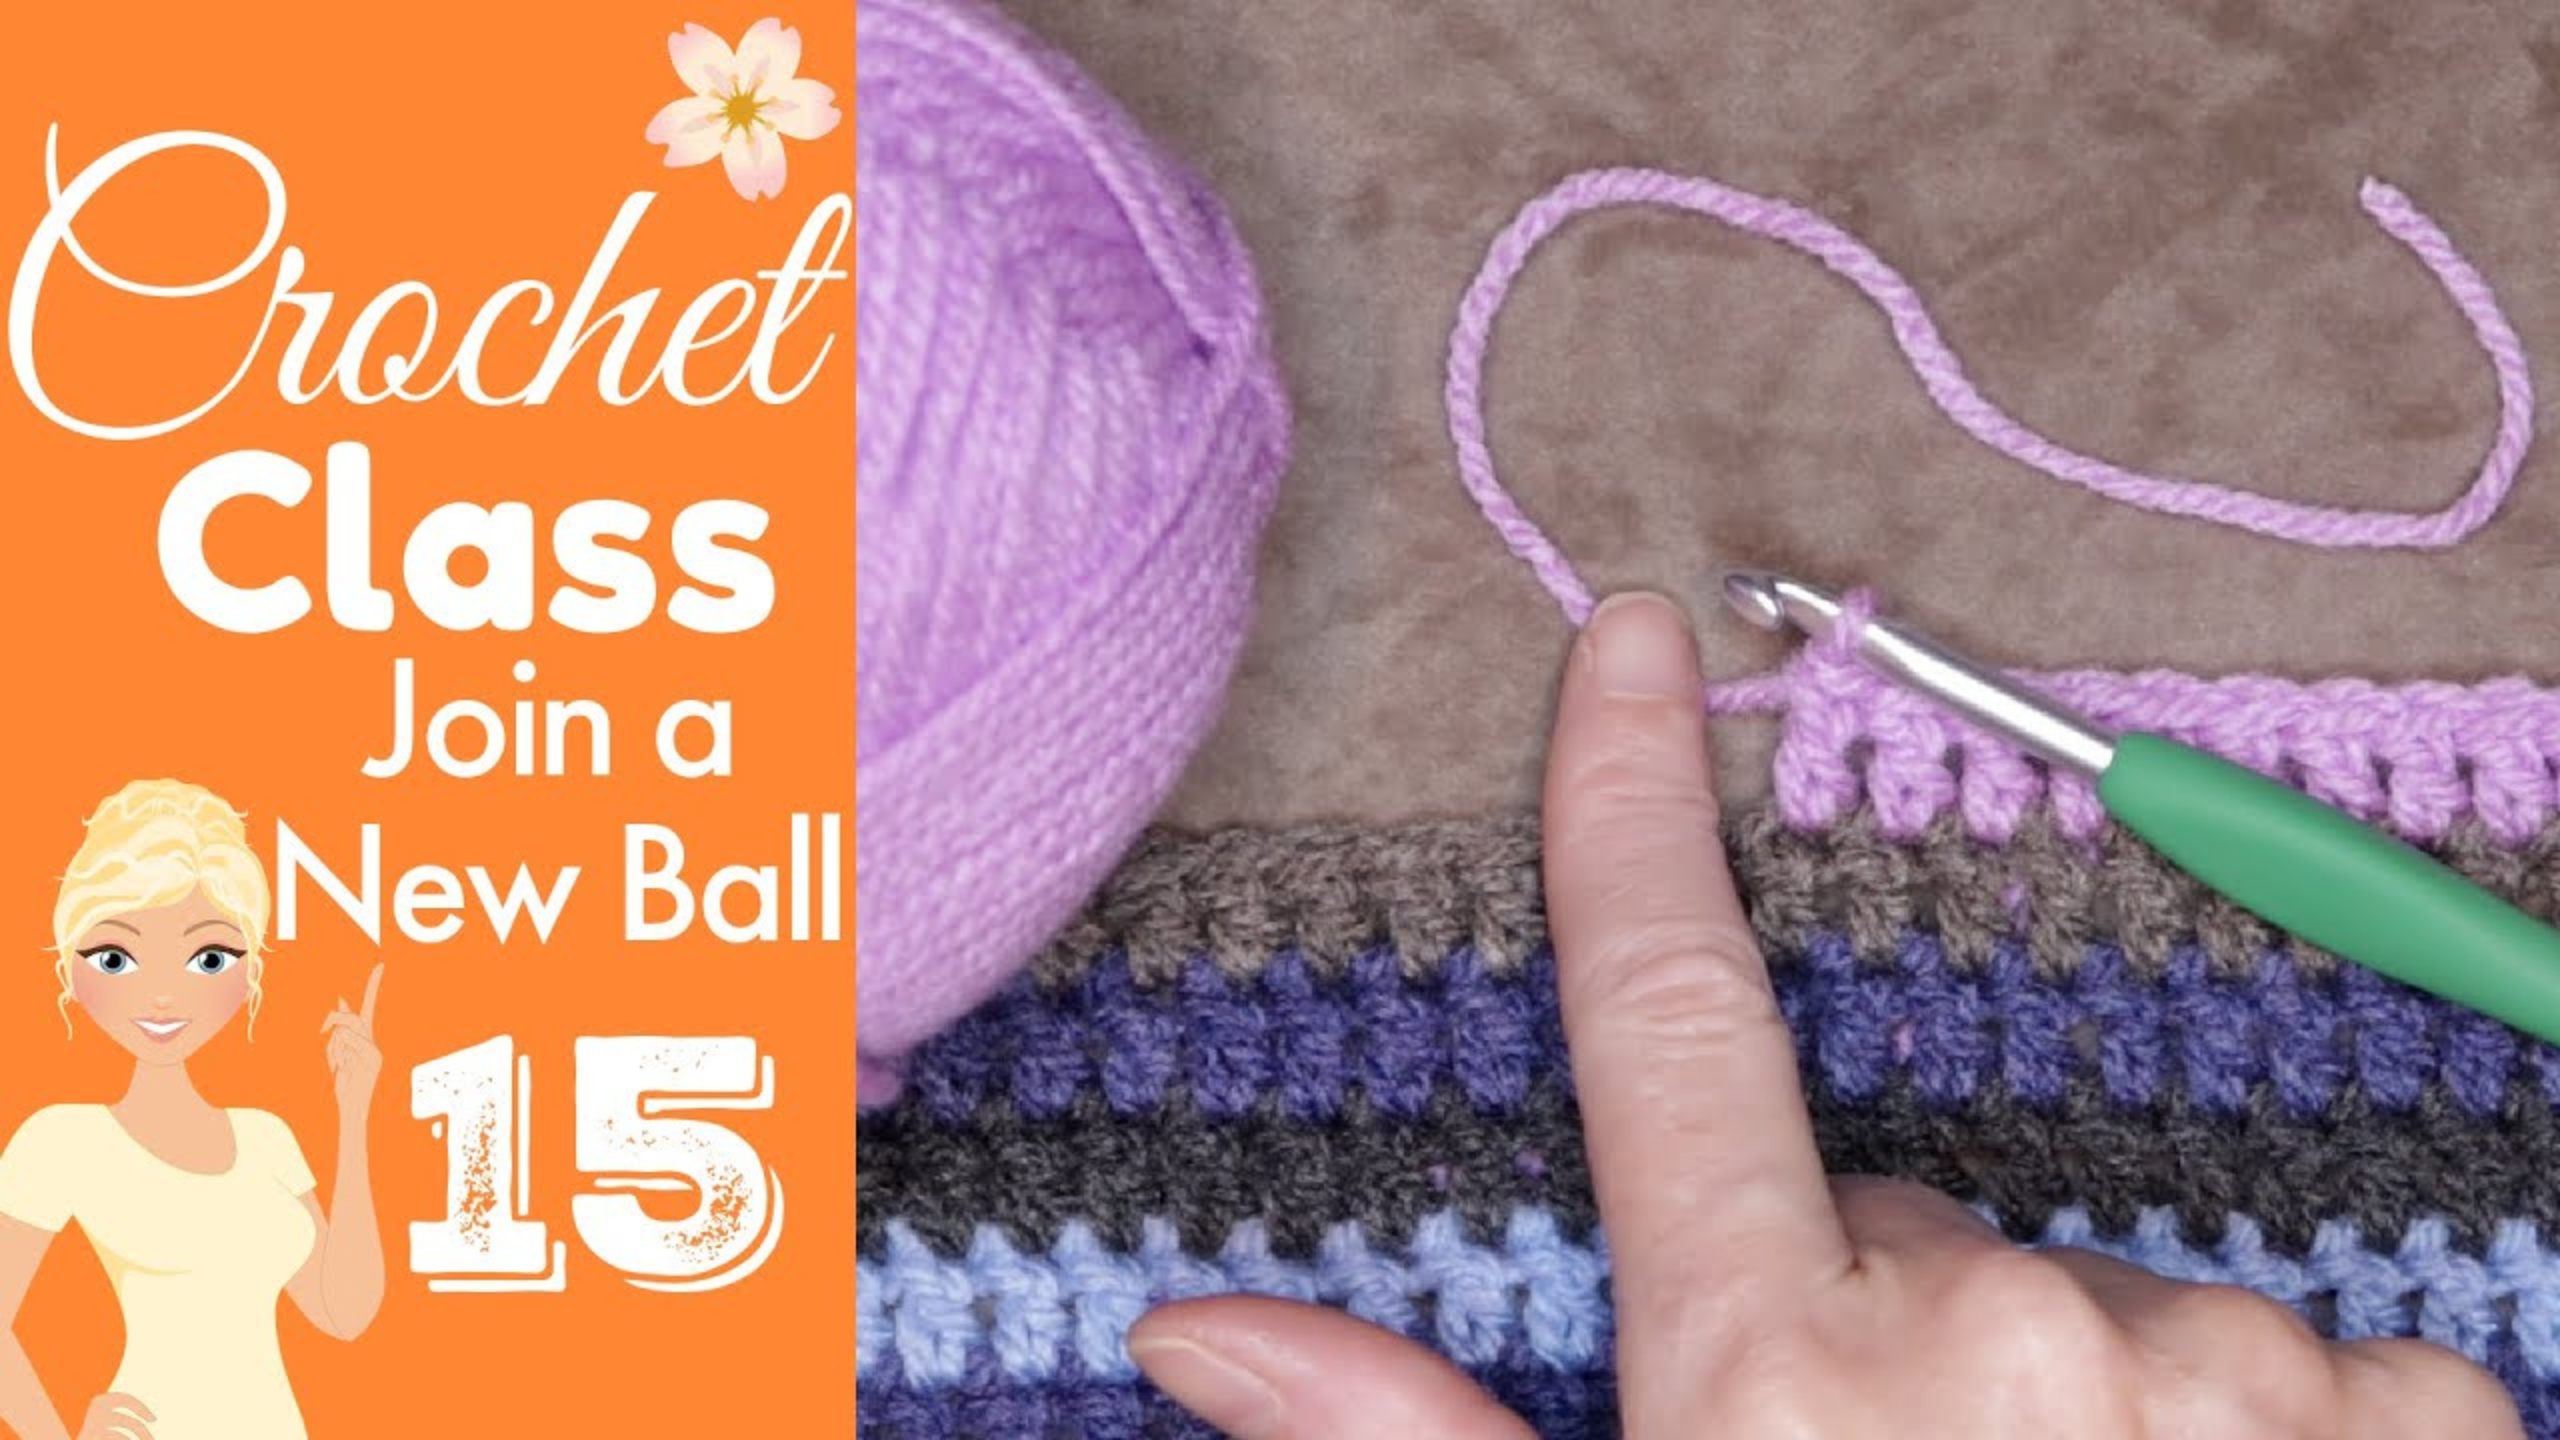
How to Join a New Ball of Yarn in Crochet
Whether you're crocheting a colorful blanket or working on a scarf, at some point, you'll need to join a new ball of yarn. Knowing how to do so seamlessly is an essential skill for every crocheter. Running out of yarn in the middle of a row? Changing colors for a fresh design? If you've been stuck on how to make the transition look smooth, you're in the right place. This method works for all skill levels and is perfect for achieving a neat join with minimal hassle.
If you're ready to learn this quick and easy crochet technique, watch the video tutorial below and follow along with the step-by-step guide!
Why Learning to Join a New Ball of Yarn Matters
Every crochet project, no matter how big or small, demands proper yarn joins that not only hold but also look clean. Imagine crocheting a baby blanket or a shawl with gaps and messy transitions—it won’t feel as satisfying. The method I'm sharing today keeps your work looking polished and professional. Plus, it's beginner-friendly and helps prevent issues like visible knots or uneven tension.
Mixing colors for creative designs? No problem. This same technique can work beautifully for multicolor projects, ensuring you have a smooth, clean finish. Let’s start by breaking down the tools you'll need for success.
Materials You’ll Need
Before diving into the process, having the right tools and materials makes all the difference. Here's what you'll need:
- Yarn: Your original yarn and the new ball you want to introduce.
- Crochet Hook: Use the size specified for your project.
- Scissors: A clean cut prevents fraying.
- Yarn Needle: Essential for sewing in the loose ends afterward.
Optional: A crochet planner can help you stay organized with your project if you're handling multiple yarn colors or large pieces. Check out crochet planning tools here.
Having your tools ready will make the process quick and stress-free.

Steps to Join a New Ball of Yarn
Joining yarn in the middle of a row might sound tricky, but it's surprisingly simple! Here's the step-by-step process that works for almost every project:
Start the Next Stitch
First, begin by crocheting your next stitch as normal. If you're working on a double crochet, leave the last two loops on your hook. If it's a half-double crochet, leave the last three loops on your hook. This setup is crucial because it prepares your work for the new yarn.
Drop the Old Yarn
Now, gently drop the tail of your original yarn. Don’t cut it yet—just let it rest along the back of your project. Holding it here will help you keep things tidy.
Introduce the New Yarn
Take the new yarn and make a loop. Leave a tail of about 4–5 inches so you can sew it in later. This length ensures you’ll have enough to work with when finishing the project.
Next, place the loop of the new yarn onto your crochet hook. Pull it through the remaining loops on your hook, completing the stitch.
Secure Both Tails
Now, you have two yarn tails: one from the original yarn and one from the new ball. Lay both tails along the back of your work. Hold them lightly as you continue crocheting. This helps keep them controlled and neat.
Crochet a Few Stitches Ahead
To stabilize the join and check your tension, crochet a few stitches beyond the transition. This ensures the new yarn is secured and allows you to inspect the area for gaps or inconsistencies.
You now have a solid join that looks clean and holds firmly. Still curious? Explore more joining techniques in the Joining & Techniques section.

Sewing in the Tails
Once you’ve crocheted ahead and secured the new yarn, it’s time to deal with those pesky tails. Sewing in tails provides durability and prevents unraveling. Here’s how to do it seamlessly:
- Thread the yarn tail onto a yarn needle.
- Weave the tail into the back of your stitches, following the natural pattern of your project.
- Cut off any excess ends.
This simple step ensures your work remains sturdy and clean. For additional resources on yarn and conversion guides for different yarn types, visit the Yarn Conversion Chart.
Common Issues and Tips for Beginners
Mistakes happen, and that's okay! Here are some common issues you might encounter and how to fix them:
- Loose Stitches: Gently pull the yarn tails to tighten the join and close any visible gaps.
- Visible Knots: Avoid tying knots; this method eliminates the need for them.
- Uneven Tension: Practice holding your yarn securely but not too tightly. Tension consistency comes with time and practice.
Remember, mastering any crochet technique takes time and patience. If you'd like more help, check out our detailed online crochet classes for beginners.

Should You Try Other Join Methods?
While this method is great for most projects, other techniques like the magic knot or Russian join exist. Each has its pros and cons, but those methods might leave a small knot or require more effort. When you need an invisible and simple solution, this method is your go-to.
For projects where you're assembling multiple motifs, consider exploring joining techniques like the BloomScape CAL Crochet Join.
Final Thoughts on Joining Yarn
Joining yarn in the middle of a row doesn't have to be intimidating. With this beginner-friendly method, you'll enjoy seamless transitions that keep your crochet projects looking neat and polished. Whether you're switching colors or just starting a new ball of yarn, this technique works like a charm.
Don't forget to inspect your stitches, maintain steady tension, and practice sewing in those tails. Each project you complete gets you closer to mastering your craft. So, grab your hook and yarn, and give it a shot!
Let me know in the comments: What's your favorite crochet technique or project? I’d love to hear about your crochet journey and see how this method works for you!
Frequently Asked Questions
1. Can I use this method for all types of yarn?
Yes, this method works well with most types of yarn, whether you're using acrylic, cotton, wool, or blends. Always ensure the weights and textures of the old and new yarn match for uniform results.
2. Do I need to tie a knot when joining yarn?
No, this method avoids knots entirely, making the transition seamless and professional. Careful sewing of the yarn tails is enough to secure the join.
3. What if the new yarn has a different thickness than the old one?
Mixing yarns with different thicknesses can result in uneven stitches. If you must use different thicknesses, practice tension control and adapt your stitch height accordingly.
4. How do I prevent the yarn tails from unraveling after sewing them in?
Weave the yarn tails firmly into the back of your stitches using a yarn needle. Avoid trimming them too closely—leave a little extra to ensure durability.
5. Is it better to join yarn at the end of a row instead of in the middle?
Joining yarn at the end of a row is often preferred for projects with straight edges as it's less noticeable. However, this method is ideal for joining in the middle, especially if you're working on a multicolor or intricate design.
6. Can I use this technique for knitting as well?
This specific method is designed for crochet, but similar approaches can work for knitting. Look up knitting-specific yarn join techniques if needed.
7. How do I handle color changes using this method?
Follow the same steps to introduce the new color. This method seamlessly transitions between colors without leaving visible gaps or knots.
8. Is it normal for the yarn join to feel slightly bulky?
A slight bulk is normal as the yarn tails are sewn into the project. If the bulk seems excessive, check your tension or try weaving the tails into a different section of the project.
9. How long does it usually take to sew in the tails?
Sewing in the tails is quick and typically takes a few minutes per section, depending on your project size and complexity.
10. What’s the best way to practice this method as a beginner?
Start with a simple swatch or smaller project like a coaster or practice row. Repeating the process multiple times helps build your confidence and refine the technique.
![]()
Christa Patel is a dedicated crochet artist and educator with years of experience crafting beautiful handmade creations. She loves sharing her knowledge with others, helping beginners master essential techniques, and inspiring crocheters to create unique projects with confidence. Christa is known for her clear, easy-to-follow tutorials and practical tips that make crochet enjoyable for all skill levels.
Christa’s passion for crochet stems from her belief that every stitch carries creativity, relaxation, and purpose. Through her blog and classes, she strives to build a welcoming community for crochet lovers worldwide.
About the Author
With a passion for crafting easy, beginner-friendly tutorials and patterns, Christa inspires crafters of all skill levels to unleash their creativity worldwide. She encourages yarn lovers to connect, create, and crochet a world filled with beautiful handmade treasures!
How to Join a New Ball of Yarn in Crochet