Crochet Magic Ring Mastery: The Ultimate Guide
Have you ever crocheted a beautiful granny square, only to be left with an unsightly hole in the center? Or perhaps you're working on a cute amigurumi project and want a perfectly closed base? The magic ring, also known as the magic loop or magic circle, is the answer! It's a fantastic technique that creates a super tight, almost invisible center for your crochet projects. And in this guide, inspired by Crochet Class 13 from Christa at The Secret Yarnery, I'm going to show you exactly how to master it.
What is a Crochet Magic Ring?
The Crochet Magic Ring is a technique used to begin crochet projects that are worked in the round. Unlike starting with a chain and joining, the magic ring allows you to pull the center closed tightly, eliminating that pesky hole. This makes it ideal for projects like hats, granny squares, amigurumi, and anything where you want a seamless center.
Why should you use it? The magic ring provides a cleaner, more professional finish to your crochet. It gives your projects a neat and tidy look by completely closing the center hole. The difference between using a standard circle start versus a magic circle is significant, with the magic circle providing that almost invisible beginning.
Meet Christa from The Secret Yarnery
Christa from The Secret Yarnery's YouTube channel is known for her clear, easy-to-follow crochet tutorials. She has an approachable teaching style that makes even tricky techniques like the magic ring seem manageable. This tutorial is based on her Crochet Class 13, where she breaks down the process step-by-step. Be sure to check out more of Christa's helpful tutorials!

Materials You'll Need
Before you dive in, gather these essential materials:
- Yarn: Any yarn will work, but a smooth yarn in a medium weight (like worsted weight) is best for beginners.
- Crochet Hook: A 5mm (H-8) crochet hook is a good starting point. Adjust the size based on your yarn weight and desired gauge.
- Yarn Needle: You'll need this to weave in the ends securely.
- Scissors: For trimming the yarn.
Here are some direct links to recommended products:
- Crochet Hooks: https://amzn.to/2p5etkC
- Yarn: http://bit.ly/39EZwZX
- Sharp Tip Needles: https://amzn.to/3Rdq2ja
- Blunt Tip Needles: https://amzn.to/2MRffKP
Step-by-Step: Creating the Magic Ring
Okay, let's get started! Follow these steps to create your very own magic ring:
Hand Placement
- Lay the yarn over your non-dominant hand.
- Hold the yarn down with your ring finger.
- Wrap the yarn around your index and middle fingers, forming an "x" on the back of your hand.
- Secure the yarn with your thumb, holding everything in place.
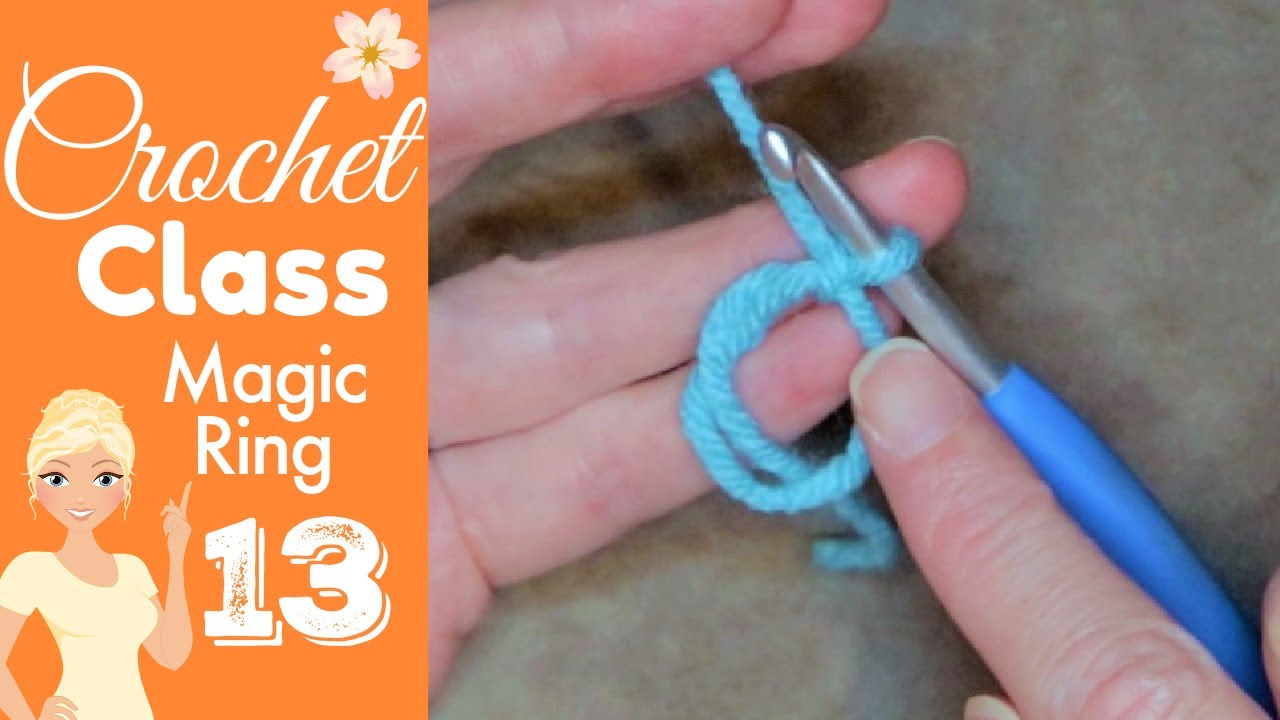
Hook Insertion
- Turn your hand over so your palm faces you.
- Insert your crochet hook (hook side down) under the first loop (the short loop) and over the second loop (the long loop).
- Catch the long loop with your hook and pull it under the short loop, drawing it through.
- Turn the hook towards yourself, rotating it upwards.
- Position the hook so the loop rests on the widest part of the hook.
- Turn the hook away from yourself, twisting it slightly to secure the loop.
Creating the Initial Loop
- Slowly release your thumb, but maintain tension on the yarn with your other fingers.
- Grab the yarn connected to the ball (the big loop).
- Bring that yarn through the loop already on your hook.
- Release, and you've created your first loop! This is the foundation of your magic ring.

Chain Stitch (if Required)
Many patterns will instruct you to chain a certain number of stitches after creating the initial loop. This chain counts as the height of your first stitch. For example, if you're working in double crochet, you'll typically chain 3. Check out this helpful guide for more crochet tutorials.
Working Stitches into the Ring
Now, you'll work your crochet stitches into the center of the ring. It's important to crochet over the yarn tail as you go. This will help to secure it and make it easier to tighten later. Depending on your pattern, you might use single crochet, double crochet, or other stitches. You can find written crochet patterns at The Secret Yarnery.
Tightening the Magic Ring
Once you've worked the required number of stitches into the center, it's time to tighten the ring.
Pulling the Tail
- Locate the yarn tail – the short end you've been crocheting over.
- Grab the tail firmly and pull it. You'll see the center ring start to close.
- Pull the tail nice and tight to eliminate the hole.
- Be careful not to snap the yarn by pulling too forcefully.
Adjusting the Stitches
After tightening, gently adjust the surrounding stitches to distribute the tension evenly. Sometimes, a tiny hole might remain, which is perfectly normal.
When to Tighten
I recommend tightening the magic ring after a few rounds to prevent any distortion. You can always tighten it a bit more later if needed.

Securing the Magic Ring: Weaving in the Ends
This is crucial! Weaving in the ends properly is what makes a magic ring truly successful and prevents it from unraveling.
Threading the Needle
- Thread the yarn tail onto your yarn needle.
- If you have trouble, a needle threader can be a lifesaver!
Direction Matters
Examine the direction the yarn tail is coming from. You'll want to weave in the end in the opposite direction for the most secure hold.
Weaving Technique
- Insert the needle into the stitches on the wrong side of your work.
- Try to make the needle invisible as it passes through the stitches, going through the center of the stitches if possible.
The Three-Pass Method
For maximum security, weave the yarn tail back and forth three times. Go in slightly different spots each time to avoid creating a bulky area. Pull the yarn tail gently after each pass, but not too tight.
Trimming the Excess
After weaving in the ends, carefully trim the excess yarn tail close to the work. Be extra cautious not to cut any of the surrounding stitches!
Troubleshooting Common Magic Ring Problems
Having trouble? Here are some common issues and their solutions:
-
The Ring Won't Tighten:
- Possible causes: Not crocheting over the tail; pulling the wrong end.
- Solutions: Make sure the tail is being worked over; identify and pull the correct tail.
-
The Center Hole is Still Too Big:
- Possible causes: Not pulling the tail tight enough; using too bulky of a yarn.
- Solutions: Pull the tail more firmly (without breaking it!); try a thinner yarn.
-
The Ring is Unraveling:
- Possible causes: Not weaving in the ends securely enough.
- Solutions: Re-weave the ends using the three-pass method, ensuring the yarn tail is well-hidden.
-
My Starting Knot is Coming Undone:
- Make sure the first loop is nice and tight on the hook.
- Ensure to lock the first loop with a chain stitch if needed.
-
Stitches are Distorted:
- Possible causes: Too much tension on the magic ring.
- Solutions: Loosen tension on the magic ring by redoing it.

Projects to Practice Your Magic Ring
Now that you've learned the technique, here are some projects to put your skills to the test:
- Granny Squares: The magic ring creates a perfect center for your granny square.
- Hats: Starting a hat with a magic ring creates a seamless crown.
- Amigurumi: Ideal for creating closed spheres and other shapes.
- Coasters: A quick and easy project to practice the magic ring.
Also check out these Popular Tutorials:
- Drunken Granny Blanket 🍋 https://youtu.be/mGqpNufvjr4
- The Sober Granny Baby Blanket 🍋 https://youtu.be/nKOL0jhQdLI
- The Speedy Granny Ruth Bedspread 🍋 https://youtu.be/M81RItCM5LE
- Gingham C2C Blanket 🍋 https://youtu.be/mL_zZrgFD_Y
- Huge Crochet Ball 🍋 https://youtu.be/lwd3H_I8vfY
Advanced Tips and Variations
Ready to take your magic ring skills to the next level?
- Adjustable Ring with More Loops: For heavier yarns, wrap the yarn around your fingers more than once for a more secure ring.
- Using a Crochet Hook to Tighten: Use your crochet hook to help pull the yarn tail through tight stitches when tightening the ring.
- Magic Ring for Left-Handed Crocheters: The Secret Yarnery also has crochet classes for lefties!
- The Chain-2 Method (Alternative): The chain-2 method is an alternative, it's easier to learn but leaves a small hole.
- Yarn Choice Impact: Experiment with different yarn types to see how they affect the magic ring.
Joining The Secret Yarnery Community
For more crochet tips, patterns, and support, be sure to join The Secret Yarnery community!
- Instagram: https://www.instagram.com/secretyarnery/
- Facebook: https://www.facebook.com/secretyarnery
- Facebook Group: https://www.facebook.com/groups/secretyarnerycrochetcommunity/
- Pinterest: https://www.pinterest.com/secretyarnery/_saved/
- Twitter: https://twitter.com/TYarnery
- Subscribe: https://bit.ly/2opYkWB
More Crochet Resources From The Secret Yarnery
- Written Patterns: https://bit.ly/2JG8IEb
- Crochet Planner A4: https://bit.ly/3NVRsaE
- Crochet Planner Letter Size: https://bit.ly/35Q8aXF
- Free Crochet Classes: https://bit.ly/3mTofkI
- Behind the Scenes: https://bit.ly/3FM2QkX
- Cool Merch: https://www.youtube.com/channel/UCfNkcP7KsCSlkcQ8pAkDKRQ/store
Popular Playlists
- Secret Stitches CAL 2021: https://bit.ly/35dCdrL
- Shopping Hauls & Unboxings: https://bit.ly/341gMcV
- Easy Crochet Blankets: https://bit.ly/3IiXFKa
- Live Chats: https://bit.ly/3KBZwfc
- Crochet Podcasts: https://bit.ly/3qSfo5q
- Crochet Classes: https://bit.ly/3rIhlQL
- Easy Crochet Tutorials: https://bit.ly/3nKbk5e
Conclusion
The Crochet Magic Ring is a game-changer for creating seamless, professional-looking crochet projects. With a little practice, you'll be amazed at how easy and effective this technique is. So grab your hook and yarn, and start creating those perfect centers today!
FAQs
1. What is a magic ring in crochet?
A magic ring is a technique used to start crochet projects worked in the round. It allows you to create a tightly closed center without leaving a hole, making it perfect for hats, amigurumi, granny squares, and more.
2. Why should I use a Magic ring instead of starting with a chain?
The magic ring provides a seamless, clean look by eliminating the hole that often forms when starting with a chain. It’s especially useful for projects that require a polished and professional result.
3. Is the magic ring technique suitable for beginners?
Yes! Although it might seem tricky at first, with a bit of practice and patience, beginners can master this technique. Watching a step-by-step video, like Krista’s tutorial, can make it much easier.
4. What happens if the ring doesn’t tighten fully?
This usually happens if you haven't crocheted over the yarn tail properly or if you're pulling the wrong end. Ensure the tail is worked over, then pull the correct thread tightly to close the center.
5. Can you use the Magic ring with any type of yarn and hook?
Yes, you can use this technique with any yarn and hook size. However, beginners may find it easier to practice with a medium-weight yarn and a 5mm (H-8) hook.
6. How do I stop the magic ring from unraveling?
Weaving in the yarn tail securely using the three-pass method can prevent the ring from coming undone. Also, ensure you’re using sturdy yarn that doesn’t easily snap or fray.
7. Can I adjust the size of the Magic ring?
Yes, you can modify the size of the ring by adjusting the number of wraps around your fingers. Adding more loops works well for thicker yarn.
8. I’m left-handed. Can I still make the Magic ring?
Absolutely! Left-handed crocheters can follow tutorials specifically designed for them. The Secret Yarnery offers resources tailored to left-handed crochet.
9. Can the Magic ring be used for all crochet patterns?
Not all patterns require a magic ring, but it’s highly recommended for projects worked in the round, like hats, amigurumi, and circular motifs.
10. Do I need to chain stitches after creating the Magic ring?
This depends on your pattern. Most patterns will ask for a specific number of chains after making the magic ring to set the height for your first stitch.
![]()
Christa Patel is a passionate crochet enthusiast and content creator behind The Secret Yarnery—a growing hub for crochet lovers around the world. Based in Nairobi, Kenya, Christa has turned her lifelong love for yarn crafts into a thriving platform full of beginner-friendly tutorials, beautiful patterns, and expert tips.
With her down-to-earth teaching style, Christa has helped countless crochet enthusiasts master essential techniques like the magic ring. Her YouTube channel, blog, and social media platforms have become go-to resources for crocheters of all skill levels.
When she's not crocheting, Christa enjoys growing her yarn collection, designing new projects, and building a supportive, creative community. Check out her work at The Secret Yarnery to explore her patterns, tutorials, and more!
About the Author
With a passion for crafting easy, beginner-friendly tutorials and patterns, Christa inspires crafters of all skill levels to unleash their creativity worldwide. She encourages yarn lovers to connect, create, and crochet a world filled with beautiful handmade treasures!
Crochet Magic Ring Mastery: The Ultimate Guide