Continuous Spiral Crochet Baby Blanket Guide – Step by Step!
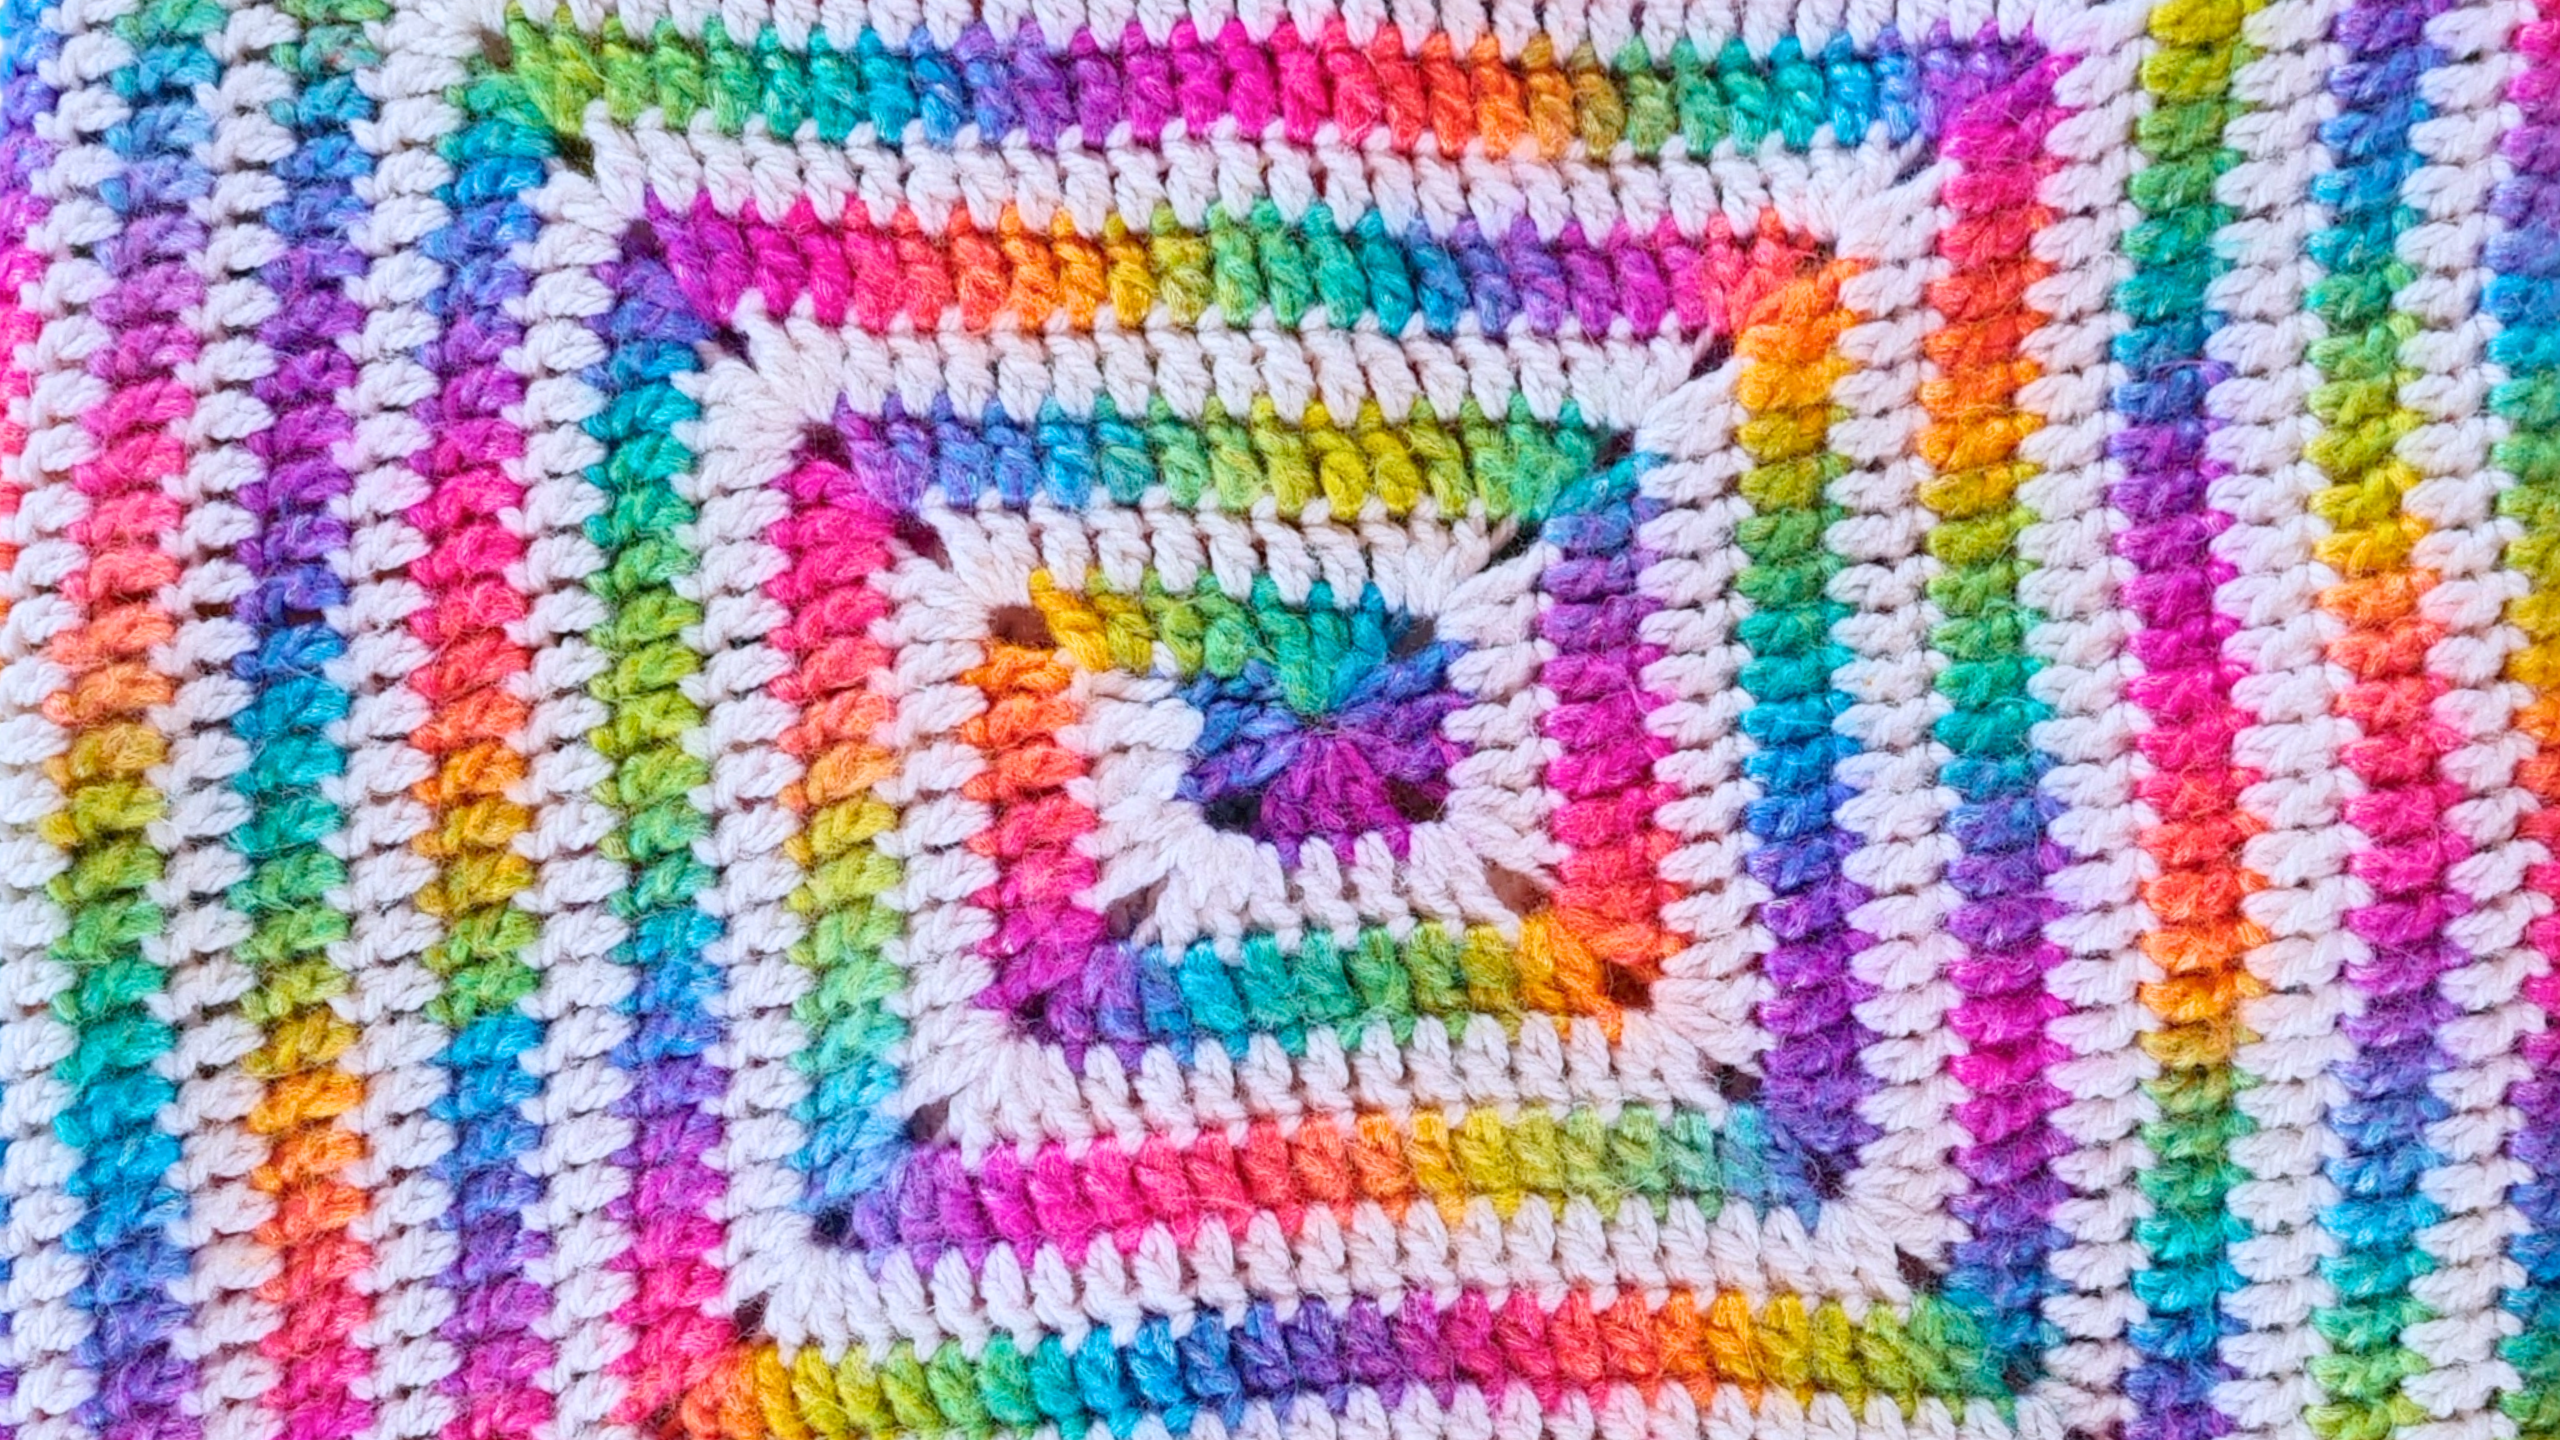
Imagine snuggling a newborn in a blanket you made with your own two hands. This Continuous Spiral Baby Blanket is not only visually stunning with its color-changing yarn, but it's also surprisingly simple to crochet. Plus, its unique square design ensures it lays flat and looks perfect every time.
Table of contents
Why You'll Love This Continuous Spiral Crochet Blanket
If you're looking for a crochet project that's both beautiful and practical, this spiral crochet blanket is the answer. Here’s why you'll absolutely adore this pattern:
- Perfectly Square: Forget about blankets that distort over time. This design stays perfectly square, ensuring that the corners don’t "walk out," maintaining a neat and tidy look.
- No Blocking Required: Say goodbye to tedious post-crochet tasks. One of the best things about this blanket is that it doesn't need blocking. As soon as you're done crocheting, it's ready to be gifted or displayed.
- Seamless Design: No more struggling with joining or stepping up! This pattern works in a continuous spiral, making for a smooth, uninterrupted crocheting experience.
- Yarn Conservation: Have some fancy, color-changing yarn you want to stretch? Alternating it with a solid color allows you to get twice as much blanket, making the most of your precious yarn.
Whether you're a crochet newbie or a seasoned pro, this Easy Crochet project is designed for everyone. The repetitive nature of the spiral is relaxing, and the color changes keep things interesting.

Gathering Your Supplies: What You'll Need
Before diving into this exciting project, let’s gather all the necessary supplies. Here's what you’ll need to create this stunning spiral baby blanket:
Yarn Selection
- Color-Changing Yarn: For the mesmerizing spiral effect, I recommend using a color-changing yarn like Picasso yarn from Icy Yarns. This yarn, composed of 44% acrylic and 50% polyester, creates beautiful color transitions. Alternatively, you can use Red Heart Stripes or any color-changing yarn you love. You can get the yarn here: http://bit.ly/2G2JYRi.
- Solid Color Yarn: To complement the color-changing yarn, I suggest using Softly Baby yarn, which is 50% acrylic and 50% polyamide, making it incredibly soft and perfect for baby blankets. You can also use a solid color yarn that matches the tones in your color-changing yarn. If you can't find Softly Baby, Favorite from Icy Yarns is a great substitute. You can find Softly Baby yarn here: http://bit.ly/3H0k52w.
- Yarn Quantity: For a standard baby blanket, you will need four balls of Picasso yarn and two skeins of Softly Baby or Favorite yarn. One pack of each will yield two baby blankets or one larger blanket.
Tools
- Scissors
- Stitch marker (or a bobby pin/paperclip)
- Crochet hook: Use the hook size suggested for your yarn. For Picasso and Softly Baby, a 5mm crochet hook works perfectly.
Getting Started: The Slip Knot and Initial Ring
Let's begin with the foundation of our blanket – the slip knot and initial ring.
- Start with your color-changing yarn and create a slip knot. Any method you prefer for making a slip knot will work.
- Avoid leaving an excessively long tail, as we’ll be working over it to secure it.
- Place the slip knot onto your crochet hook.
- Next, chain three. These chains will form the beginning of our ring.
To accurately count your stitches, remember not to include the knot or the loop on your hook. Focus on counting the "v" shapes in between.
Now, let’s form the initial ring:
- Insert your hook into the very first stitch, right on top of the knot.
- Slip stitch to form a ring. To do this, lay the tail of your yarn along your work, creating a "u" shape.
- Hold the ring open with your finger and thumb, grab the yarn, and pull it through both loops on your hook.
Make sure to keep the ring open and maintain your hook's position to ensure the stitch is correctly placed.

Round One: Building the Foundation
In this round, we'll build the foundation of our Granny Square Crochet Blanket. Follow these steps carefully:
- Chain three. This chain counts as your first double crochet.
- Work two double crochets into the center of the ring. Remember to crochet over the tail to secure it. If you find it difficult to crochet over the tail, you can weave it in later.
- Chain two to form the first corner.
- Work three more double crochets into the center of the ring.
- Chain two to complete the second side of your square.
- Work three more double crochets into the center of the ring. If you need more space, pinch the ring and slide the stitches back to prevent overlapping.
- Chain two for the corner.
- Work three more double crochets into the center of the ring to finish the square.
This round is similar to starting a traditional granny square, but we're setting the stage for our unique spiral design.
Starting the Spiral: Creating the First Turn
Now for the fun part – creating the spiral effect!
- Make a stitch into the second chain from the hook (skip the first chain).
- Work a double crochet into that stitch.
- Make a double crochet into the third chain, ensuring you pick up two strands of the stitch with your hook.
- Pull up a loop and insert a stitch marker to keep your place. Once you become more comfortable with the pattern, you might not need the stitch marker, but it's helpful in the beginning.
Joining the Second Yarn: Adding the Solid Color
Time to introduce our solid color yarn and create the contrast that makes this blanket so eye-catching:
- Join the solid color yarn (in my case, white) into the very same spot where you made your last double crochet. This is at the top of the chain three.
- Insert your hook into the same spot, loop the white yarn onto your hook, leaving a tail long enough to weave in later.
- Pull the yarn through and slip stitch with both strands to join. I like to join this way so it looks the same as a regular stitch.
- Chain two. Remember to crochet over the tail to secure it as you go.
The slip stitch and the chain two count as your first chain three, which then counts as your first double crochet.

Round Two: Working with the Second Color
Now, let's work with our solid color yarn to build the second round of our spiral:
- Work one double crochet into each of the next three stitches. This part might look a bit different; if you stretch out the stitches slightly, you'll see one loop that’s a bit loose. Make sure to pick up both strands to create a proper stitch.
- In the corner space, work two double crochets, chain two, and two double crochets. This creates a solid granny square corner.
- Continue working one double crochet into each stitch along the side.
Remember, every stitch gets a stitch, and our corners get two double crochets, a chain two, and two more double crochets.
Completing the Round: Joining the Spiral
Let's finish this round and prepare for the next color transition:
- Work two double crochets, chain two, and two double crochets into each corner space.
- Work one double crochet into each stitch along the last side.
- Stop one or two stitches before the end of your color-changing yarn.
- Switch your stitch marker to hold the loop.
Building the Color-Changing Row
Now it's time to switch back to our color-changing yarn and continue building the spiral:
- The first double crochet goes into the slip stitch, right into the center of the "v" where you joined your yarn.
- Work one double crochet into each stitch.
- When you reach the corner, chain two.
- Work a double crochet into the top of the chain three (the third chain). This creates your new corner for the color-changing round.
Remember, every stitch along this side gets a double crochet.
Continuing the Spiral: Alternating Colors
To continue the spiral pattern, simply alternate between the color-changing yarn and the solid color yarn, working around and around.
Wrap your yarn and keep going into every stitch. In the corner space, work two double crochets, chain two, and two double crochets. Place a stitch marker in the corner to keep track of where you started your spiral.

Switching Colors Strategically
To ensure a seamless spiral, switch colors strategically. Switch colors when getting close to the stitch marker or the start of the spiral.
You might even switch hooks to bring the color-changing yarn closer to the corner, ensuring your colors are evenly distributed.
Round Five: Introducing Small Corners
To prevent the blanket from “walking out” and losing its square shape, we’ll introduce small corners every third row.
Every third row will feature small corners consisting of one double crochet, a chain two, and one double crochet. These small corners maintain the blanket's shape and prevent it from becoming distorted. Make sure you keep track of your stitch marker.
Working the Small Corner Row
Here’s how to work the small corner row:
- Work one double crochet into each stitch.
- In the corners, work one double crochet, chain two, and one double crochet.
- Continue around, repeating these steps.

Round Six and Seven: Regular Corners
For rounds six and seven, we’ll return to regular corners consisting of two double crochets, a chain two, and two double crochets. Work one double crochet into each stitch along the sides.
Keeping Track of Your Corners
Remember to use your stitch marker to keep track of where you started your spiral. By looking back at your previous rows, you can easily determine whether you need to work a regular corner or a small corner.
Round Eight: Small Corners Again
In round eight, we’ll reintroduce small corners. This means working one double crochet, chain two, and one double crochet into each corner.
This alternating rotation of two rows with regular corners followed by one row with small corners is key to maintaining the blanket’s shape.
Continuing the Pattern: Repeating Rows
Continue the pattern by alternating between regular corners and small corners every third round. Keep crocheting until you run out of yarn or the blanket reaches your desired size.
Finishing the 2nd Last Row
When you're nearing the end and working on the last row of white, if there's not enough yarn to complete the round, simply end it there.
Finishing the Last Row
Here’s how to finish off the last row of your spiral blanket:
- Work two double crochets into the last space (even if the pattern calls for one) to fill it out nicely.
- Cut the yarn, chain one, and pull the hook through to secure the stitch.

Securing the Ends: Final Touches
To complete your spiral blanket, you’ll need to secure all the loose ends:
-
Chain one and cut the yarn, leaving a tail long enough to weave in.
-
Pull the hook up and snug the yarn to tighten the knot.
-
Weave in all the ends to secure them, ensuring they are neatly hidden within the stitches.
FAQs!
1. Can I use other stitches besides double crochet for this blanket?
Yes. You can use single, half double, or treble crochet stitches, but double crochet gives the best drape for this type of spiral pattern. Adjust stitch count and hook size if you switch stitches.
2. What yarn weight works best for this pattern?
Worsted weight (medium/4) or DK (light/3) yarns work well. Lighter yarn gives a thinner, lacier blanket. Bulky yarn makes it thicker and cozier. Adjust your hook size to match the yarn.
3. How do I keep my corners from becoming pointy or uneven?
Use the "small corners" method every third round and keep your stitches even. Count your stitches in each round for consistency.
4. Can I make this blanket larger or smaller?
Yes! Just continue adding rounds to increase the size or stop early for a smaller blanket.
5. How do I prevent my yarn from tangling when switching colors?
Pull out enough yarn before you begin a new round and keep the skeins apart. Use a yarn bowl or separate bags to keep each yarn tidy and tangle-free.
6. Can I use scraps or leftover yarn for this pattern?
Absolutely! Using scraps creates a colorful, unique look. Just try to use similar yarn weights for the best results.
7. What if my spiral starts curling?
Check your tension and corner counts. If it still curls, add an extra chain to the corners for a few rounds to help it lay flat.
8. How do I weave in the ends neatly?
Use a yarn needle to weave the ends back and forth through the double crochet stitches and along the edges for a tidy finish.
Celebrate Your New Blanket
Congratulations! You’ve successfully crocheted a beautiful continuous spiral baby blanket. Snuggle up with your new creation or gift it to someone special.
Left Handed?
Troubleshooting Tips
Even with a straightforward pattern, you might encounter a few common issues. Here’s how to address them:
- Blanket Not Staying Square: Double-check that you’re incorporating small corners every third row, as this is crucial for maintaining the blanket's shape.
- Stitch Count Issues: Regularly count your stitches to ensure accuracy, especially after each corner.
- Yarn Tangling: Manage your yarn by using yarn bowls or bags to prevent tangling.
Customizing Your Blanket
Want to add a personal touch to your continuous spiral blanket? Here are a few ideas:
-
Color Combinations: Experiment with different color combinations and yarn types to create a truly unique blanket.
-
Border Options: Add a simple border, such as a single crochet or shell stitch, for a polished look.
-
Size Adjustments: Adjust the size by adding or removing rows to create anything from a small lovey to a large throw blanket.
Sharing Your Project
I’d love to see your finished blankets! Share your projects on social media using the hashtag #SecretYarnery. Tag me so I can admire your beautiful work!
Additional Resources
For more crochet inspiration and helpful tutorials, check out these resources:
-
Explore more Granny Squares Collection for different patterns.
-
Check out the beginner circle crochet guide for more crochet tips and tricks.
-
Discover FREE PATTERNS for your next project.
-
Find PRINTABLE PDF PATTERNS for easy reference.
-
Subscribe to my NEWSLETTER for the latest updates and exclusive offers.
Conclusion
This Continuous Spiral Crochet Blanket is a delightful project that combines simplicity with stunning visual appeal. Its easy-to-follow pattern and unique design make it perfect for both beginners and experienced crocheters. So grab your hook and yarn, and let’s create a beautiful, snuggly masterpiece together!
Christa Patel is the creator behind Secret Yarnery, a hub for easy-to-follow crochet tutorials, patterns, and creative inspiration. With years of experience teaching crocheters around the world, Christa loves making crochet simple and fun for all skill levels. Her step-by-step guides and video tutorials help thousands of beginners gain confidence with their hooks and yarn.
Christa’s passion for yarn crafts shows in her colorful designs and friendly teaching style. She is especially known for making complex techniques approachable, so anyone can enjoy the art of crochet. When she’s not designing new patterns, Christa is busy sharing tips, hosting live crochet sessions, and building a welcoming community for yarn lovers everywhere.
Connect with Christa on YouTube and visit her blog at Secret Yarnery for more patterns, resources, and encouragement on your crochet journey.
About the Author
With a passion for crafting easy, beginner-friendly tutorials and patterns, Christa inspires crafters of all skill levels to unleash their creativity worldwide. She encourages yarn lovers to connect, create, and crochet a world filled with beautiful handmade treasures!
Continuous Spiral Crochet Baby Blanket Guide – Step by Step!