Easiest Crochet Granny Stitch Scarf for Beginners (Straight Edges, Matching Ends, No Fussy Chain!)
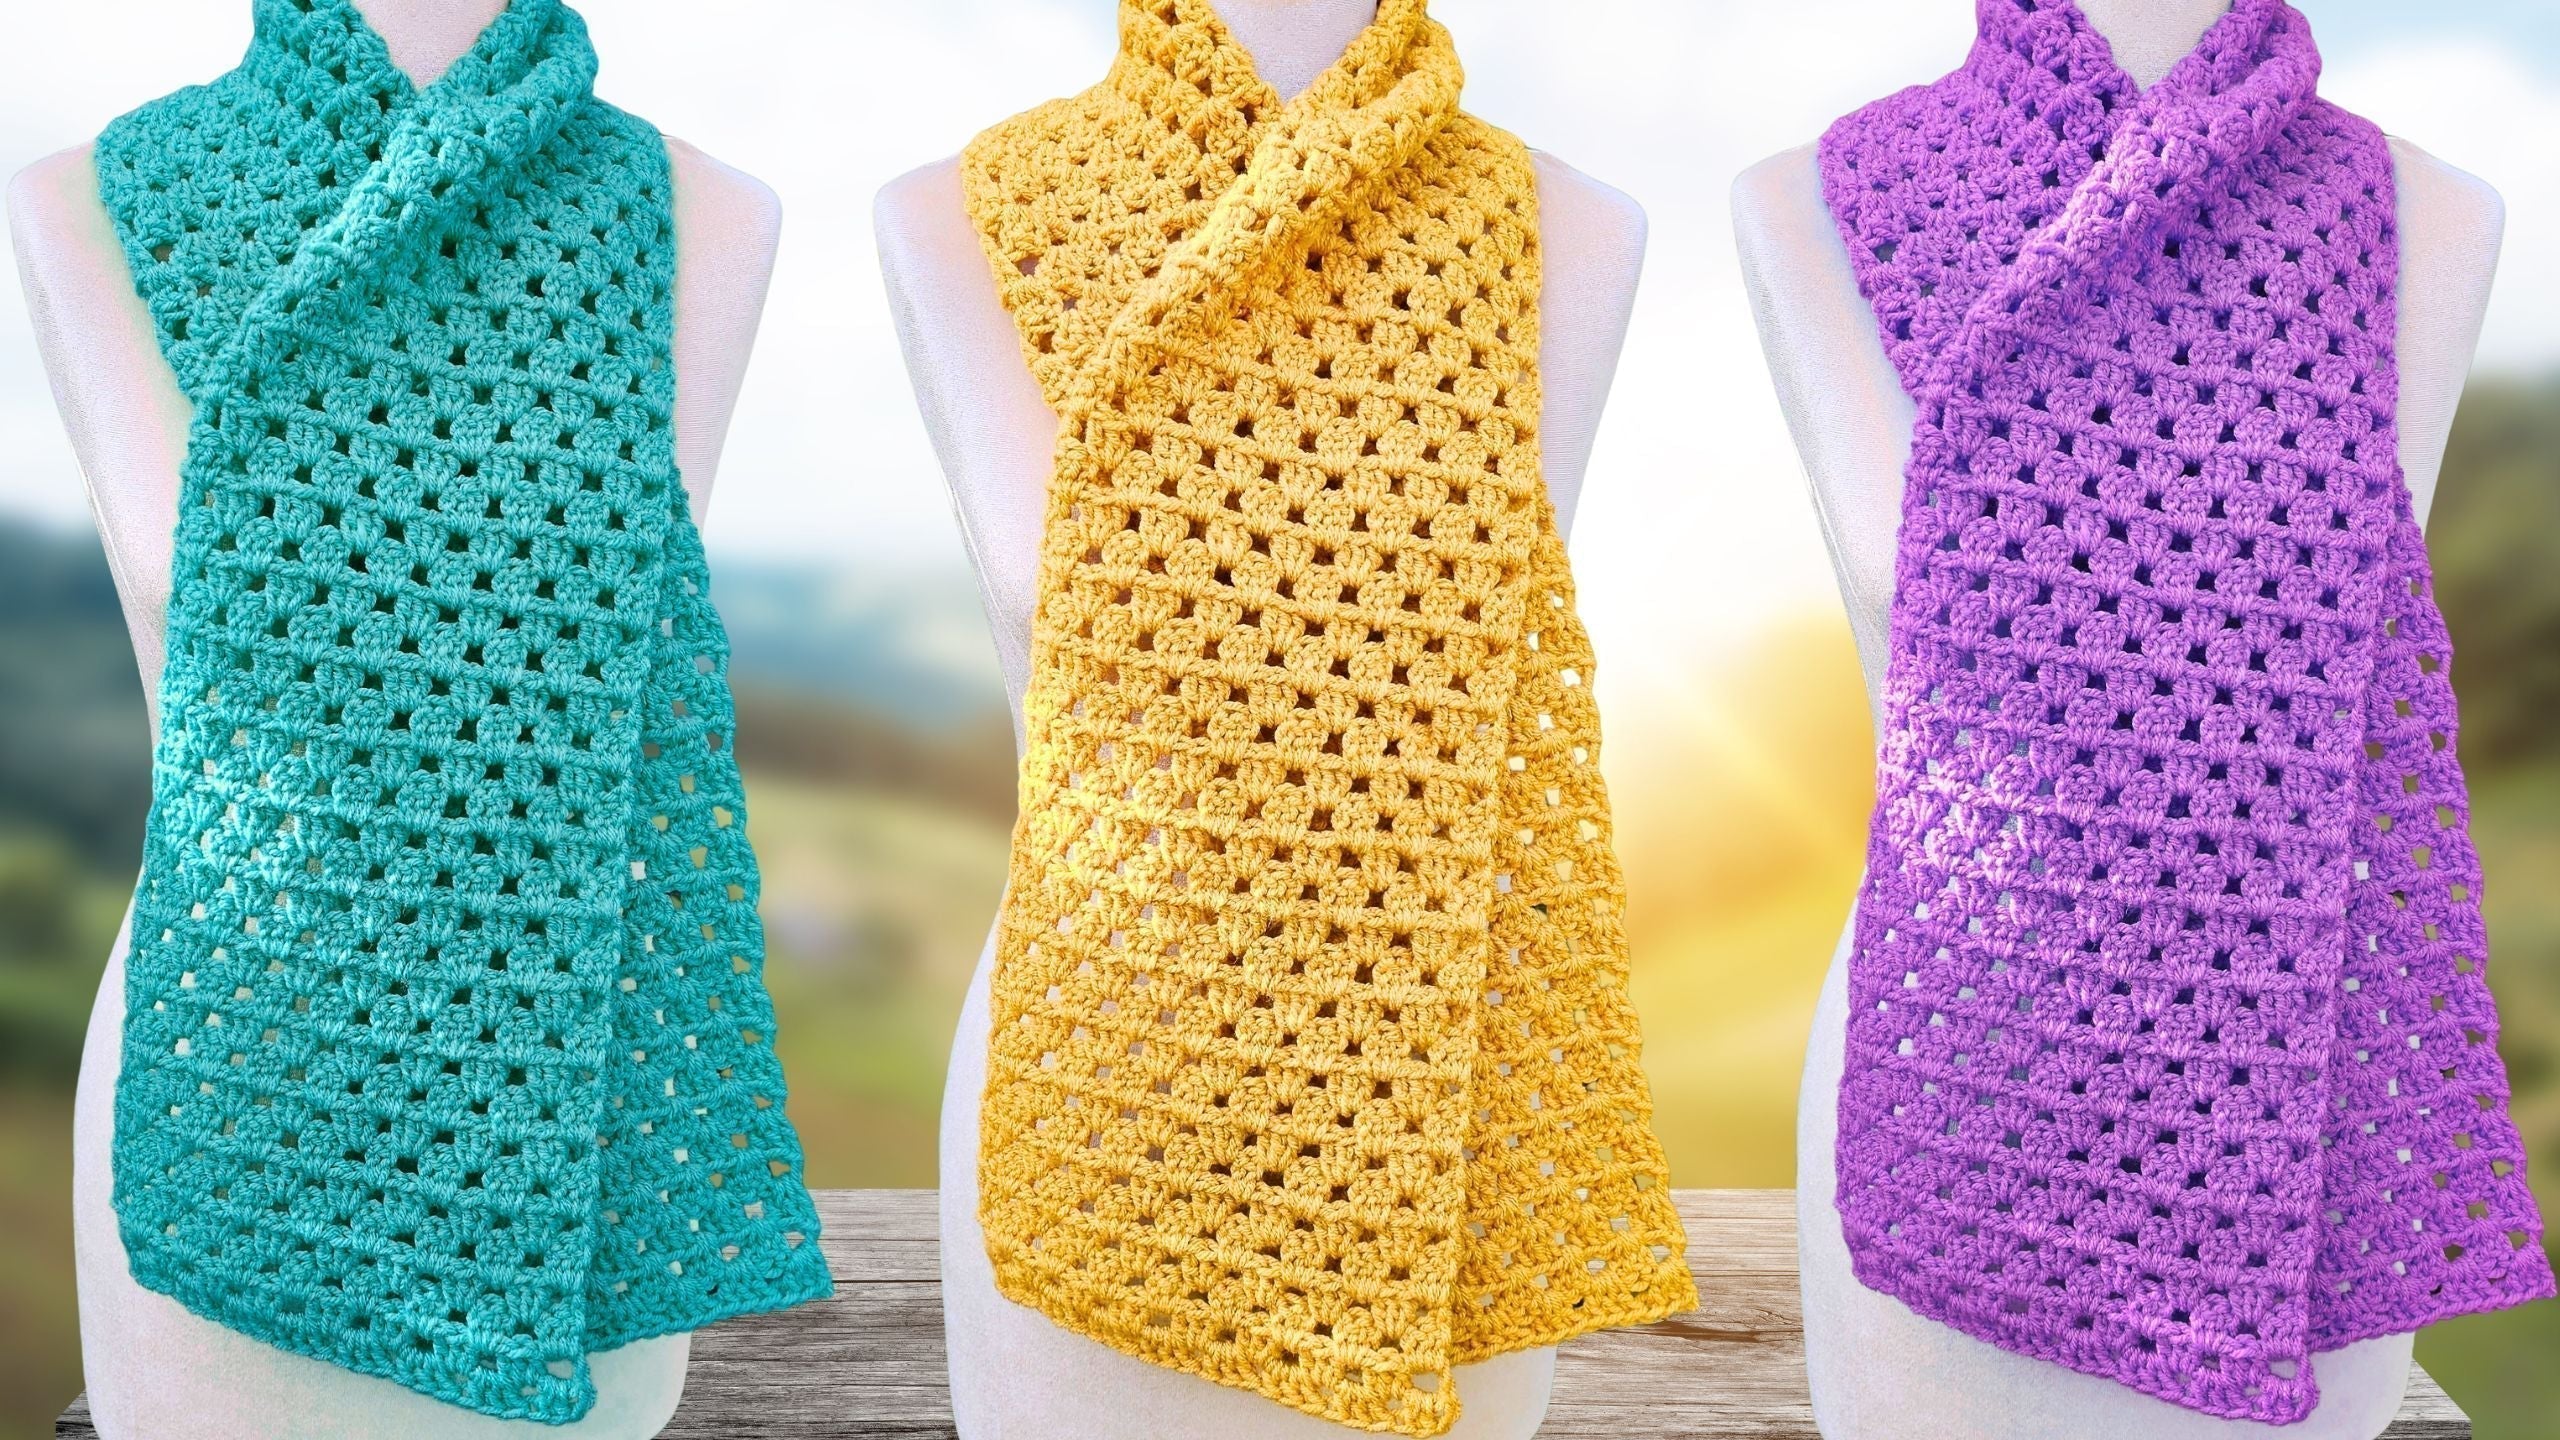
Looking for a scarf that is simple, fast, and beginner friendly, without uneven edges or messy ends? This granny stitch scarf checks all the boxes. The edges stay super straight, the beginning matches the end automatically, there is no border to add, and you only have two tails to weave in. My finished scarf measures about 58 inches long and 9 inches wide, which is cozy without being bulky. If straight edges and neat ends have been a pain point, this project will feel like a breath of fresh air.
Why Choose This Super Easy Granny Stitch Scarf Pattern?
I designed this scarf to fix the three most common beginner headaches: wavy edges, mismatched ends, and wrestling with foundation chains. This method removes all of that. The setup rounds automatically mirror each other, so both ends of the scarf look the same. The row repeat uses a simple jump start and full stop, which keeps the edges aligned and prevents that stair‑step look.
Here is what makes it shine:
- Super straight edges that look clean and even
- Matching top and bottom without adding a border
- No yucky chain to work into on one side
- Only two tails to sew in at the end
You get an easy, relaxing stitch pattern that builds fast and looks tidy from the first row.

The Joy of a Beginner-Friendly Crochet Project
I love how squishy and soft this scarf turns out with a slightly larger hook. It feels like a warm hug and drapes nicely without stretching out. The stitch groups sit neatly in their spaces, which makes it a great confidence builder for new crocheters. I walk you through the full start, the jump start and full stop repeat, and how to finish cleanly, all in plain English and friendly steps. It is truly a super easy project you can feel proud of.
Supplies You’ll Need for Your Scarf
Yarn Selection
I used size 4 worsted weight acrylic yarn, 200 grams, which is one of those big skeins. One ball is enough for the scarf size shown. Acrylic holds its shape, washes well, and gives a cozy feel that is perfect for everyday wear. You can use your favorite brand, or try a soft worsted acrylic you enjoy.
- Recommended option for materials: check out this beginner friendly overview for working into spaces in granny style scarves in the Granny Square Inspired Scarf tutorial on Instructables.

Crochet Hook Choice
I used a 6.5 mm hook for the scarf. It is slightly larger than the 6 mm hook I used for the matching hat, and that half size makes the fabric more squishy and wearable.
Why a slightly larger hook can help:
- It relaxes your stitches and reduces tightness.
- It improves drape and softness.
- It hides small tension hiccups that beginners often see.
A comfortable hook handle is a plus if you plan on making more than one.
Other Essentials
- Scissors for cutting your yarn
- A yarn needle for sewing in ends; a sharp tip needle glides through stitches with less snagging
Where to Find Patterns and More Help
If you enjoy beginner friendly scarves with a modern twist, try my Dirty Granny boho crochet scarf or my step by step Drunken Granny crochet scarf tutorial for another easy, one ball project.

Timestamps to Navigate the Tutorial Easily
Use these time markers to revisit any step you want:
- 0:00 Intro to the pattern
- 0:23 Why this scarf is great
- 0:59 Supplies overview
- 1:50 Slip knot and chain
- 2:38 Working into back loops
- 4:18 Securing the loop end
- 4:50 Rotating and mirroring the side
- 7:58 Foundation row complete
- 8:24 Row repeat instructions
- 11:04 Finishing and weaving ends
For more beginner videos each week, you can always subscribe to The Secret Yarnery on YouTube.
Preparing to Start: The Basics of Tension
Understanding Relaxed Chains
Keep your chain relaxed. That means do not pull on the loop on your hook. Let your loop sit up on the fat part of the hook and avoid over correcting your tension. A relaxed chain is easier to work with and sets up the straight edges later.
Why Relaxed Tension Matters for Straight Edges
Tight chains pinch and shrink the stitch before them. This makes working into or around the chain harder and can ripple your edge. A looser chain sets you up for clean sides that match all the way up.

Step 1: Making the Slip Knot
How to Form the Slip Knot
Make a slip knot any which way you like.
- Twist the yarn into a loop.
- Pull a strand through the loop and tighten gently.
Getting It Just Right on Your Hook
Pop the slip knot onto your hook. It should be snug but not tight. You want it to slide smoothly as you chain.
Step 2: Chaining the Foundation
Chaining 25 Stitches
Chain 25 with relaxed tension. Keep your loop sitting comfortably on the thick part of the hook.
Simple chain motion:
- Wrap the yarn over the hook.
- Pull through the loop.
Count out your stitches so you reach 25 without guessing.
Keeping Your Chain Relaxed Throughout
Do not tug on the last chain you made. Tugging shrinks the stitch before it and makes the next step fussy. A relaxed chain gives you a happy foundation with matching sides at the end.

Step 3: Working into Back Loops for Setup
Identifying the Back Loops
Turn your chain so you can see the camel bumps along the back. These are the back loops of the chain and they look like a row of little ridges.
First Double Crochet in the Fourth Loop
Skip three back loops from the hook. Yarn over, insert into the fourth back loop, and make one double crochet.
Making 22 Double Crochets Around the Chain
Now work 22 double crochets around the chain, not into the chain. This is easier and faster for beginners.
Motion to repeat:
- Yarn over.
- Insert your hook around the chain.
- Pull through and complete your double crochet.
Do not stress about perfect spacing yet. It settles nicely in the next steps.

Why Working Around the Chain Is Beginner Friendly
Hunting for chain strands can be hard when you are new. Working around the chain lets you focus on smooth motion and even stitches, not tiny loops. This method also helps the bottom edge look like the top edge, which is how we get that neat, border free finish.
If you learn well by seeing different variations of granny style scarf construction, this beginner walkthrough of a similar approach, working into spaces instead of tight stitches, is helpful: Crochet Granny Square Inspired Scarf.
Step 4: Securing the Loop End
Chaining Two After the Double Crochets
After those 22 double crochets, chain two.
Slip Stitch to the Last Chain
Slip stitch into the last chain before the slip knot. Get your hook into that chain any which way, then slip stitch. You can nudge your stitches to even things out. It sorts itself in the next part.
Rotating Your Work for Matching Ends
Why Rotate?
Rotating lets you work along the other side of the same foundation chain so the bottom matches the top without any border.
Chain Two and Prepare to Mirror
Chain two again. It counts as a stitch. Rotate your work so you can now work along the opposite side of the same chain. You are about to mirror what you did, which is the key to matching ends.

Step 5: Mirroring the Foundation Side
Adjusting the First Stitches
Gently slide two of your double crochets over so you can work into the next open space. Make three double crochets into that space. The chain two you just made counts as part of this start.
Creating Groups of Three Double Crochets
Now move three stitches over along the chain, then place three double crochets into the next space around the chain on the opposite side.
Repeat this rhythm:
- Slide three stitches over.
- Insert your hook around the chain in the next space.
- Make three double crochets.
Continuing Along the Row
Keep sliding three stitches, then placing three double crochets into the next space around the chain. Work at a pace that feels good. If you need a rhythm, count one, two, three for each group.
Finishing the Foundation Row
When you reach the end, place three double crochets into the last space. Your foundation is now done. The bottom and top edges match, which means no border is needed later.

The Magic of Matching Ends Without Borders
I love that I can stop at any row and know the ends will match. No extra steps, no edging to hide a chain row, and no awkward visual line on one side. The mirrored foundation gives you an automatic matching finish that looks polished with minimal effort.
Step 6: The Row Repeat, Jump Start and Full Stop
Starting Each Row: Chain Two and Turn
For every row, start with a chain two and turn your work.
Jump Start: Skipping the First Group
After turning, jump over the first set of three stitches, then place three double crochets into the first space. This jump start keeps the edge straight and makes the side look crisp.
Working Three Double Crochets in Each Space
Continue with three double crochets into each space between the stitch groups across the row. You are working into spaces, not tight stitches, which keeps it easy. Keep your tension relaxed and your hands comfortable.
Hand motion reminder:
- Yarn over.
- Insert into the space.
- Complete the double crochet.
Full Stop: Ending with Three in the Last Space
Always finish the row with a full set of three double crochets in the last space. No half groups or partials. This full stop keeps your edges even from row to row.

How Many Rows to Crochet?
Repeat the jump start and full stop rows until your scarf reaches the length you want. Mine is about 58 inches with one 200 g skein of worsted acrylic. If you prefer a longer scarf, keep going. If you want a shorter neck wrap, stop earlier. The stitch pattern makes it easy to eyeball your progress.
Tips for Maintaining Straight Edges During Repeats
Watching Your Tension
Relax your shoulders, breathe, and let your stitches flow. If your edges start to pull in, loosen your grip and slow down a touch.
Speed and Pausing
If you are following along with the video, pause at the start of each row until the jump start and full stop feel natural. Once you get the rhythm, your edges will stay neat and straight.

Adjusting for Longer or Shorter Scarves
If your foundation chain is longer or shorter than 25, the method still works. Just follow the same steps, mirror the setup, and then repeat the rows until you reach your desired length. This pattern is flexible and forgiving.
Step 7: Finishing Your Scarf
Securing the Last Stitch
At the end of your final row, after your last full stop group, chain one to secure the yarn.
Cutting the Yarn
Cut your yarn and leave a long tail for weaving in later. Pull your hook up and pass the tail through to lock the stitch.
Preparing to Weave In
You will have only two tails to weave in. Thread your yarn needle with one tail to start.

Weaving in the Ends Like a Pro
Threading and Starting the Weave
Work your needle back down that last stitch, then across the fat parts of the stitches along the bottom. A sharp needle helps you glide under the strands without splitting.
Going Back and Forth
Weave back and forth under the stitches for an inch or so. Do not pull too tight. Gentle, even pressure keeps the fabric flat and the tail secure.
Steps to remember:
- Insert needle under several strands.
- Change direction and weave back.
- Repeat once more to lock it.
Trimming the Tail
Snip the yarn close to the fabric without cutting your stitches. Repeat the process on the starting end. That is it. Clean finish, no knots showing.

Why Only Two Tails? A Beginner Win
Since the ends match and no border is needed, you only have the starting and ending tails. That saves time and makes the whole project feel tidy and stress free.
Troubleshooting Common Beginner Issues
If Edges Aren’t Straight
Check your tension. Make sure you are doing the jump start and full stop on every row. If the first chain felt tight, consider restarting with a looser chain.
Uneven Spacing in the Foundation
If the foundation looks a little uneven at first, do not worry. The next round settles the spacing, and the mirrored setup evens out the look.
Running Out of Yarn Early
If you run short, your tension might be snug or your chain was longer. Adjust your length goal or add a second ball to extend the scarf. For gauge flexibility and a similar beginner project, you can explore a simple variant like this Crochet Pattern Scarf Granny Stitch PDF on Etsy to compare approaches and sizing tips.
Quick checks:
- Count your starting chains.
- Keep loops relaxed.
- Stay consistent with three double crochets per space.

Pairing With a Matching Hat
I made a coordinating hat with a 6 mm hook to go with this scarf. If you enjoy matching sets, it is a great next step after the scarf. The smaller hook on the hat gives structure, while the scarf stays soft and drapey.
Left-Handed Crocheters, Your Tutorial Is Ready
I also provide full left handed versions of my tutorials. If you crochet left handed, head to the lefty playlist for mirrored steps that match your perspective: Left-Handed Tutorials.
Printable Resources for Easy Following
If you prefer printed patterns with step by step instructions, I write in plain English and keep the steps simple. Grab free resources and helpful charts from my library any time, including my stitch cheat sheet: FREE CROCHET CHEAT SHEET.
Joining the Crochet Community
I post new beginner friendly tutorials every week. Stay up to date, learn new stitches, and crochet along with me in real time by subscribing here: SUBSCRIBE.
If you want bonus videos and extras, consider joining as a member: JOIN.
Love easy, one ball projects with granny style texture? Try my Drunken Granny crochet scarf tutorial or the relaxed, boho Dirty Granny scarf pattern. Both are beginner friendly and use easy repeats that build fast.
Step-by-Step Pattern Summary
Use this as a quick refresher while you crochet:
- Make a slip knot and chain 25 with a relaxed tension.
- Turn to see the back loops. Double crochet into the fourth back loop from the hook.
- Work 22 double crochets around the chain, not into it.
- Chain two. Slip stitch into the last chain before the slip knot.
- Chain two again and rotate your work to the other side of the chain.
- Slide a couple of stitches over as needed, then place three double crochets around the chain in the next space.
- Continue sliding three stitches and placing three double crochets around the chain across. Finish with three double crochets in the last space.
- For each row: chain two, turn, jump over the first group, and place three double crochets in the first space.
- Work three double crochets in each space across the row.
- End every row with a full set of three double crochets in the last space, the full stop.
- Repeat until your scarf reaches your desired length, about 58 inches for one 200 g skein.
- Finish by chaining one, cutting the yarn, and weaving in the two tails.

Pro Tips for Success
- Keep your chain and first row loose to avoid tight edges.
- Count your groups once in a while to stay on track.
- If your edge looks wobbly, check that you are always jumping over the first group and doing the full stop at the end.
- Use a soft acrylic for easy care. If you are new to granny style spacing, this simple walkthrough also shows why working into spaces is easier: Granny Square Inspired Scarf process.
Final Thoughts on Your First Granny Stitch Scarf
This granny stitch scarf turns simple steps into a neat, finished piece that looks polished without extra fuss. The straight edges, matching ends, and two tails make it a perfect win for beginners. If you try it, share your progress and let me know how it went. Keep your tension relaxed, enjoy the rhythm of the stitch groups, and stay hooked on the joy of making something you can wear right away.
Left handed?
Frequently Asked Questions
-
Can I use a different yarn weight?
Yes. Adjust your hook to match the yarn. Aim for a soft, flexible fabric. Lighter yarn gives an airier, narrower scarf. Chunky yarn makes it thicker and warmer.
-
What hook size should I use?
Use 6.5 mm with worsted acrylic for a soft drape. If your stitches feel tight or stiff, go up a size. If holes look too open, go down a size.
-
How much yarn do I need?
About 200 g of worsted weight acrylic makes a scarf around 58 inches by 9 inches. Add more yarn for extra length.
-
Do I need a border?
No. The mirrored foundation makes both ends match, so no edging is needed.
-
How do I keep the edges straight?
Start each row with chain 2, skip the first group, and work three double crochets in the next space. End every row with three in the last space, the full stop.
-
Why work around the chain instead of into it?
It is faster, easier to see, and it also helps the bottom edge look like the top.
-
Can I make it longer?
Yes. Repeat rows until you reach your desired length. One big skein gets you to about 58 inches.
-
What if my edges are wavy or stepping in and out?
Loosen your tension. Check that you always skip the first group after turning and finish with three in the last space.
-
My foundation looks uneven. Is that okay?
Yes. The next round settles the spacing. Keep going and it evens out.
-
Is this pattern beginner friendly?
Very. You work into spaces, repeat simple groups of three, and only weave in two tails.
-
Will this work left handed?
Yes. Follow the left-handed tutorial playlist for mirrored steps.
-
How long will it take to make?
Most beginners finish in one to two evenings, depending on pace.
-
Can kids or absolute beginners make this?
Yes. Use a smooth, light-colored yarn and a larger hook to see your stitches easily.
-
Can I use cotton or wool instead of acrylic?
Yes. Cotton gives more structure and less stretch. Wool adds warmth and bounce. Adjust hook size for comfort.
-
Do I have to count stitches every row?
No. Count groups occasionally to stay on track and keep edges even.
-
Can I pair it with a matching hat?
Yes. Make a coordinating hat with a 6 mm hook for a bit more structure.
![]()
Christa Patel is the creator behind The Secret Yarnery, known for beginner-friendly crochet tutorials that turn tricky steps into simple wins. With thousands of makers following her weekly videos, Christa focuses on clear, plain-English instruction, relaxed tension techniques, and polished finishes that look pro without extra fuss. Her patterns are designed to solve common beginner pain points like wavy edges, sloppy joins, and mismatched ends.
Christa’s tutorials have helped new crocheters master foundation setups, granny stitch spacing, and clean finishing methods with minimal weaving. She specializes in fast, one-skein projects, practical gift ideas, and left-handed, step-by-step guides. When she is not filming, she is testing yarns, refining stitch counts for better drape, and creating printable cheat sheets to make learning easier.
About the Author
With a passion for crafting easy, beginner-friendly tutorials and patterns, Christa inspires crafters of all skill levels to unleash their creativity worldwide. She encourages yarn lovers to connect, create, and crochet a world filled with beautiful handmade treasures!
Easiest No-Chain Granny Stitch Scarf with Matching Edges!