

How to fix mistakes in a granny square
A crooked edge, strange gap, or curling usually points to an earlier construction error. These crochet mistakes don't mean your whole crochet project is ruined, and repairing a granny square starts with finding where the stitches stopped matching the pattern.
Most crochet mistakes can be repaired without tossing the piece. Crooked corners, extra holes, wavy sides, or a square that won't lie flat may signal a missed join, color change, or uneven tension. Check whether the pattern starts with a magic circle or chain one, then use a gauge swatch to see if tension affects the edges. For beginner crochet readers, the beginner granny square tutorial offers a clear reference. Its beginner crochet guidance can help you count stitches, repair color changes, and get back on track.
Key Takeaways
- Use this beginner crochet checklist to inspect the entire granny square before frogging, since the visible problem may start earlier in the round.
- Verify the starting chain, including whether the pattern calls for chain one, then count stitches, side clusters, and corner spaces.
- Frog only to the last correct stitch or round, then rebuild the repair with the same hook and tension to avoid repeating crochet mistakes.
- Redo a full round when corner spaces or several clusters are wrong, rather than carrying crochet mistakes into the next round.
- Check every round before moving on, especially after a color change or join, and use stitch markers to track the round’s start.
Watch these video tutorials for visual guidance:
How to Fix Mistakes in a Granny Square: Find the Problem First
Put the granny square on a table and view it from every side. Inspect all four corners, then count stitches and compare the cluster repeats between each pair. This first check helps you locate crochet mistakes before unraveling anything.
A missing cluster pulls an edge inward. An extra cluster can create a bump, flare, or wavy side. Look for the repeating granny stitch pattern and check each corner space. A typical corner uses three double crochet, chain 2, and three double crochet, although your pattern may specify different chains.
Review the pattern notes for its starting instructions. Confirm the foundation chain, whether the opening uses chain one, and whether another chain one acts as a spacer. Some designs begin with a magic circle, which can become too tight and distort the center. For beginner crochet, compare the written repeat with the stitches in your actual piece. A step-by-step granny square reference offers a clear visual guide for beginner crochet construction.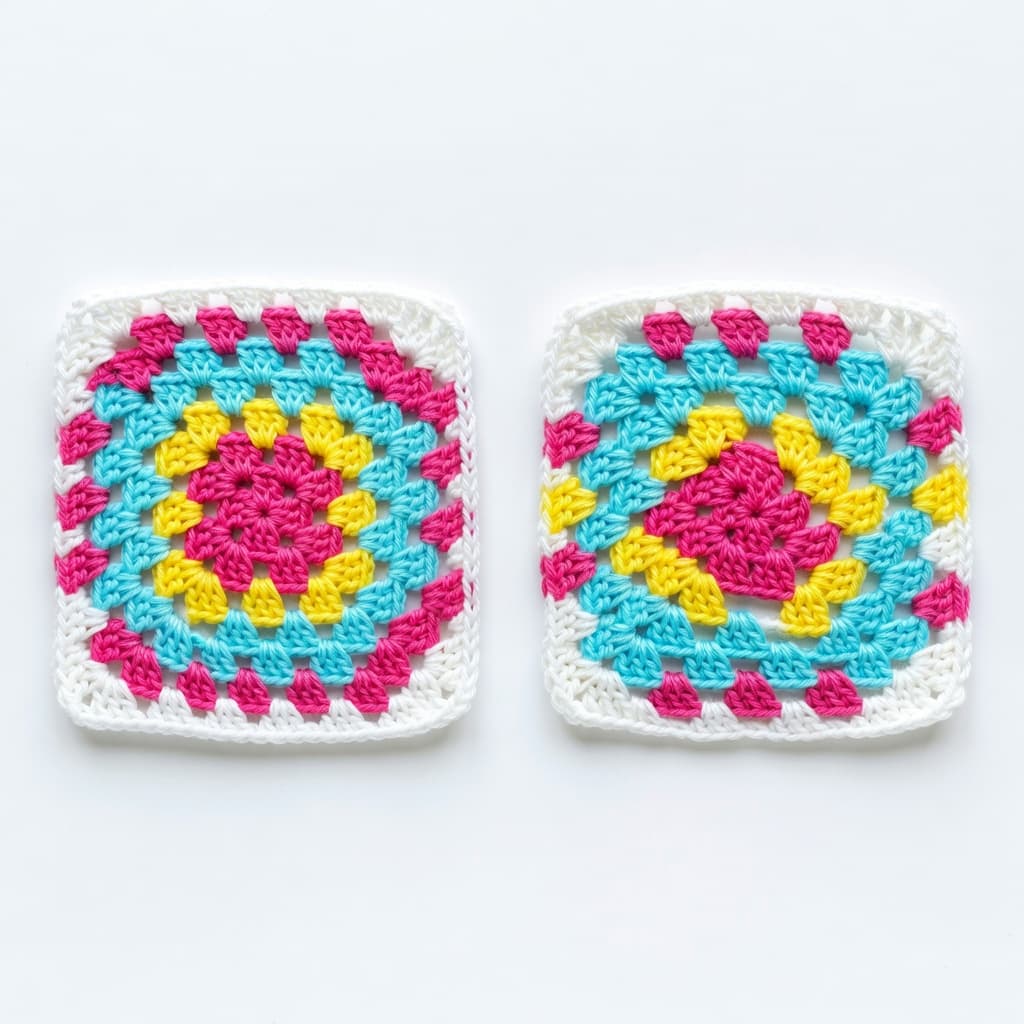
Curling may come from tight tension or too few stitches. Check a gauge swatch before assuming the problem is a stitch error. Severe warping, including a slanting granny, usually points to a misplaced corner, cluster, or join. Crochet mistakes that change the stitch count can distort the entire side.
An invisible decrease shapes other crochet forms, but it can't replace a missing granny-square cluster. Choose the smallest repair that solves the issue:
- Fix one double crochet if the error is near your working loop and the rest of the round matches.
- Undo part of a round when one side or corner has gone off pattern.
- Redo the full round when multiple clusters or corner spaces are incorrect, especially when crochet mistakes affect the repeat.
If you need to refresh the basic shape first, this super easy square pattern shows the standard clusters, corners, and joins clearly.
Frog Back Only What You Need to Repair
Frogging means carefully pulling back stitches in a granny square. Slow, controlled frogging is safer for beginner crochet and helps prevent more crochet mistakes. Find the last stitch or round you know is correct, then secure the live loop by placing a crochet hook through it. A locking stitch marker can hold nearby loops in place while you work.
Pull the working yarn back one stitch at a time, stopping at the last correct point. Keep a yarn needle, scissors, matching yarn, and extra stitch markers nearby. Rebuild the stitches with the same hook and similar tension, then recount before continuing.
This sequence keeps the repair area manageable and prevents good work from unraveling. It’s the most reliable way to correct crochet mistakes without redoing the entire square.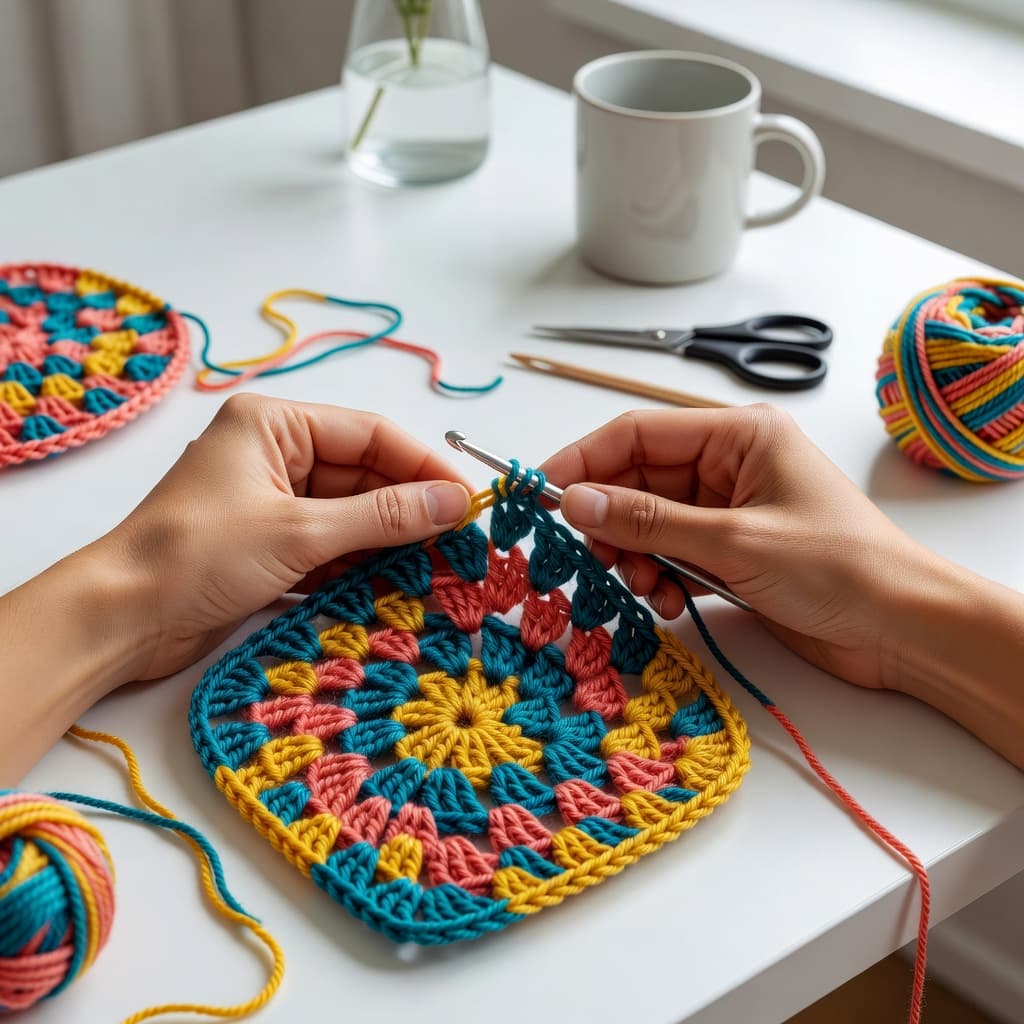
Fix a Missed or Extra Cluster Without Distorting the Square
Suppose your round has side clusters of three double crochet and corners made from two matching groups. Count from the nearest corner to find the incorrect space. If one side should have two clusters but has one, frog back to that empty space and rebuild the repeat.
Don't add a random stitch along the edge to fill a hole. That may hide the gap briefly, but it changes the cluster rhythm and can make the side buckle. Never use an invisible decrease to hide a missing cluster, either. Remove an extra cluster by returning to its space instead of squeezing later stitches together.
Repair a Damaged Section When Frogging Is Not Practical
A broken strand or inaccessible patch may make a clean redo impractical. First, secure the surrounding stitches and preserve enough yarn ends for reweaving. For crochet mistakes in a damaged granny square, use a yarn needle and matching yarn to rebuild the missing loops through nearby fabric.
If the starting chain or chain one spacer is damaged, match its original size and position. Weave the repair yarn through neighboring stitches more than once, changing direction as you go. This fallback may show more than a clean redo, so reserve it for hidden areas, later rounds, or projects where a small handmade variation is acceptable.
A repair that preserves the correct corner count and side count will join more neatly than a repair that only hides a hole.
Correct Granny Square Joins and Color Changes
Round endings can create trouble even when every cluster looks right. Incorrect joins are common crochet mistakes, so check that your final slip stitch enters the stitch or corner space named in the pattern. A join pulled too tight can pucker the fabric, while a loose join may leave a gap or distort the corner.

For clean color changes, change yarn during the final pull-through of the last stitch, or fasten off and join the new color in a corner space. A slip-knot start, standing stitch, or corner join can all work well. For beginner crochet projects, follow your pattern's joining method instead of mixing techniques mid-project.
Leave about 4 inches on your yarn ends for weaving in. Keep the yarn ends on the back, and use a yarn needle to weave in ends without pulling the join tight. If you joined the wrong color, fix this crochet mistake by undoing only the joining stitch and last cluster, then attach the correct yarn. This color-change granny square tutorial offers visual help with tidy placement and working over tails.
Make the Last Join Blend Into the Corner
Joining in a corner space often hides the change better than joining halfway along a side. Still, check the pattern before changing your join location. Its chain one and finishing instructions may depend on a side join.
Keep the final slip stitch loose. A too-tight join can pull a corner inward, even when the stitch count is perfect. If one corner looks smaller than the others, loosen that join before redoing the full round.
Prevent Crochet Mistakes Before the Next Round
A one-minute check after every round saves far more time than repairing a large granny square later. This beginner crochet habit helps prevent crochet mistakes while they're still easy to repair. It's a useful beginner crochet routine, especially when the starting chain blends into the first stitch, so mark the round start with stitch markers.

Before starting a larger project, make a gauge swatch to test your yarn and tension. Check the yarn label for the yarn weight and recommended crochet hook size. Depending on the pattern, the round may begin with a magic circle or chain one. Then lay the square flat before beginning the next color or round.
Keep the pattern visible and pause after the first corner. Compare that repeat with the instructions instead of waiting until the round is complete. This catches crochet mistakes before they spread. Use the recommended size and keep your pressure consistent. Different granny-square patterns use different corner chains, side spaces, and joins, so follow your own pattern's directions.
Use a Simple Round-by-Round Check
- Locate the round start and confirm the join sits where the pattern says it should.
- Count the four corner spaces before you count the side clusters.
- Count stitches from one corner to the next on every side, and verify the repeating granny stitch rhythm.
- Check the row count or round number against the pattern.
- Lay the square flat and look for curling, flaring, or a pulled-in edge.
- Confirm the color changes and yarn tail are on the back.
- If crochet mistakes appear, correct them before starting the next round.
After correcting stitch counts, gentle blocking can flatten slight waviness or help the square lie flat. Blocking can't correct missing clusters or incorrect corners.
This routine takes less than a minute. It keeps crochet mistakes small, making repairs much less stressful.
Keep the Square, Fix the Stitch
Careful counting and a little controlled frogging can help you fix mistakes in a granny square. Check each round while stitches are easy to reach, and use a stitch marker and yarn needle to keep crochet mistakes tidy in the repaired piece.
Whether your project starts with a magic circle or a chain-based start, following the pattern’s counts keeps the next round on track. A clear beginner crochet pattern and a few practice squares build confidence, and every corrected stitch teaches your hands what to look for next.

Frequently Asked Questions
Why is my square curling instead of lying flat?
Curling can come from tight tension, too few corner chains, or an incorrect stitch count. Check the pattern and count first. A gauge swatch can reveal tight tension, while a tight magic circle may pull the center inward.
Should I undo the whole square if I find one mistake?
Most single crochet mistakes don't require a full restart. In beginner crochet, you usually only need to frog back to the first incorrect stitch. Redo the whole square only when several rounds have the wrong corners, clusters, or spaces.
How can I tell if I added an extra stitch?
Count the clusters from corner to corner and compare each side. Crochet mistakes can make one edge flare, wave, or grow longer than the opposite side. A slanting granny often shows an uneven stitch count or misplaced corner. Don't use an invisible decrease to fix a granny-square cluster.
Can I fix the square after I have woven in the ends?
Yes, although it takes more care. Loosen the yarn ends only as far as needed, then begin the repair with the same crochet hook used originally. Don't cut the tail until you know where the repair starts, because you may need to weave in ends again.
Do squares have to be perfectly identical?
Small tension differences and slight color changes are normal in handmade crochet. For a baby blanket or another crochet project, matching stitch counts, corner structures, and finished measurements make joining easier and cleaner.
Can you block a granny square to fix minor mistakes?
Gentle blocking can flatten slight waviness after you correct the stitch count and joins. It's a final finishing step, not a way to repair missing stitches.

Christa Patel is the creative mind behind Secret Yarnery, her content helps beginner and growing crocheters understand granny squares, stitch placement, tension, color changes, and simple repairs. She explains techniques in clear, reassuring steps and encourages readers to learn by practicing rather than aiming for perfection. Keep advice accurate, hands-on, and easy to follow, with a warm crochet-community tone.
About the Author

With a passion for crafting easy, beginner-friendly tutorials and patterns, Christa inspires crafters of all skill levels to unleash their creativity worldwide. She encourages yarn lovers to connect, create, and crochet a world filled with beautiful handmade treasures!
How to Fix Mistakes in a Granny Square: Easy Guide 2026


