Palm Springs Granny Square | Secret Stitches Easy Stitch Sampler Blanket Pattern Part 8
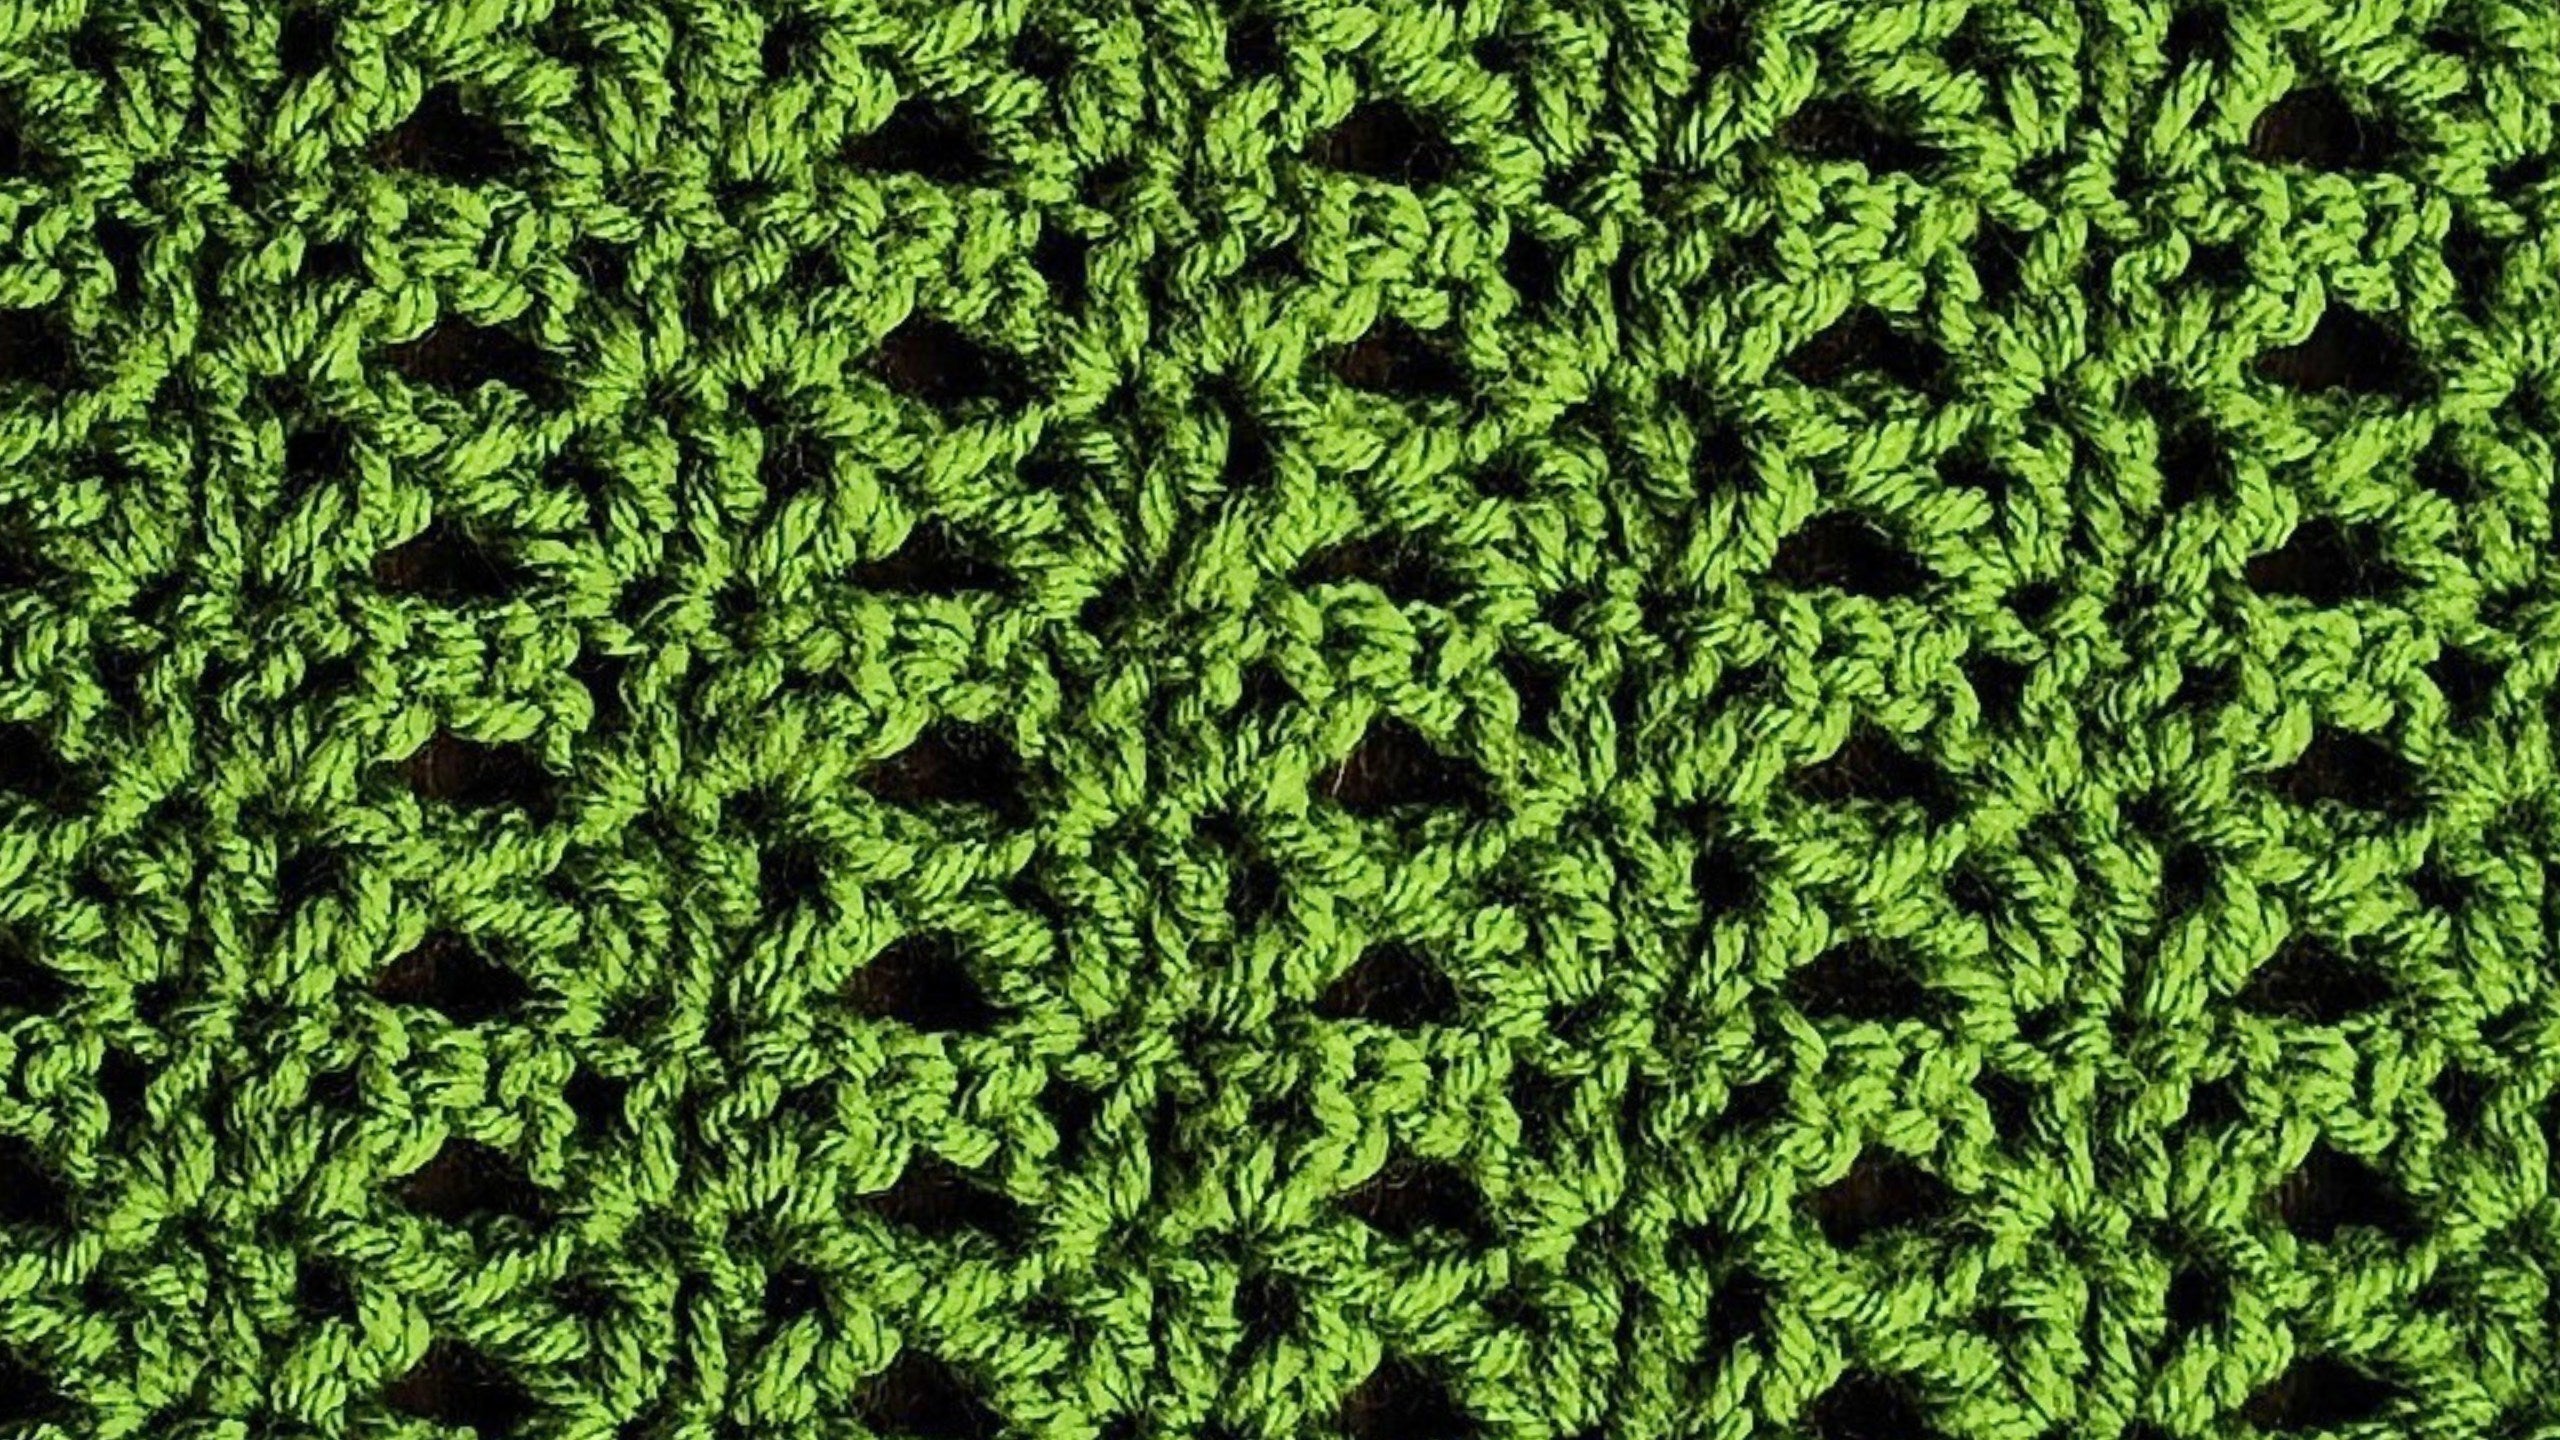
If you love simple, textured crochet projects that are relaxing to make, you’re going to love the Palm Springs Granny Square. This sunny and easy granny square is Part 8 of the Secret Stitches Easy Stitch Sampler Blanket Pattern. The secret to its charm is an effortless one-row repeat that’s soothing to memorize and quick to hook up. Whether you want a pop of color in your crochet blanket or a fresh new motif for your next project, this square’s got you covered. Best of all, you can use any yarn you’ve been working with so far, or opt for something new and bright to shake things up.
If you want the written pattern, make sure to check out the Palm Springs Granny Square Yarn page on the Secret Yarnery site. It’s a great way to follow along without missing a step!
Overview of the Palm Springs Granny Square Crochet Pattern
The Palm Springs Granny Square is a true favorite of mine, and it’s part of the enjoyable Secret Stitches Easy Stitch Sampler Blanket Pattern. This square stands out with its super simple one-row repeat that’s easy to keep track of, even if you’re crocheting in front of the TV or chatting with friends. The combination of bold structure and effortless process makes it ideal for all skill levels.
With its unforgettable, almost geometric finish, this square pairs perfectly with other Easy Stitch Sampler Blanket motifs—or shines on its own in a throw or pillow. Try it in the same yarn and color for a seamless look, or change up your shades for a standout twist. Every square looks fun and unique!
Tip: The written pattern for the Palm Springs Granny Square is available at Palm Springs Granny Square Yarn if you prefer reading instructions as you go.

Materials Needed for the Project
I like to keep my material list straightforward. Here’s what worked best for me:
- Yarn: Use the same yarn you’ve been using in other squares for consistency or add a splash of color with a new yarn. For this tutorial, I used “Saver” from Ice Yarns—a durable and vibrant choice.
- Crochet Hook: Stick to the same hook size used for your other squares. I used a 6mm Clover hook, but any brand will work.
- Needle: For sewing in your yarn tails once your square is complete. A blunt yarn needle is best.
- Stitch Markers: You’ll want 7. These keep your stitch counts on point. Don’t have stitch markers? Substitute with paper clips, bobby pins, or even skip them if you feel confident.
- Scissors: Any sharp pair will do for snipping your yarn.
A clear set of supplies means less frustration and more crochet time!
Setting Up Your Foundation Chain
Getting started right is everything. Here’s how I do it:
Begin with a slip knot—use whichever method you like—and pop it onto your hook. Now, chain 6 stitches, counting them out as you go: one, two, three, four, five, six.
Take a good look at your chain. You’ll notice each stitch forms a neat “v” shape. Before moving on, roll your chain gently to the side. This makes the next step easier.
We’ll be working into the back loops—those “camel bumps” on the underside of the chain. Crocheting in these loops gives a sharp, finished look to your edge and adds an extra bit of polish to your granny square.

Using Stitch Markers to Mark Back Loops
It’s easy to lose count and lose your spot when you’re in the groove. Stitch markers, or their clever alternatives, help you keep track and save your sanity.
Here’s how I use them:
- Find the first back loop of your chain right under your working yarn. That’s where your first stitch marker goes.
- Chain another 6 stitches.
- Place a stitch marker in the sixth back loop.
- Repeat this pattern—chain 6, mark the back loop—until you’ve used all 7 markers or reached a chain of 42 stitches.
Feel free to use paper clips, bobby pins, or nothing at all if you don’t need the insurance. Stitch markers help keep your chain even and easily organized, especially if you need to double-check your count before starting the next step.
Extending the Chain with Additional Chains
Once your chain has 42 stitches and all your markers are in place, add on three more chains to reach a total of 45. Don’t pull the yarn too tight or too loose; just let it sit naturally on your hook with even tension. The last few chains create a nice transition into the first row of stitches.

Working into the Back Loops of the Foundation Chain
Working into the back loops makes the foundation neat and tidy. Flip your chain so the bumpy side faces you—those are the camel bumps. Find the first back loop right under your working yarn. This spot is where all the action starts.
Now, skip ahead to the fourth chain (where you placed the stitch marker). This is your target for your first double crochet stitch. A double crochet is simply: yarn over, insert your hook into the stitch, yarn over again, pull through, yarn over, pull through two, yarn over, and pull through the final two loops.
If your marker gets in the way, you can remove it after making your stitch.
Creating the Palm Frond “V” Stitches Along the Chain
What makes the Palm Springs Granny Square special is its palm-inspired texture, built along the foundation chain.
Here’s how I work the “V” stitches along the chain:
- Skip four stitches after your first double crochet.
- Work into the fifth chain (the stitch right before your next marker).
- Into that fifth chain, make a “V”: double crochet, chain one, double crochet—all in the same loop.
- Next, work directly into the chain where the stitch marker is. Make another V: double crochet, chain one, double crochet.
- Move on by skipping four chains again and repeat the steps above:
- Into the fifth (right before the marker): V
- Into the marked chain: V
- Continue this skip-and-V rhythm across your full chain.
- When you reach the end, you’ll have two chains left. Into the very last back loop (at the top of your starting knot), make two double crochets.
Stitch Sequence:
- Skip four stitches
- In the fifth: [Double crochet, chain one, double crochet]
- Repeat for each palm frond section
Being mindful of marker placement ensures each palm gets even, neat “leaves”—the backbone of this granny square.

Finishing Row One
To finish off your first row, crochet two double crochets in the very last back loop right on top of your foundation knot. Next, chain three and turn your work to start the next row.
Chain 3 acts as your turning chain, and turning your work sets you up perfectly for a neat edge on your next row.
How to Turn Your Work Correctly
Turning your work neatly makes all the difference in your finished square. Here’s the trick:
Tip: Slide your hand underneath the working yarn, gently grab your crochet, and bring it back through your loop to turn smoothly. This method keeps the edges clean and naturally aligned for the next stretch of double crochets.
If you’re after perfect edges, make this nifty move part of your routine.
Starting Row Two with Double Crochet
In row two, you’ll work right into the first stitch where your chain three started with a double crochet. Now, let’s talk about the “trees.” These are the two upright double crochets in each palm frond from row one. Ignore any angled stitches; focus only on those sturdy, straight-up “trees.”
I always look for those center double crochets to keep the pattern sharp and symmetrical. These two stitches become the anchor points for every round in this granny square.

Creating V Stitches on the Trees in Row Two
Time to set the groove! In this row, you place a V stitch in each “tree”—those vertical double crochets in the middle of every palm frond.
Follow these steps for each palm frond:
- Find the first “tree” (vertical center double crochet) and work a V stitch: double crochet, chain one, double crochet, all into that stitch.
- Move to the second “tree” (the next upright double crochet) and make another V in that stitch.
- Move to the next palm frond and repeat.
- As you go along, you’ll see your square building out with perfectly spaced palm “branches,” making for an impressive, textured finish.
Remove stitch markers if they get in your way, but by now the rhythm should make it easy to keep on track without them.
Checklist for Each Palm Frond in Row Two:
- Identify the first center “tree” and make a V.
- Find the second “tree” right beside it and make another V.
- Repeat across all palm fronds.
- Stay consistent for the neatest design.
By the end of this row, the palm effect pops, and the texture looks lush and inviting. I love standing back after this row and seeing those “trees” stack up perfectly.
Completing Row Two with Final Double Crochets
When you reach the end of row two, look for the top of your chain three from the previous row. This is where you’ll crochet two double crochets to maintain the square’s edge. Finishing each row with these extra stitches gives the granny square a clear, tidy border and keeps it looking crisp.

Repeating the Pattern Rows
The main beauty of the Palm Springs Granny Square lies in its simplicity. Just keep repeating that pattern row—finding the trees, placing the V stitches, and maintaining your form—until you’ve built a total of 20 rows.
You can pause the video or refer to the written pattern as you need. It’s relaxing, it’s predictable, and you’ll love seeing your square grow with each repeat.
Note: Your finished square size will depend on your yarn, hook, and tension. Adjust the number of rows if you want a smaller or larger square—make it your own!
Starting the Last Row Preparation
Now that you’ve finished your 20 rows, it’s time to finish strong with the last row.
Begin by chaining one and turning your work. Start this row differently—place a single crochet into the very first stitch of the row. This sets the foundation for the more delicate finish.
After that initial single crochet, chain three. This change in stitch type prepares the square for its final decorative row.

Working Single Crochet on the “Trees” in the Final Row
For a tidy and structured edge, the last row uses single crochet stitches on the “trees.”
Here’s my step-by-step process for the finish:
- Find the first tree (center double crochet) in your palm frond.
- Work one single crochet into that stitch.
- Move to the second tree. Again, single crochet into that stitch.
- Chain four for spacing.
- Move to the next palm frond, repeating: single crochet in the first tree, single crochet in the second tree, chain four.
- Continue this all down the row.
By spacing out with chain 4 in between each set of single crochets, you maintain the palm frond’s open look while creating a smooth edge.
Step-by-step sequence:
- Single crochet in first tree
- Single crochet in second tree
- Chain 4
- Repeat
This method sharpens up the outline and gives a gentle, airy finish without interrupting the main square’s texture. Don’t rush—ride that end-of-project satisfaction!
Finishing the Last Row and Securing Yarn
After you reach your final palm frond, complete a chain three, then work a single crochet into the top of your chain three from the previous row. This lines up your last edge.
Chain one to secure the yarn, cut your yarn, and pull your hook and tail all the way through that final loop. Snug down the knot to secure your work.
Weave in your yarn ends using a needle for a tidy, professional look. If you’re unsure how to fasten off yarn or hide tails, take it slow and watch for those little tips in the video.
Tip: When finishing off, weave tails back and forth in the stitches to keep them secure and hidden. It makes your work look nice and helps it last longer when washed.

Tips for Following the Pattern and Troubleshooting
Keeping a good stitch count is key to a great-looking Palm Springs Granny Square. Here are some of my go-to tips:
- Stitch markers help keep your place—but using paper clips or bobby pins works just as well. If you feel comfortable, you can skip marking and just count as you go.
- Check your row length often—it’s easy to add or drop a stitch without noticing. Take a second every now and then to make sure you’re on track.
- Adjust hook or yarn weight if you want a looser or tighter square. A bigger hook gives more drape, a smaller hook gets you a denser square.
- Back loops give the cleanest edge, but if you ever find it tricky, working in the front loops works in a pinch.
- Don’t be afraid to hit pause, rewind, or check out replay sections if any steps confuse you. A relaxed pace always gets better results!
Keep going, and if you mess up, it’s just yarn. Undo, redo, and you’re back in business.
How to Use This Granny Square Pattern in Larger Projects
The Palm Springs Granny Square is super flexible. Here are a few ways I like using it:
- Join several squares together for a colorful afghan or a lively throw. Each square adds a punch of pattern and texture.
- Sew them into pillow covers for a bright, cheerful home accent.
- Switch yarn colors for each square, organize them in stripes or randomize for a playful patchwork.
- This pattern is perfect for gifts—everyone loves a cozy, handmade treasure you can personalize with their favorite colors.
If you’re searching for more ideas, take a peek at the Palm Springs Yarn Collection or the Complete Pattern Collection at Secret Yarnery for more granny square inspiration and related projects.

Where to Find the Written Pattern and Additional Resources
For those who like reading as they go, the full written pattern for the Palm Springs Granny Square is ready and waiting on the Palm Springs Granny Square Yarn page.
Need extra support? There are handy video tutorials for both right and left handed crocheters:
- Right handed: Palm Springs Granny Square Step-by-Step Tutorial
- Left handed: Left Handed Palm Springs Granny Square Tutorial
You’ll find loads of friendly support in the Secret Yarnery Facebook group, or you can follow along on Instagram for more crochet tips, project inspiration, and behind-the-scenes updates.
Conclusion
The Palm Springs Granny Square shows how a simple stitch pattern can create impressive, unique texture. With just a one-row repeat, some bright yarn, and a few common supplies, you can whip up as many squares as you like. I find projects like these are just right for unwinding after a long day or connecting with my fellow crocheters.
Want to see how other makers put their spin on this Easy Stitch Sampler Blanket Pattern? Check out Top Palm Springs Yarn Products and see what’s popular. If you’re hungry for even more fun, browse Fun Crochet Projects for 2025 to find your next stash-busting project.
Happy crafting! And remember, the best crochet projects are the ones you love to create.
Left Handed?
FAQs
1. Can beginners crochet the Palm Springs Granny Square?
Yes. The pattern uses basic stitches and a simple one-row repeat, making it suitable for beginners. Video tutorials and written instructions offer extra help if you’re new to crochet.
2. What yarn works best for this square?
Any worsted or medium-weight yarn works well. Choose a yarn you feel comfortable with, or use leftover yarn from other projects. Bright colors help show off the pattern’s texture.
3. Do I have to use stitch markers?
No. Stitch markers help keep your place, but you may use paper clips, bobby pins, or nothing at all if you prefer to count stitches as you go.
4. What size should my finished square be?
Square size depends on your yarn, hook, and tension. Follow the pattern for 20 rows or adjust for a smaller or larger square.
5. Can I join the squares for larger projects?
Yes. These squares are easy to join for blankets, throws, pillows, or bags. Mix and match colors for different looks.
6. What if I lose count or make a mistake?
Don’t worry—just pull out the stitches (frog your work) back to where the mistake happened and continue. Counting stitches at the end of each row helps spot errors early.
![]()
Christa Patel is the creative mind behind Secret Yarnery, a crochet community loved by makers around the world. With years of experience, Christa makes crochet easy, fun, and stress-free for all skill levels. Her tutorials, patterns, and crochet-alongs are known for their clear instructions, friendly style, and clever tips.
Christa shares her passion through engaging YouTube videos, inspiring blog posts, and vibrant crochet groups. She believes everyone can enjoy crochet—no matter their experience. Christa lives in Nairobi, Kenya, where she designs patterns that bring joy, color, and comfort to every project.
Follow Christa and Secret Yarnery for more crochet ideas, support, and plenty of creative inspiration.
About the Author
With a passion for crafting easy, beginner-friendly tutorials and patterns, Christa inspires crafters of all skill levels to unleash their creativity worldwide. She encourages yarn lovers to connect, create, and crochet a world filled with beautiful handmade treasures!
Part 8 - Secret Stitches Easy Stitch Sampler Blanket Pattern