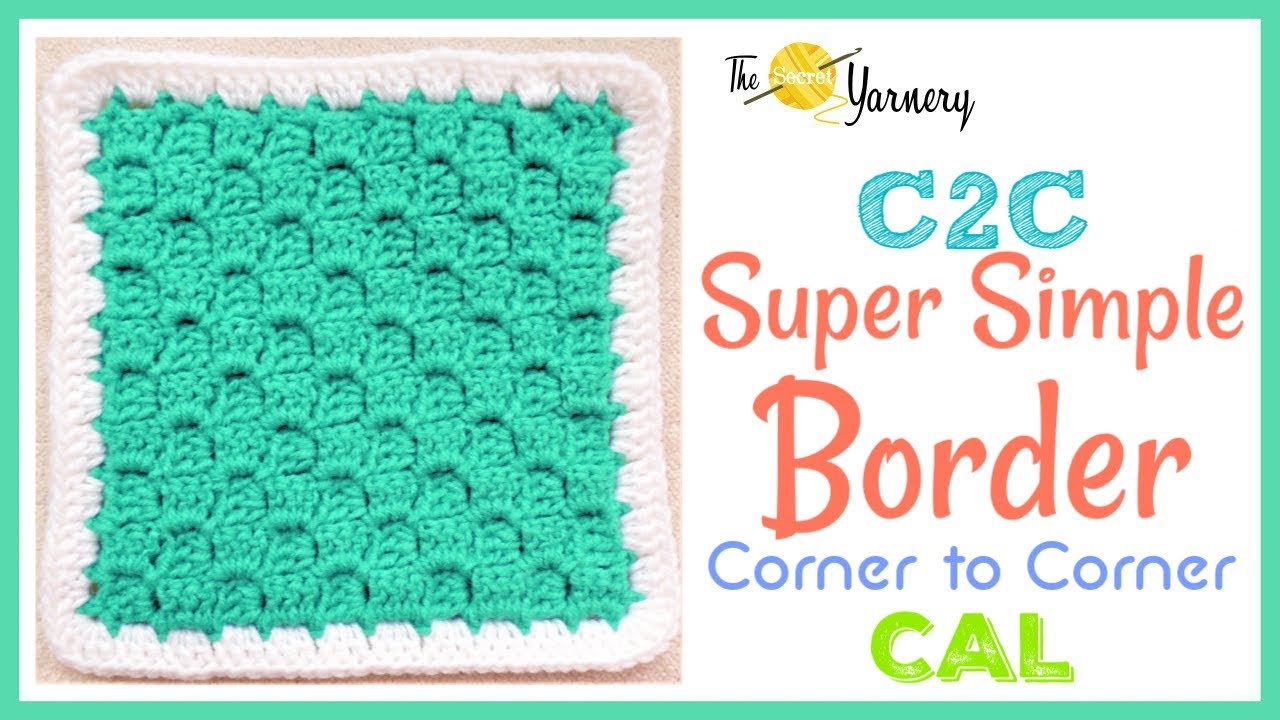
Super Simple Crochet Border Tutorial | Perfect for Your C2C Projects
Adding a border to your Corner-to-Corner (C2C) crochet project is the perfect way to give it a polished, finished appearance. Whether you’re working on a square or rectangle, this beginner-friendly tutorial will show you how to add a clean and simple border that enhances your work. You’ll only need a few basic tools and materials to get started, making it an easy addition to your project.
No matter your skill level, this tutorial is a great choice to take your C2C piece to the next level. Watch the step-by-step video below to follow along while you read.
What You'll Need to Get Started
Before we dive into the steps, it's essential to gather a few materials:
-
Your C2C project: This can be a square or rectangle piece.
-
Yarn: Use the same yarn from your project for a seamless look or mix it up with a contrasting color.
-
Crochet hook: Stick to the same size hook you used for your C2C to maintain consistent tension.
-
Tapestry needle: For weaving in loose ends.
-
Scissors: To cut the yarn when you're done.
If you're unsure about which yarn works best with your project, you can explore some tips and techniques for crochet borders to customize the look.

Step 1: Setting Up Your Yarn
If you haven’t cut your yarn yet from your C2C project, you can skip the setup and start directly. If you’re attaching new yarn, here’s how:
- Insert your crochet hook into a corner space of your project.
- Pull the yarn through and slip stitch to join it securely.
- Chain two stitches, keeping them small to maintain a neat appearance.
This step sets up the foundation for your border and ensures the border blends well with the body of your crochet project.
Step 2: Building the Foundation Row
A good foundation row is key to creating an even, structured border. For this tutorial, we're making small loops all around the project.
- Single crochet into the spaces between your C2C blocks.
- Chain two stitches to reach the next space.
- Repeat the process of single crocheting and chaining two all the way to your first corner.
When approaching a corner:
- Single crochet into the corner stitch.
- Chain two, rotate your work slightly, and single crochet again into the same corner space.
This setup creates small spaces around the edges and corners, making it easy to build the decorative border in the next step.
Step 3: Handling Curling Edges
If you notice any curling at the edges of your crochet work—it’s completely normal at this stage of the border. The curling happens because the new stitches are “pulling” the edge slightly inward. Rest assured; this effect will smooth out as you add the decorative border.
Step 4: Adding the Decorative Double Crochet Border
Now for the fun part: making your border pop with simple, double crochet clusters.
- Pick any chain-two space along the edge to begin.
- Insert your hook into the space, pull the yarn through, and slip stitch to join.
- Chain two, then double crochet two more times into the same space (this creates a cluster of three stitches).
Continue around:
- Work three double crochets into each chain-two space along the straight edges.
- For the corner chain-two spaces, work five double crochets to maintain the curve of the border.
This creates an attractive, smooth border that frames your project beautifully.
Step 5: Finishing Touches
When you’ve added the decorative border all the way around:
- Slip stitch to the top of your starting chain to join.
- Chain one and cut the yarn, leaving a tail long enough to weave in later.
- Use your tapestry needle to weave in the loose ends on the back of your work.
That’s it! You’ve completed your super simple crochet border.

Tips for Customization
One of the great things about crochet is how versatile it is. You can easily customize this border pattern to fit your style:
- Try different yarn colors: A contrasting color adds a bold edge, while matching yarn keeps the look seamless.
- Experiment with width: Add additional rows of double crochet clusters for a thicker border.
- Preview more ideas: Check out these crochet border patterns for additional inspiration.
Why Borders Matter
Adding a border isn’t just about looks. A border strengthens your crochet and prevents the edges from stretching or fraying over time. It frames your work beautifully and gives it that professional, polished vibe that makes handmade pieces stand out. Borders also create a foundation for layering more intricate designs if you want to take it a step further in the future.
Troubleshooting Common Issues
Here are a few quick fixes for common problems:
- Curling edges: This usually resolves with blocking. Wet or steam blocking can help even out tension.
- Uneven stitches: Ensure you work consistent chain lengths and tension across the project.
- Messy corners: Always work two additional stitches in the corner spaces for a smooth curve.
If these tips sound helpful, you may also enjoy learning more about the Gingham Crochet Corner-to-Corner Blanket, which features a playful bobble edge.
Your Finished Border: What Comes Next?
Now that your border is complete, your C2C project is ready to use or gift. This simple border design works beautifully for baby blankets, throws, and even table runners. It’s a versatile technique that lays the foundation for exploring more complex borders in the future.
Want to master C2C projects and more border tricks? Dive into the Ultimate C2C Masterclass for step-by-step guidance.
Conclusion
Adding a crochet border to your Corner-to-Corner project is an easy and rewarding way to elevate your work. This step-by-step guide makes it simple for crocheters of any skill level to create a border that’s both functional and beautiful. So, grab your hook, yarn, and scissors, and transform your project into a finished masterpiece.
What kind of borders do you love using? Share your thoughts and inspirations in the comments below. Happy crocheting!
FAQs
1. What type of yarn should I use for the border?
- Use the same yarn as your C2C project for a seamless look. For a bold touch, choose a contrasting color. Ensure the yarn weight matches your project for consistent tension.
2. Can I make the border thicker?
- Yes! To create a thicker border, repeat the decorative double crochet clusters for additional rows. You can also experiment with other stitch patterns.
3. How do I fix uneven edges on my C2C project?
- Uneven edges can usually be fixed with blocking. Wet or steam blocking helps relax the stitches and even out the edges before adding the border.
4. What do I do if the edges curl after adding the border?
- Curling often happens during the early stages. Once the final border is complete, blocking the project helps to smooth out the edges.
5. What’s the best way to weave in the loose ends?
- Use a tapestry needle to securely weave the loose ends into the border on the back side. Go back and forth a few times through the stitches to prevent unraveling.
6. Can I use this border pattern for other crochet projects?
- Absolutely! This border works well for most square or rectangular crochet pieces, like baby blankets, scarves, and table runners.
7. How do I adjust the border for different shapes like circles or hexagons?
- For non-rectangular projects, adjust the stitch count in the corners. For example, add fewer or more stitches in the corner spaces to maintain the shape.
8. What if I want a simpler border?
- You can skip the decorative double crochet clusters and stick with a single crochet border for a minimalist design.
9. How do I ensure my border tension stays consistent?
- Use the same size crochet hook as your C2C project. Work at a steady pace and avoid pulling the yarn too tightly.
Christa Patel is a passionate crochet artist and educator with over a decade of experience in the craft. Known for her easy-to-follow tutorials and creative designs, Christa specializes in beginner-friendly patterns that inspire crocheters to build their skills with confidence. Her love for vibrant colors and intricate textures shines through in her projects, ranging from cozy blankets and baby items to stylish accessories.
As the founder of Secret Yarnery, Christa provides helpful resources, free patterns, and step-by-step video tutorials to a global community of crochet enthusiasts. Her approachable teaching style has made her a favorite among crafters at all levels. When she’s not crocheting, Christa enjoys spending time with her family and experimenting with new yarns and stitches in her sunny studio.
About the Author
With a passion for crafting easy, beginner-friendly tutorials and patterns, Christa inspires crafters of all skill levels to unleash their creativity worldwide. She encourages yarn lovers to connect, create, and crochet a world filled with beautiful handmade treasures!
Super Simple Crochet Border Tutorial | Perfect for Your C2C Projects