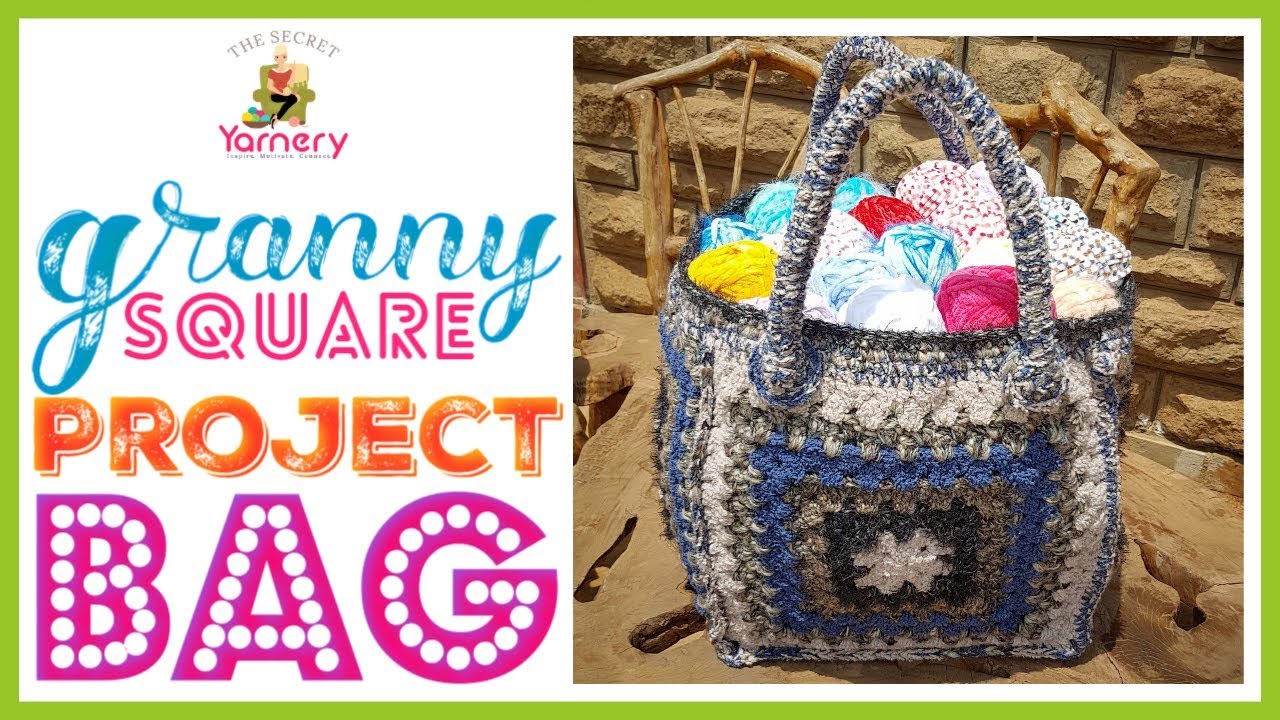
Crochet Granny Square Project Bag Step by Step: Part Two!
Ready to add professional-looking, durable handles to your crochet projects? I’m so excited to share this tutorial! This blog post is your comprehensive guide to creating super-strong, no-stretch crochet handles. Based on The Secret Yarnery's popular YouTube tutorial, I'll break down each step. These handles are perfect for all sorts of bags. They’re especially great for the 5 Granny Square Project Bag, also featured on my channel. If you missed it, you can see how to make the bag here! Vintage Granny Square Bag
This guide is Part Two in a series, building on the skills learned in Part One, which covers the rest of the Granny Square Project Bag. I will show you how to achieve handles that not only look fantastic but also stand the test of time. Let’s get started!
Table of contents
Materials You'll Need
Before we dive in, gather your supplies. Here’s what you’ll need to create these fantastic handles:
- Yarn: Leftover yarn is perfect for this project! I used a bulky yarn for extra durability.
- Crochet Hook: A 6mm hook, or the same size you used for your bag, works best.
- Stitch Markers: Trust me, these are essential! They'll help you keep track of your stitches, especially when working with bulky yarn.
- Rope or Cording: Cotton rope or a similar strong material will form the core of the handle, preventing it from stretching.
- Metal Needle: A sturdy needle is necessary for sewing the handle together and attaching it to the bag. While plastic needles can work, metal provides more strength.
- Scissors: For trimming yarn ends and the rope.
- Yarn Needle Threaders. These can be found at Secret Yarnery.
- Measuring Tape.
Getting Started: The Foundation Chain
Let's begin by creating the foundation chain. This will determine the length of your handle, so it's important to get it right!
- Leaving a Tail: Start by leaving a long tail (about 18 inches) of yarn. This tail will be used later to sew the handle onto the bag.
- Slip Knot: Create a slip knot and place it on your hook.
- Chain Stitch: Now, create your chain. I recommend 56 stitches, but you can adjust this to your desired length + 1 stitch.
- Why Chain Length Matters: The number of chains you make directly impacts the final length of your handle. A longer chain will result in a longer handle, and vice versa.
- Write it down! You can adjust this to your desired length, and write it down. That way you can duplicate it for the other handle.
- Tension: Pay attention to your tension. You don't want the foundation chain to be too tight or too loose. A regular, comfortable tension will work best.
- Using Stitch Markers: To make counting easier (especially with longer chains), place a stitch marker every 10 or 20 stitches. This can save you a lot of time and frustration!

First Row: Single Crochet
Now that you have your foundation chain, it’s time to start the first row of single crochet stitches.
- Turning the Chain: Turn your chain so you're looking at the "V's" on the back. This is important because you'll be working into these "V's" to create a neat and consistent row of single crochet stitches.
- First Single Crochet: Insert your hook into the second "V" from the hook.
- Single Crochet Across: Make one single crochet in each stitch all the way down the chain. This will form the base of your handle.
- Dealing with the "Curly Q": Don't worry if your work looks a little twisted or curled at this stage. It's perfectly normal! As you continue to crochet, it will start to straighten out.
- Before moving on! Double check to make sure you didn't accidentally do any extra stitches at the end of the row, and fix them before moving on, or you will have a weird handle.
Creating the First End Circle
Next, we'll create the first circular end of the handle. This is what gives it that nice, finished look and provides a sturdy attachment point to the bag.
- Last Stitch: In the very last "V", make six double crochets. All six of these stitches should be worked into the same stitch.
- Stitch Marker Placement: Immediately place a stitch marker in the first and last double crochet of these six. This is super important because it will help you keep track of your stitches in the next round.
- Working Over Tails: Crochet over the shorter yarn tails to secure them. This saves you from having to weave them in later. Remember to keep the long starting tail free, as you'll need it for attaching the handle to the bag.
- Why Double Crochets: These double crochets create the circular shape that will be sewn onto the bag. The height of the double crochets allows the circle to curve nicely.
- Dealing with Bulky Yarn: Be patient and work carefully, especially if your yarn is thick. Bulky yarn can be a bit more challenging to work with, but the end result is worth it!
- Changing Yarn (If Needed): If you run out of yarn, don't worry! You can easily join a new yarn. Finish your stitch in the usual way, but also putting a loop of new yarn on your hook and holding it awkwardly altogether and pulling it through that stitch.
Second Row: Single Crochet Down the Other Side
Now, we'll work our way back down the other side of the foundation chain with single crochet stitches.
- Crocheting Along the Back: Continue by making single crochets along the other side of the foundation chain. You'll be working into the opposite side of the chain from where you started.
- Hiding Tails: Crochet over the short yarn tails to hide them. This keeps your work neat and tidy.
- Finding the Stitches: Use the "V's" on this side of the chain to guide your hook placement. Each "V" represents a stitch, so you'll want to insert your hook into each one.
- Matching Stitches: Ensure you make one single crochet for every single crochet on the opposite side. This will keep your handle symmetrical and prevent it from twisting or warping.
- Look out for yarn clumps that might be mistaken as extra stitches.
Creating the Second End Circle
Just like before, we'll create another circular end on this side of the handle.
- Six Double Crochets Again: At the end of the row, make six double crochets into the last stitch, just like you did on the other end. Remember to work all six stitches into the same stitch.
- Stitch Marker Placement: Place stitch markers in the first and last double crochet of this set of six.
- Joining New Yarn (If Needed): If you need to join a new yarn, do it within these double crochets to hide the join. Try to position the join on the inside of the circle, where it will be less visible.
- Tight Stitches: Make these double crochets quite tightly to avoid losing stitches. A tighter tension will help to create a more defined circle.
- Counting is key to make sure both sides of the handle are the same.
Rounding Out The Oval: Completing the Second Round
In this step, we will start rounding out the oval shape of the handle by adding increases in the double crochet stitches.
- Single Crochet to Start: After the six double crochets, make a single crochet into the next stitch. This helps to cinch the circle down and create a smooth transition to the next section.
- Double Crochet Increases: In each of the next six double crochet stitches (marked by your stitch markers), make two double crochets. This is an increase row.
- Creating the Circle Shape: The increases create a nice, rounded shape for sewing onto the bag. By increasing the number of stitches in this section, you're allowing the circle to expand and curve naturally.
- Stitch Marker Importance: The stitch markers are invaluable here for ensuring you place your increases correctly. They'll help you identify which stitches need to be increased and prevent you from accidentally adding too many or too few stitches.
- Single Crochet Across: Continue with one single crochet in each stitch along the side. This will connect the two circular ends of the handle and create the main body of the handle.

Finishing the Round
We're almost done with the basic handle shape!
- Double Crochet Increases (Again): Repeat the two double crochets in each of the six double crochet stitches on the other end. This mirrors the increase row you did on the other side of the handle and ensures that both ends are symmetrical.
- Finishing Stitches: Make a tight single crochet into the next stitch and then slip stitch into the following stitch to finish off. This creates a neat and secure finish to the round.
- Securing the Yarn: Chain one to create a knot, then cut your yarn and pull it through to secure. This will prevent the stitches from unraveling.
Preparing to Enclose the Rope
Now it’s time to prepare our handle to enclose the rope. This is a fun technique!
- Weaving in Ends: Weave in any loose yarn ends to keep your work neat. Use a yarn needle to carefully thread the ends through the stitches on the wrong side of the work.
- Handle Shape: At this stage, you have a flat oval shape.
- Turning Inside Out: Flip the oval so the "wrong" side (the side with the curve) is facing up. The pretty side with the "V's" should be facing down.
- Why This Matters: This sets you up to seam the handle into a tube with the right side facing out. By turning the handle inside out, you're positioning the seam on the inside of the tube, where it will be less visible.
Inserting the Rope Core
The rope core is what gives these handles their no-stretch quality. It provides stability and prevents the handles from stretching out of shape over time.
- Measure Yarn Length: If you have to add yarn, measure three times the length of the handle. This will ensure that you have enough yarn to complete the seam.
- Attaching Yarn to Rope: Use your yarn and needle to create a knot around the rope, securing it in place. This will prevent the rope from slipping out of the handle.
- Centering the Rope: Lay the rope down the center of the handle, with the end near the middle of one of the circles. Make sure the rope is evenly distributed along the length of the handle.
- Pinching and Securing: Pinch the work together over the rope, enclosing it inside. This will help to keep the rope in place while you seam the handle.
- Securing Ends: Enclose any yarn ends inside the handle along with the rope. This will keep your work neat and tidy.
- What Kind of Rope to Use: You can use regular rope, or cotton rope from the grocery store.
- You have to be able to stitch through the rope. Make sure the rope you choose is thin enough to be stitched through with your yarn needle.

Whip Stitch Seaming the Handle
The whip stitch is the best method for seaming the handle together. It creates a neat, secure seam that is also relatively invisible.
- The Whip Stitch Technique: Use a whip stitch to seam the handle together along the single crochet edge. The whip stitch involves bringing the needle up through both layers of fabric, wrapping the yarn around the edge, and then bringing the needle back down through both layers.
- Stitching in the Ditch: Stitch along the inside edge of the "V" stitches to keep them visible and neat. This will help to create a professional-looking finish.
- Pulling Tight: Pull each stitch tight to create a firm seam and a sturdy handle. A tighter tension will also help to prevent the seam from stretching or distorting.
- Going Over Tails: Make sure to stitch over any yarn tails, keeping them inside the handle. This will secure the tails and prevent them from coming loose.
- Why Whip Stitch: The whip stitch creates a rounder, more polished look compared to a back-and-forth stitch. It also helps to pull the edges of the fabric together, creating a more cohesive seam.
- Roundness: The roundness will also make it easier on the hands as the handles will be more round.
- Continue whip stitching all the way along the handle.
Securing the Rope Ends
Now, we'll secure the rope ends to prevent them from sliding out of the handle.
- Pulling the Rope: At the end, pull the rope out slightly (about half an inch). This will give you some extra rope to work with.
- Creating a Knot: Stitch through the rope to create a knot, preventing it from sliding back into the handle. The knot should be tight and secure.
- Securing the Knot: Stitch the knot securely to the yarn to keep it in place. This will further reinforce the knot and prevent it from unraveling.
- Hiding the End: Bring the yarn up through the seam and knot it off. This will create a neat and invisible finish to the seam.
- Cutting the Yarn: Cut the yarn, leaving a tail that will be hidden inside the handle.
Finishing the Rope
- Trimming the Rope: Trim the excess rope, leaving about an inch inside the handle. This will prevent the rope from poking out of the handle.
- Avoiding Fraying: Leave enough rope so it doesn't unravel.
- Finishing Touches: The handle is now complete! It should be sturdy, no-stretch, and comfortable to hold.

Attaching the Handle to the Bag
We are in the home stretch! Now that the handles are finished, it’s time to attach them to your Granny Square Project Bag.
-
Threading the Needle: Thread the long yarn tail onto your metal needle.
-
Positioning the Handle: Position the handle on the bag where you want it to be attached. The tutorial suggests lining it up with specific granny squares on the bag.
-
Starting Point: Start stitching at the top of the handle, going down into the center of the bag.
-
Stitching in the Ditch (Again): Stitch in the ditch along the inside edge of the "V" stitches on the handle.
-
Counterclockwise Stitching: The tutorial prefers to stitch counterclockwise. This is a matter of personal preference, so feel free to stitch in whichever direction you find most comfortable.
-
Securing Stitches: Make two or three stitches per single crochet on the handle for extra security. This will ensure that the handle is firmly attached to the bag and won't come loose with wear and tear.
-
Hiding the Seam: Stitch in a way that conceals the seam on the inside of the bag. This will create a clean and professional-looking finish.
-
Matching Color: Finish sewing where the yarn color on the handle matches the yarn color on the bag. This will help to blend the seam and make it less visible.
-
Securing The Middle Seam: Make sure to stitch the middle seam of the handle, this is important for strength. The middle seam is the point where the two ends of the handle are joined together, so it needs to be securely stitched to prevent the handle from splitting.
-
Go over stitches a second time for extra protection.
Finishing Off
- Creating a Knot: To finish, create a knot by putting your needle through the loop of the last stitch. This will secure the yarn and prevent the seam from unraveling.
- Hiding the Tail: Sew the yarn tail into the center of the handle to hide it. This will keep the tail out of sight and prevent it from snagging on anything.
- Trimming the Tail: Trim the excess yarn tail, leaving it hidden inside the handle.
- Repeating for the Second Handle: Repeat the entire process for the second handle, making sure to position it symmetrically on the other side of the bag.
- Double check both handles are in the same spot.
FAQs
Can I use any type of yarn for these handles?
Bulky yarn is best for strong, no-stretch handles. You can use leftover yarn, but choose thick, sturdy fibers for durability.
Do I have to use a rope or cording inside the handle?
Yes, the rope or cording is what gives the handle its strength and prevents stretching. Cotton rope works well and is easy to sew through.
How can I adjust the handle length?
Change the number of foundation chains at the start. More chains make a longer handle, fewer for a shorter one. Write down your chain count to make handles the same length.
My handle twists while I crochet—what am I doing wrong?
This is normal in the first rows. As you add rows and stuff the handle, it straightens out.
How do I secure the yarn ends?
Weave in yarn tails on the inside of the handle before closing it up. This keeps them hidden and stops unraveling.
Can I skip the whip stitch and use another seam?
The whip stitch gives a round, strong result. You can try a mattress stitch or backstitch, but the finish may look and feel different. Always test first on a small swatch.
Conclusion
Congratulations! You've successfully created a set of sturdy, no-stretch crochet handles for your Granny Square Project Bag. By following these steps, you can create professional-looking handles that are both durable and stylish. Don’t forget to check out other granny squares projects at Secret Yarnery for even more inspiration! And if you need a bag for these handles, check out my bags collection!
Christa Patel is the creative mind behind the Secret Yarnery, a trusted resource for crochet enthusiasts worldwide. With years of experience, Christa specializes in designing beginner-friendly yet stunning crochet patterns that inspire creativity and confidence in crafters of all skill levels.
As a passionate crocheter, Christa is known for her clear and approachable teaching style, breaking down complex patterns into simple, easy-to-follow steps. Through her engaging video tutorials, written patterns, and helpful tips, she has cultivated a community where crocheters can connect, learn, and share their work.
Christa’s dedication to making crochet fun and accessible shines in every project she creates, from colorful blankets to intricate borders. Whether you’re a seasoned expert or just picking up a hook for the first time, Christa's guidance will help you craft something beautiful.
For more crochet patterns, tips, and inspiration, visit her website at The Secret Yarnery, or check out her YouTube channel filled with step-by-step tutorials.
About the Author
With a passion for crafting easy, beginner-friendly tutorials and patterns, Christa inspires crafters of all skill levels to unleash their creativity worldwide. She encourages yarn lovers to connect, create, and crochet a world filled with beautiful handmade treasures!
Crochet a Granny Square Project Bag Step by Step: Part Two!