Crochet Your Own Soap Sack: A Beginner-Friendly Guide
|
Time to read 13 min
Product added to cart
|
Time to read 13 min
Are you looking for a quick, easy, and useful crochet project? Look no further! A crochet soap sack is the perfect solution. It's a fantastic way to save those tiny soap slivers, gently exfoliate your skin, and even add a pop of color to your bathroom. Plus, it makes a wonderful handmade gift! This blog post will guide you step-by-step through crocheting your own soap saver.
I've also created a video tutorial to guide you through the process. Whether you're right-handed or left-handed, I've got you covered! Check out the right-handed tutorial on the Secret Yarnery YouTube channel or the left-handed tutorial. This blog post is designed to be a written companion to the video. It is packed with extra tips and tricks to help you along the way. Ready to get started? Let's dive in!
Table of contents
There are so many reasons to crochet a soap sack! Let's explore some of the best ones:
Have you ever had those tiny soap slivers that are too small to use but too big to throw away? A soap sack is the perfect solution! Simply toss those little pieces inside. You can use every last bit of soap instead of watching it go down the drain.
When made with natural fibers like cotton or bamboo, a soap sack provides a gentle exfoliating effect. The texture of the yarn against your skin helps to remove dead cells. It leaves your skin feeling smooth and refreshed.
Want to prevent soap mix-ups in your household? Color-coding is the answer! Make a different colored soap sack for each family member. This is what I do in my own home. This way, everyone has their own dedicated soap, and you'll always know whose is whose.
Making your own soap sack is a small but significant step towards reducing plastic waste. Here's how:
Want more ideas? There's a blog post on the Secret Yarnery that showcases useful crochet projects for everyday life.
To crochet your own soap sack, gather these materials:
Natural fibers are best for soap sacks. Cotton and bamboo are excellent choices.
You can find a wide variety of yarns on Amazon.
I recommend two hook sizes:
Choose the hook size that feels most comfortable.
A yarn needle is essential for weaving in the ends of your yarn. This creates a clean and professional finish. Using a needle in a contrasting color can also be helpful. You can find blunt tip needles on Amazon.
A good pair of scissors is a must-have for any crochet project. You'll need them to cut the yarn at the beginning and end of your soap sack. Find a pair of scissors on Amazon.
Let's get started with the foundation of our soap sack!
To begin, you'll need to make a slip knot. Here's how I do it:
Don't worry if this method doesn't work for you. You can make a slip knot any way that you're used to. The most important thing is to have a secure loop on your hook to start with.
Now, we'll create the foundation chain. Chain 12, or more if you are using a larger bar of soap.
The length of your chain will determine the width of your soap sack. Make sure it matches the width of the soap bar you plan to use.
Time to start crocheting the body of the soap sack!
Before you begin, it's important to identify the stitches in your chain. Each "V" along the chain represents a stitch. Remember, the loop on your hook and the initial knot don't count as stitches.
Now, we'll work a single crochet into each stitch of the chain:
You've just completed your first single crochet! Continue this process down the row. Make sure you're working into the top loop of each chain.
When you reach the last chain, we'll create a rounded corner:
Now, we'll work back along the other side of the chain, mirroring what we did on the first side:
We're almost ready to start working in a spiral!
Instead of slip stitching to join the round, we'll jump over into the first single crochet. This creates a seamless look. Simply insert your hook into the first stitch and complete a single crochet. Now you're working in a spiral!
Here's where the fun begins! We're going to create a unique textured pattern by alternating single and double crochet stitches.
In each round, you'll alternate between a single crochet and a double crochet stitch. This creates a "knobbly" texture that is both visually appealing and provides extra grip for your soap.
Here's a quick refresher on how to do each stitch:
If you ever lose track of whether you should be doing a single or double crochet, here's a helpful tip. Hold your hook to the side and look at the height of the previous stitch. Double crochets are taller, while single crochets are shorter.
The corner with the three stitches can be a little tricky. Just remember to work into each of those three stitches. It might feel a bit fiddly at first, but it gets easier as you go around.
Continue the single crochet, double crochet pattern until your soap sack reaches the desired height.
Keep crocheting until the soap sack is slightly taller than the bar of soap you plan to use. This will allow the soap to fit comfortably inside.
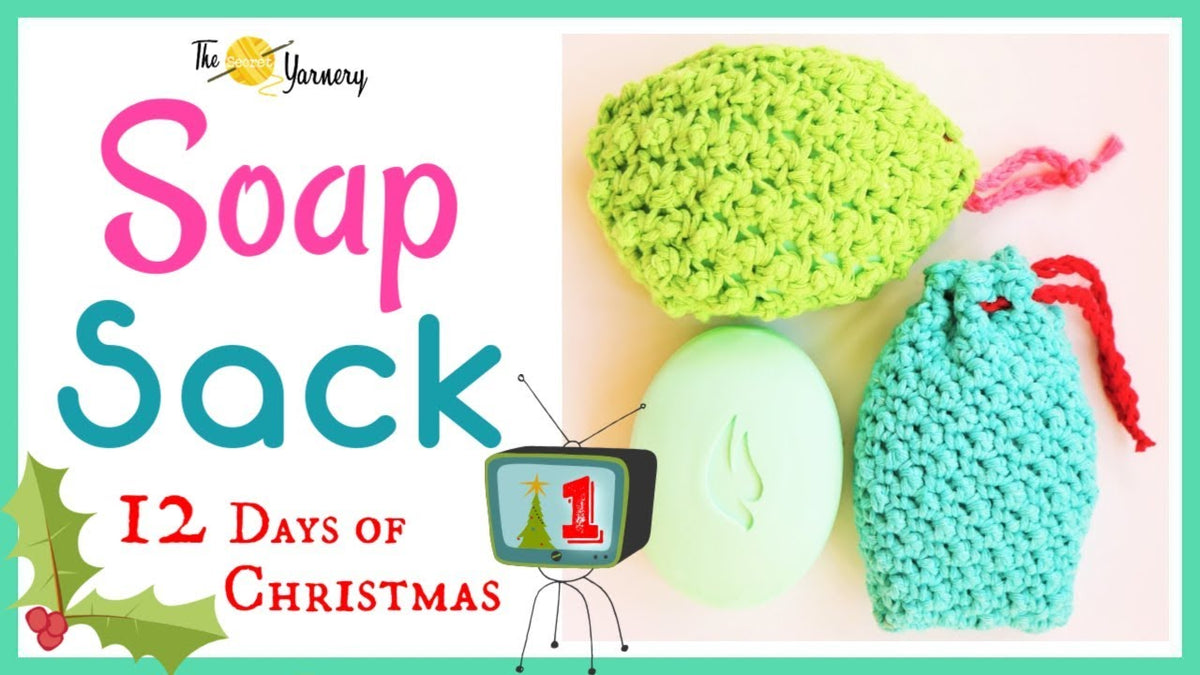
I am excited to announce the 12 Days of Christmas Giveaway! Each video released between now and my Christmas holiday will include a giveaway.
In this video, I'm giving away the same yarn that I used to make my soap sack. I am also giving away a 3.5mm Tulip hook and a yarn needle.
To enter, leave a comment below answering this question: "What is your favorite holiday tradition?" It doesn't have to be Christmas-related.
Let's add a drawstring top to our soap sack!
Stop crocheting before you reach a corner. Make a slip stitch to flatten the side. This will create a neater edge for the drawstring.
Next, create the chain and single crochet pattern that will form the holes for your drawstring:
To finish the drawstring top:
Now it's time to create the cord that will cinch the soap sack closed.
Chain one, and then add two single crochets into each of these spaces going along.
Once you've worked all the way around, slip stitch into the top of that first single crochet. Chain one to secure the yarn. Fasten off by cutting the yarn, pulling the hook up, and drawing the yarn through. Snug the knot down to secure.
Now, let's make the chain that will act as the drawstring.
I suggest using a contrasting or complementary color for the chain. This will add a nice visual touch to your soap sack.
Chain to your desired length. (Approximately 35 chains). Keep in mind that the chain may stretch with use. Cut the yarn and pull the hook up and yarn through.
Now we will thread the chain through the holes we made earlier.
Loop the yarn through your needle. Pick where to start and how you want it to be. Loop your needle in and out of those chain 1 spaces. Pull the chain through, you can help it along if you want.
To prevent the chain from coming undone, it's important to secure the ends. Don't have them coming out of different spots, so they stay and don't fall through on the inside. Take one of your tails and sew it through the chain. Place it just before that not on the other side so that they are together. Tie the ends together with a square knot to prevent them from pulling through. Use a yarn needle to help tighten the knot close to the other knot.
I have a few patterns available on my website.
Use your yarn needle to weave in any loose yarn tails. This will secure them and hide them from view.
Now, put your soap inside your adorable creation!
If you're looking for other crochet gifts, this is a good place to start.
Sometimes, things don't go exactly as planned. Here are a few common issues you might encounter, and how to fix them:
Problem
Solution
| Too Tight/Too Loose | Adjust your hook size to achieve the desired tension. |
| Uneven Edges | Count your stitches in each round to maintain consistency. |
| Chain Too Short | Redo the chain with a longer length. |
| Stitch Identification | Remember that double crochets are taller than single crochets. |
| Yarn Splitting | Use a hook with a smoother head. |
Want to add your own personal touch? Here are a few ideas:
To keep your soap sack clean and fresh, follow these tips:
Want to explore more crochet patterns? Visit my YouTube channel for a wide variety of free tutorials and inspiration.
I hope you enjoyed this tutorial! Please share your finished soap sacks with me. If you have any questions, leave them in the comments below. Don't forget to subscribe to The Secret Yarnery for more crochet tutorials. Share this blog post on social media, and let's spread the crochet love! Thanks for following along, and happy crocheting!
Here are some frequently asked questions (FAQs) that could complement the crochet soap saver guide:
Christa Patel
Christa Patel is the creative mind behind the Secret Yarnery, a trusted resource for crochet enthusiasts worldwide. With years of experience, Christa specializes in designing beginner-friendly yet stunning crochet patterns that inspire creativity and confidence in crafters of all skill levels.
As a passionate crocheter, Christa is known for her clear and approachable teaching style, breaking down complex patterns into simple, easy-to-follow steps. Through her engaging video tutorials, written patterns, and helpful tips, she has cultivated a community where crocheters can connect, learn, and share their work.
Christa’s dedication to making crochet fun and accessible shines in every project she creates, from colorful blankets to intricate borders. Whether you’re a seasoned expert or just picking up a hook for the first time, Christa's guidance will help you craft something beautiful.
For more crochet patterns, tips, and inspiration, visit her website at The Secret Yarnery, or check out her YouTube channel filled with step-by-step tutorials.
Easy crochet tutorial
Both right and left handed video tutorials
Downloadable PDF pattern is written in plain English - no abbreviations to decipher!
Perfect for beginners!


