Tipsy Granny Stitch: Secret Stitches Easy Stitch Sampler Blanket Pattern
My love for the granny square just keeps growing, and the Tipsy Granny Square is one of those patterns that makes my crochet heart happy. With its playful mix of threes and v's, it's quick to make, easy to memorize, and perfect for relaxing after a long day. Whether you're joining the Secret Stitches Easy Stitch Sampler Blanket Pattern or just want to try out a fresh square, this step-by-step guide has every detail you need to crochet your own Tipsy Granny Square with confidence.
What Makes the Tipsy Granny Square So Fun?
The Tipsy Granny Square brings a little quirky movement to the classic granny technique, thanks to its “threes and v’s” construction. That’s why it’s called “tipsy” – there’s a gentle tilt that adds a lively twist. This square is a single row repeat, which means once you start, the next rows flow one after the other. No complicated chart or fussy adjustments. It fits beautifully into the Secret Stitches Easy Stitch Sampler Blanket Pattern, designed so crocheters of all levels can join the fun. The threes group the stitches neatly, while the v’s add texture and help the pattern “move.”
Granny squares like this are great for beginners, people short on time, or anyone looking for an engaging pattern that doesn’t require constant counting or checking.
Materials Needed for the Tipsy Granny Square
To make the Tipsy Granny Square, here’s what I use for a stress-free project:
- Worsted weight yarn (use the same thickness as your other Secret Stitches CAL squares)
- 6 mm crochet hook
- Five stitch markers
- Needle (for weaving in ends)
- Sharp scissors
Choosing the right tools really helps. If you love trying the latest, peek at my Tipsy Collection at Secret Yarnery for matching patterns and yarns.

Understanding the Stitch Pattern: Multiples of Seven
This square’s magic number is seven. Every repeat in the starting chain must be a multiple of seven. That’s what creates the neat spacing between “threes” and “v’s”—if the math is off, the pattern won’t line up or look right.
Following the right multiple ensures you won’t get stuck halfway or find extra chain leftover. Stick to 7, 14, 21, and so on, up to your desired size. For this square, I start with 42 chains, which gives the perfect width for a blanket block.
Starting Your Chain: Slip Knot and Chaining 42
Starting off is simple, and I promise the markers make it foolproof. Here’s a step-by-step rundown:
- Make a slip knot and place it onto your 6 mm hook.
- Chain 7 stitches.
- Insert a stitch marker into the seventh chain.
- Chain another 7 and pop in the next marker.
- Keep going—chain 7, add a marker—until you reach 42 chains or use up all 5 stitch markers.
- Double-check your chain count for accuracy.
Markers help you break the chain into chunks of 7, so you’re never second-guessing yourself or losing track.
![]()
How to Find and Work into the Back Loops of Your Chain
If you're new to working into the chain, there's a trick for texture and tidiness. Chains have a “front” (looks like little Vs) and a “back” that has small bumps, often called “camel bumps.”
To find the back loops:
- Roll the chain over slightly, so you see the individual bumps along the back.
- These bumps are the spots you’ll work into, not the smooth “V” side.
- Start counting from the first bump below your working yarn.
- Your first double crochet goes into the fourth back bump from the hook.
Tip:
If the back loop feels hard to spot, use your finger to gently flatten the chain and roll it toward you. Take your time on this step, as it sets up neat edges and a polished square.
Working the First Row: Double Crochets and Chain-Twos
Here’s the sequence to work that rhythmic first row. Keep those stitch markers handy—they're like a roadmap.
- Double crochet (dc) into the fourth chain from the hook.
- Double crochet into each of the next two back loops.
- Skip the chain before the marker, the marked chain, and the chain after the marker.
- Into the next chain (the fourth after your group), make a v-stitch: dc, chain two, dc into the same chain.
- Double crochet into each of the next three chains.
- Repeat: Skip three chains (including any stitch marker), v-stitch into the fourth, then three double crochets.
- Continue this across, until you have four chains left at the end.
- Work a double crochet into each of those remaining four chains.
Detailed Sequence:
- 3 double crochets
- Skip 3 chains (around marker)
- [V-stitch: 1 double crochet, chain 2, 1 double crochet in same chain]
- 3 double crochets
- (Repeat this block until four chains remain)
- 1 double crochet in each of last four chains
Removing Stitch Markers After First Row
Once the first row is done, I remove all stitch markers. Their job is over—they just help place the v-stitches and avoid mistakes at the foundation. From here on, the pattern speaks for itself.
![]()
Starting the Row Repeat: Chaining 3 and Turning Your Work
For every new row, I chain three (this counts as the first double crochet) and turn my work so the right side is facing me again. Skip the very first stitch, which is already covered by the chain-3. Start working into the next stitch—this keeps edges straight and stitches even.
Working the Row Repeat Pattern: Threes and V's
The Tipsy Granny Square uses an easy one-row repeat:
- Double crochet into each of the next three stitches (not counting the chain-3).
- Jump right over the v-stitch from the row below. Into the last double crochet of the previous v-stitch, work your new v-stitch (that’s double crochet, chain 2, double crochet in the same stitch).
- Repeat the following sequence: next three stitches get a double crochet each, then v-stitch into the last double crochet of the next v-stitch below.
This leapfrogging effect keeps the pattern visually interesting across each row. I keep repeating “threes and v’s” until the end of the row.
A handy way to remember:
- Three double crochets
- V-stitch on top of the v-stitch’s second double crochet from the previous row
Clarification for Placement:
Jumping over the “hill” (the v-stitch below) places your new v in just the right spot to tilt the pattern gently.
If diagrams help, imagine your work as groups of three double crochets separated by peaks (the v-stitches). The pattern practically winks at you as you go.
![]()
Ending Each Row: The Final Four Double Crochets
As I near the end of each row, I work three more double crochets, then finish with one last double crochet into the end chain. Always aim for two strands of that chain on your hook—this keeps the square's edge strong and prevents gaps. Each row finishes with four double crochets, for a sturdy, tidy edge.
Repeating the Pattern Until Desired Height
I repeat the row pattern, always starting with chain three and working with threes and v’s, until my square is the size I want. If you’re keeping up with the Secret Stitches CAL, check your square against your first one (the Berry Biscuit Baby Blanket) or aim for about 21 rows.
If you need to check your height, lay your square flat and measure side by side with another square. Adjust rows if needed for a perfect fit.
Finishing Your Square: Chaining One and Cutting Yarn
When you reach your final row:
- Chain one at the end.
- Cut your yarn (leave a tail long enough for weaving in).
- Pull your hook up, pull the yarn tail down, and snug the knot.
This secures the final stitch and prevents any unraveling while you get ready to finish.
![]()
Weaving in Your Ends: Best Tools and Techniques
I always use a blunt tapestry needle for weaving in my yarn tails. A neat weave means less risk of ends wiggling out over time. After weaving, trim close with small scissors, but not so tight that you risk snipping the work.
Quick Weaving Tips:
- Weave ends in zig-zag or S shapes through several stitches.
- Run the tail through at least two directions for extra security.
- Trim only after checking that the tail feels locked in place.
Optional Color Choices and Project Ideas
This Tipsy Granny Square looks incredible whether you use a single color or lots of different ones. Go wild and bust that yarn stash, or coordinate shades for a planned color story. These squares work well in blankets, cowls, or as pops of color in patchwork projects.
For more pattern inspiration, check out my other Fun Crochet Projects for 2025 to keep your creative momentum going.
Want to see how other squares fit together? Tipsy Granny Square CAL 2021 Part 5 showcases how each design joins for a beautiful effect.
Sharing Your Project: Join the Crochet Community
I love seeing finished squares from other crocheters. Share yours on Instagram (@secretyarnery) or in our Facebook group (The Secret Yarnery Crochet Community). Posting your work is a great way to get feedback, swap ideas, and see color combos you hadn’t thought of yet. Tag me for a chance to be featured or connect with kindred spirits who can cheer you on.
![]()
Subscription and Staying Up to Date
To never miss a new tutorial or sneak peek, subscribe to my YouTube channel and hit the notification bell. This way, you’ll get instant access to all the latest projects, patterns, and tips. Every subscriber keeps the community growing and inspires me to create even more quick, easy guides that help your crochet journey.
Helpful Tips and Troubleshooting for Beginners
Stitch markers are your friend—use them to break up the chain and make counting easy. When finding back loops, roll your chain so the bumps face up and just go slow at first. If you accidentally miss a stitch or lose track of v-stitch placement, don’t panic! Pull out a couple stitches and start the section again, or check previous repeats to find the rhythm.
Edges looking bumpy? Double-check that you’re working into two strands of the edge chain, and always start rows with three chains (which count as the first double crochet). A little patience, plus practice, makes everything smoother.
Glossary: Key Stitches Used in the Tipsy Granny
- Slip Knot: The starting loop for your chain.
- Chain (ch): The basic foundation for any project.
- Double Crochet (dc): Yarn over, into stitch, yarn over, pull through, yarn over, pull through two, yarn over, pull through last two.
- V-Stitch: Double crochet, chain two, double crochet in the same stitch—creates the “tilted” effect.
V-stitches give this granny square its signature tilt and a playful, textured look.

Why the Tipsy Granny Square Is Perfect for Relaxed Crochet
There’s nothing better than an unfussy, one-row repeat pattern when you want to relax with your yarn. You get into a flow so fast, you can watch your favorite show or chat with friends and still keep perfect rhythm. No complicated instructions or tricky counting, just pure crochet joy, row after row.
Where to Find Written Pattern and More Tutorials
If you prefer working from a written pattern, or want to print one out, grab the official Tipsy Granny Square Crochet Pattern. If you’re a lefty, there’s also a dedicated left-handed video tutorial to make your crochet life that much easier.

Favorite Supplies for Smoother Crochet
Quality tools make every project better. I swear by sturdy, colorful stitch markers, easy-glide scissors, and a smooth 6 mm hook for this square. If you want to use the exact yarn I used, there are great options in the Tipsy Collection at Secret Yarnery.
How the Tipsy Granny Square Fits Into the Stitch Sampler Blanket
The Secret Stitches Easy Stitch Sampler Blanket features twelve different squares, and the Tipsy Granny is just one star in this constellation. By making each unique design and joining your squares, you’ll end up with a stunning blanket full of texture and color. Mixing and matching these blocks lets you create a look that’s uniquely yours—no two blankets are ever the same.
Why Use Five Stitch Markers?
The five stitch markers serve as checkpoints in your chain of 42. They make it easy to know exactly where to put every v-stitch and prevent accidentally skipping or adding stitches. Once that first row is done, the markers get set aside, but they save headaches by guaranteeing your count is always right.
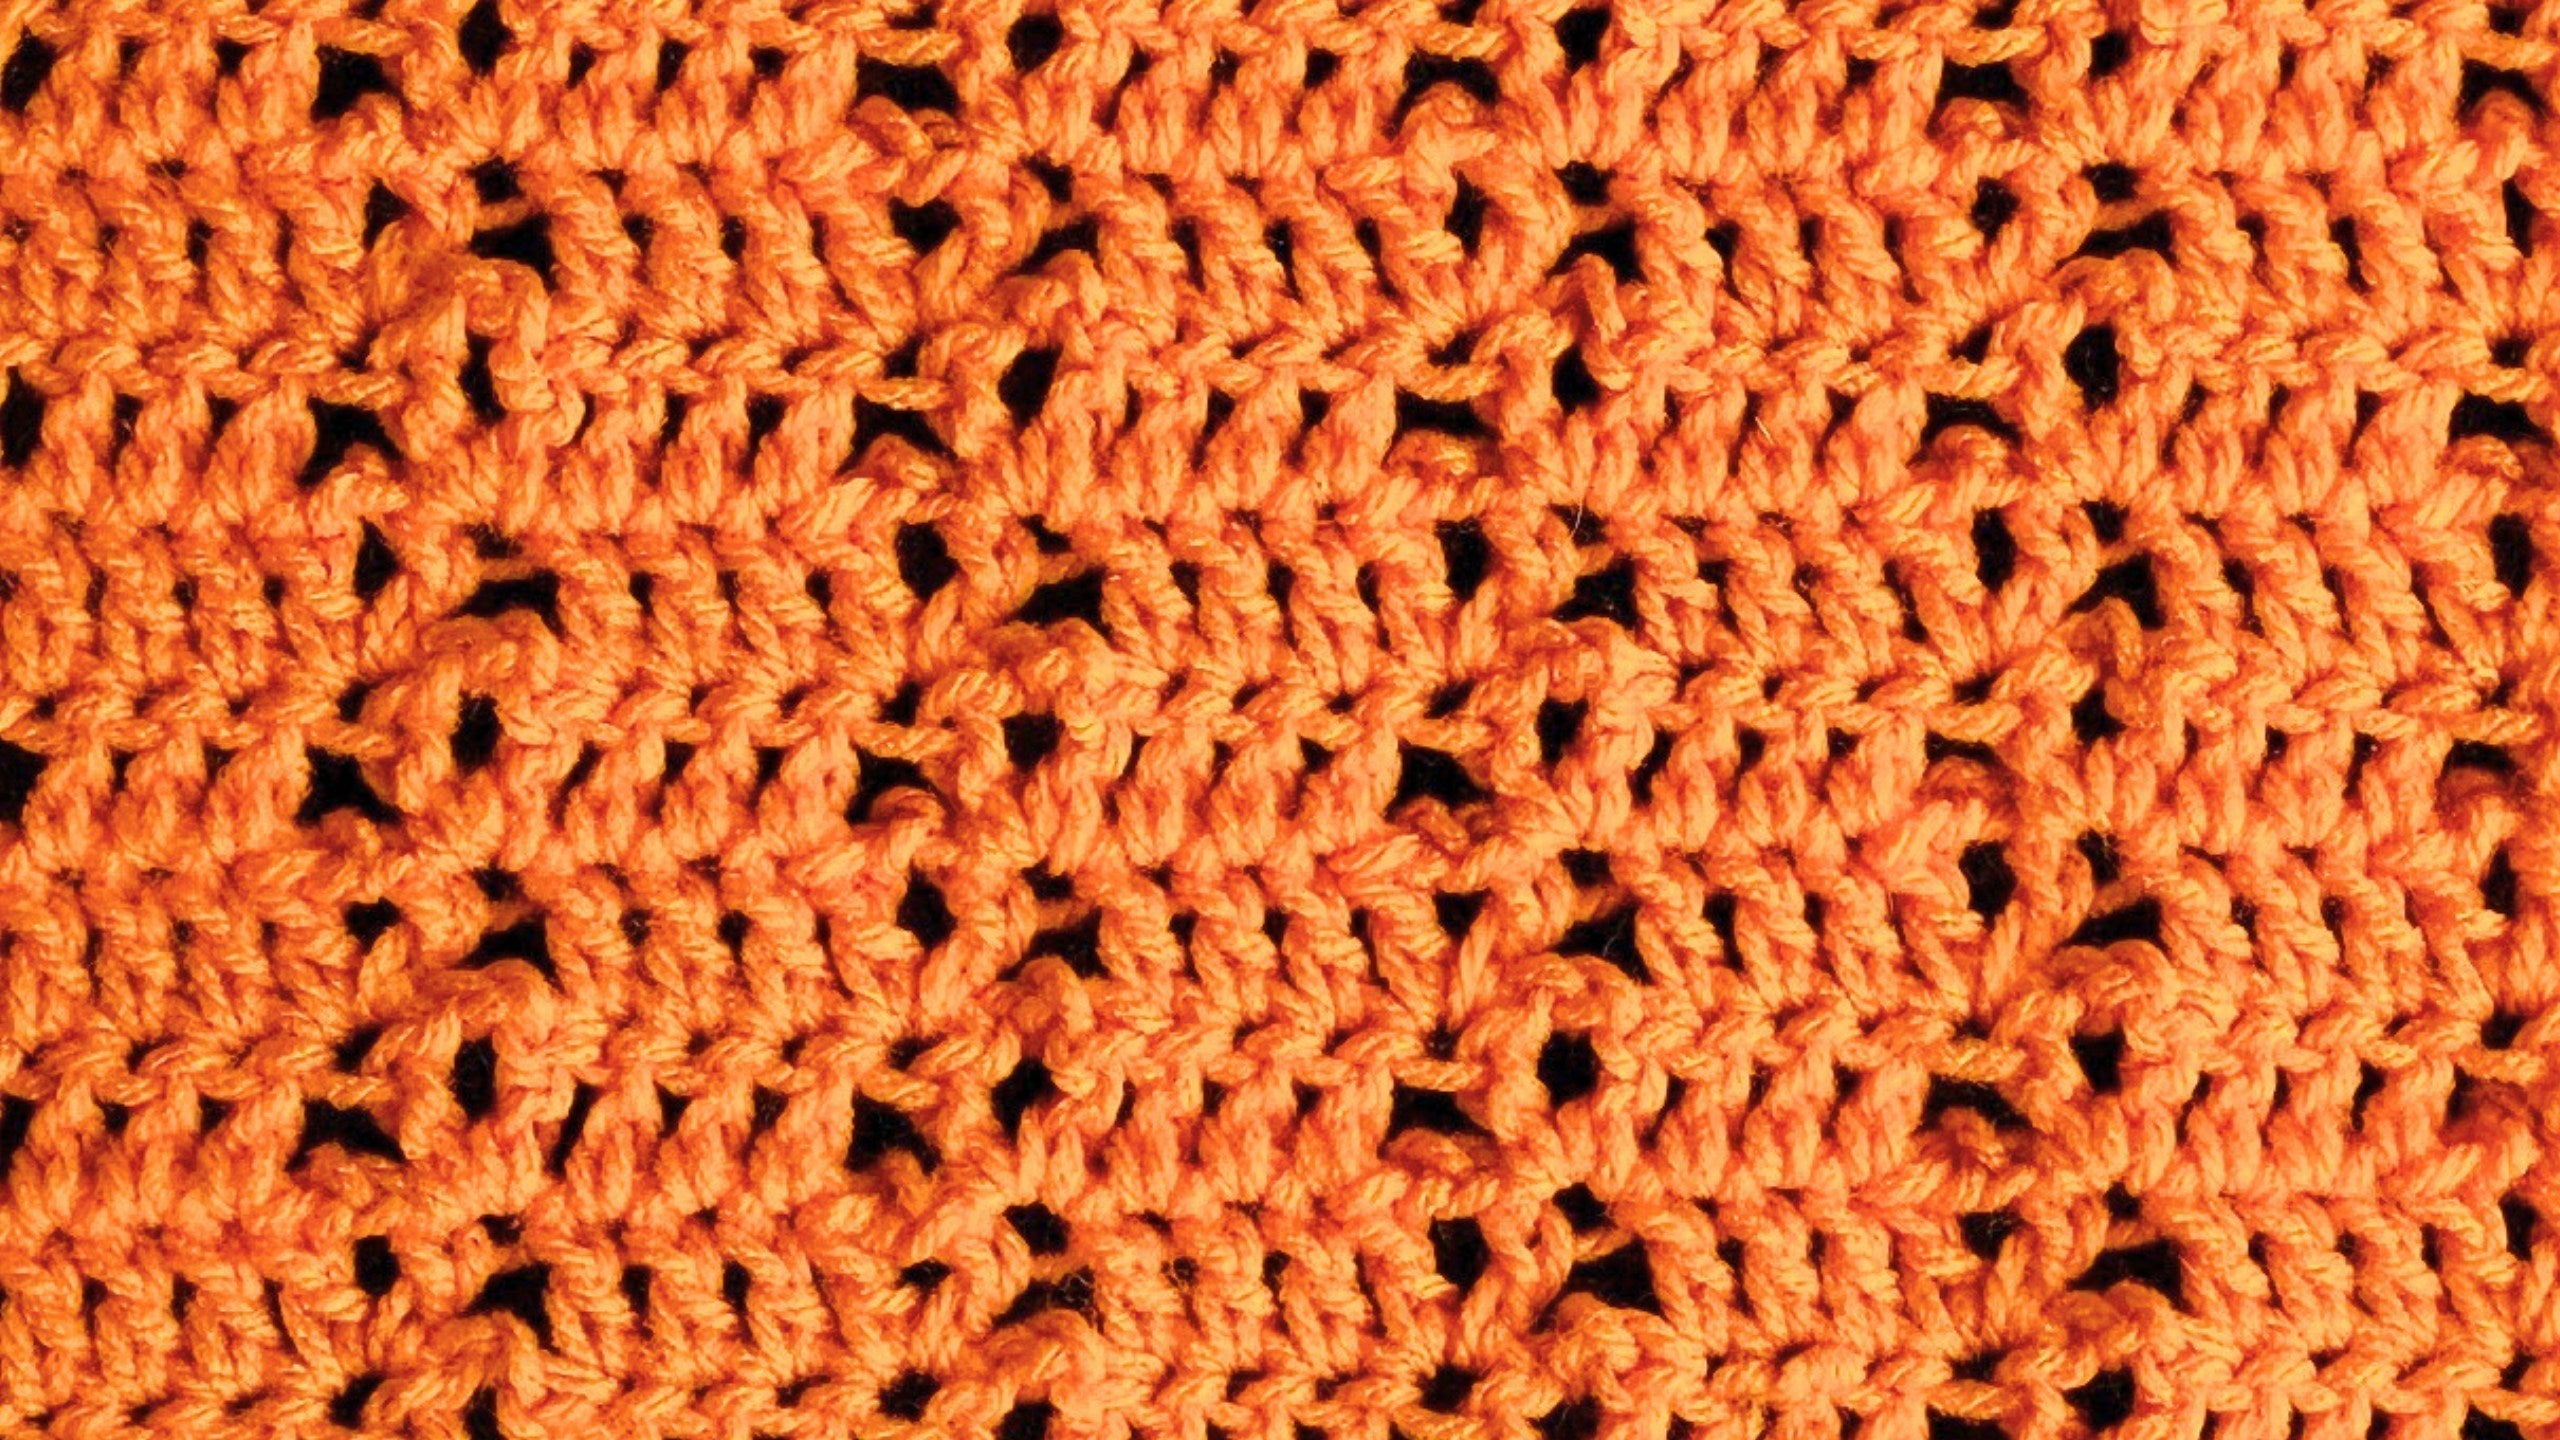
Visualizing the Tipsy Granny Square’s Texture
Alternating bands of three double crochets and v-stitches make this square playful and full of movement. Each row adds depth and a hint of tilt. When you use different colors, those v-shapes and bands pop even more, giving wonderful visual energy to any finished blanket or project.
Ideal Yarn Weight and Hook Size for This Pattern
Worsted weight yarn is just right for nice stitch definition and a cozy finished block. The 6 mm hook keeps the tension soft, so the pattern doesn’t feel stiff. If you want to swap materials, pick a yarn and hook combo with a similar feel so your granny square keeps its “happy bounce.”
Measuring Your Square’s Height for Sampler Blanket Pattern Consistency
Use a ruler or a tape measure to check your square. Line it up with your first CAL square, or aim for a specific row count—21 rows works perfectly for me. Keeping all your squares the same height makes joining them together for a blanket so much easier.

Common Mistakes to Avoid in the First Row
The most common hiccup is losing count in the chain row—those stitch markers solve that. Double-check that you only skip the correct chains for those v-stitches. Keep your work loose enough that finding back loops isn’t a struggle, and always ensure your last four stitches get a double crochet each for neat edges.
Wrap-Up: Enjoy the Rhythm and Flexibility of the Tipsy Granny Square
Crocheting the Tipsy Granny Square is a treat, whether you’re building a big blanket or making something small and colorful. With the easy row repeat and playful texture, this pattern turns any ball of yarn into something bright and beautiful. Try it, tweak it, and make it your own—then show it off to the world!
If you love granny squares or want more creative ideas, keep exploring my patterns and join the community for fresh inspiration. Happy hooking!
Left Handed?
FAQs
1. What yarn can I use for the Tipsy Granny Square?
Use any worsted weight yarn. For best results, match the thickness with other squares in your project. Acrylic, cotton, or blended yarns all work well.
2. Do I have to use a 6 mm crochet hook?
A 6 mm hook gives the best drape and look, but you can change the hook size if your tension is tight or loose. Adjust to keep the same size as your other squares.
3. How do I keep my granny square edges straight?
Always chain three before turning your work, and double crochet into both loops of the last chain at each row end. Don’t skip edge stitches.
4. Why do I need five stitch markers?
They help you keep track of groups of seven while chaining, so your v-stitches land in the right places. Remove them after the first row.
5. Can beginners make this square?
Yes! The Tipsy Granny Square uses simple stitches with a one-row repeat. The pattern is easy to follow and forgiving for new crocheters.
6. What do I do if my stitches don’t line up?
Check your starting chain count and make sure you only skip the correct stitches for each v-stitch. Rip back a little and try again if needed—practice helps!
7. Can I use multiple colors or just one?
You can use as many colors as you like. Solid, stripes, or even random yarn scraps will all look great with this pattern.
8. How big should my finished square be?
Each project may be different. For the Easy Stitch Sampler Blanket, aim for around 21 rows, or match the size of your other squares with a ruler or tape measure.
9. What is a v-stitch exactly?
A v-stitch is made by working one double crochet, two chains, and another double crochet into the same stitch. This creates the tilted “v” shape in the pattern.
10. How do I fix uneven edges or missed stitches?
Carefully count stitches at the end of each row. Undo and redo a section if the pattern looks off—fixing as you go is easiest. Edges will straighten out as you practice and when you join your squares later.
![]()
Christa Patel is a passionate crochet designer, teacher, and founder of Secret Yarnery. With years of experience and a love for bright, cheerful yarns, Christa creates fun, accessible patterns for all skill levels. Her tutorials and step-by-step guides make learning new stitches easy, even for beginners. Through her YouTube channel, blog, and online community, Christa inspires thousands of crocheters to try new projects and enjoy stress-free, creative moments. She believes crochet should be joyful, simple, and a celebration of color. Connect with Christa and find more of her patterns at Secret Yarnery.
About the Author
With a passion for crafting easy, beginner-friendly tutorials and patterns, Christa inspires crafters of all skill levels to unleash their creativity worldwide. She encourages yarn lovers to connect, create, and crochet a world filled with beautiful handmade treasures!
Part 5 - Secret Stitches Easy Stitch Sampler Blanket Pattern