Sundae Granny Square | Secret Stitches Easy Stitch Sampler Blanket Pattern Part 6
If you’re looking for a beautiful, simple, and fun granny square to add to your crochet collection, you’re in the right place. Today, I’m sharing how to make the Sundae Granny Square—Block 6 from the Secret Stitches Easy Stitch Sampler Blanket Pattern.
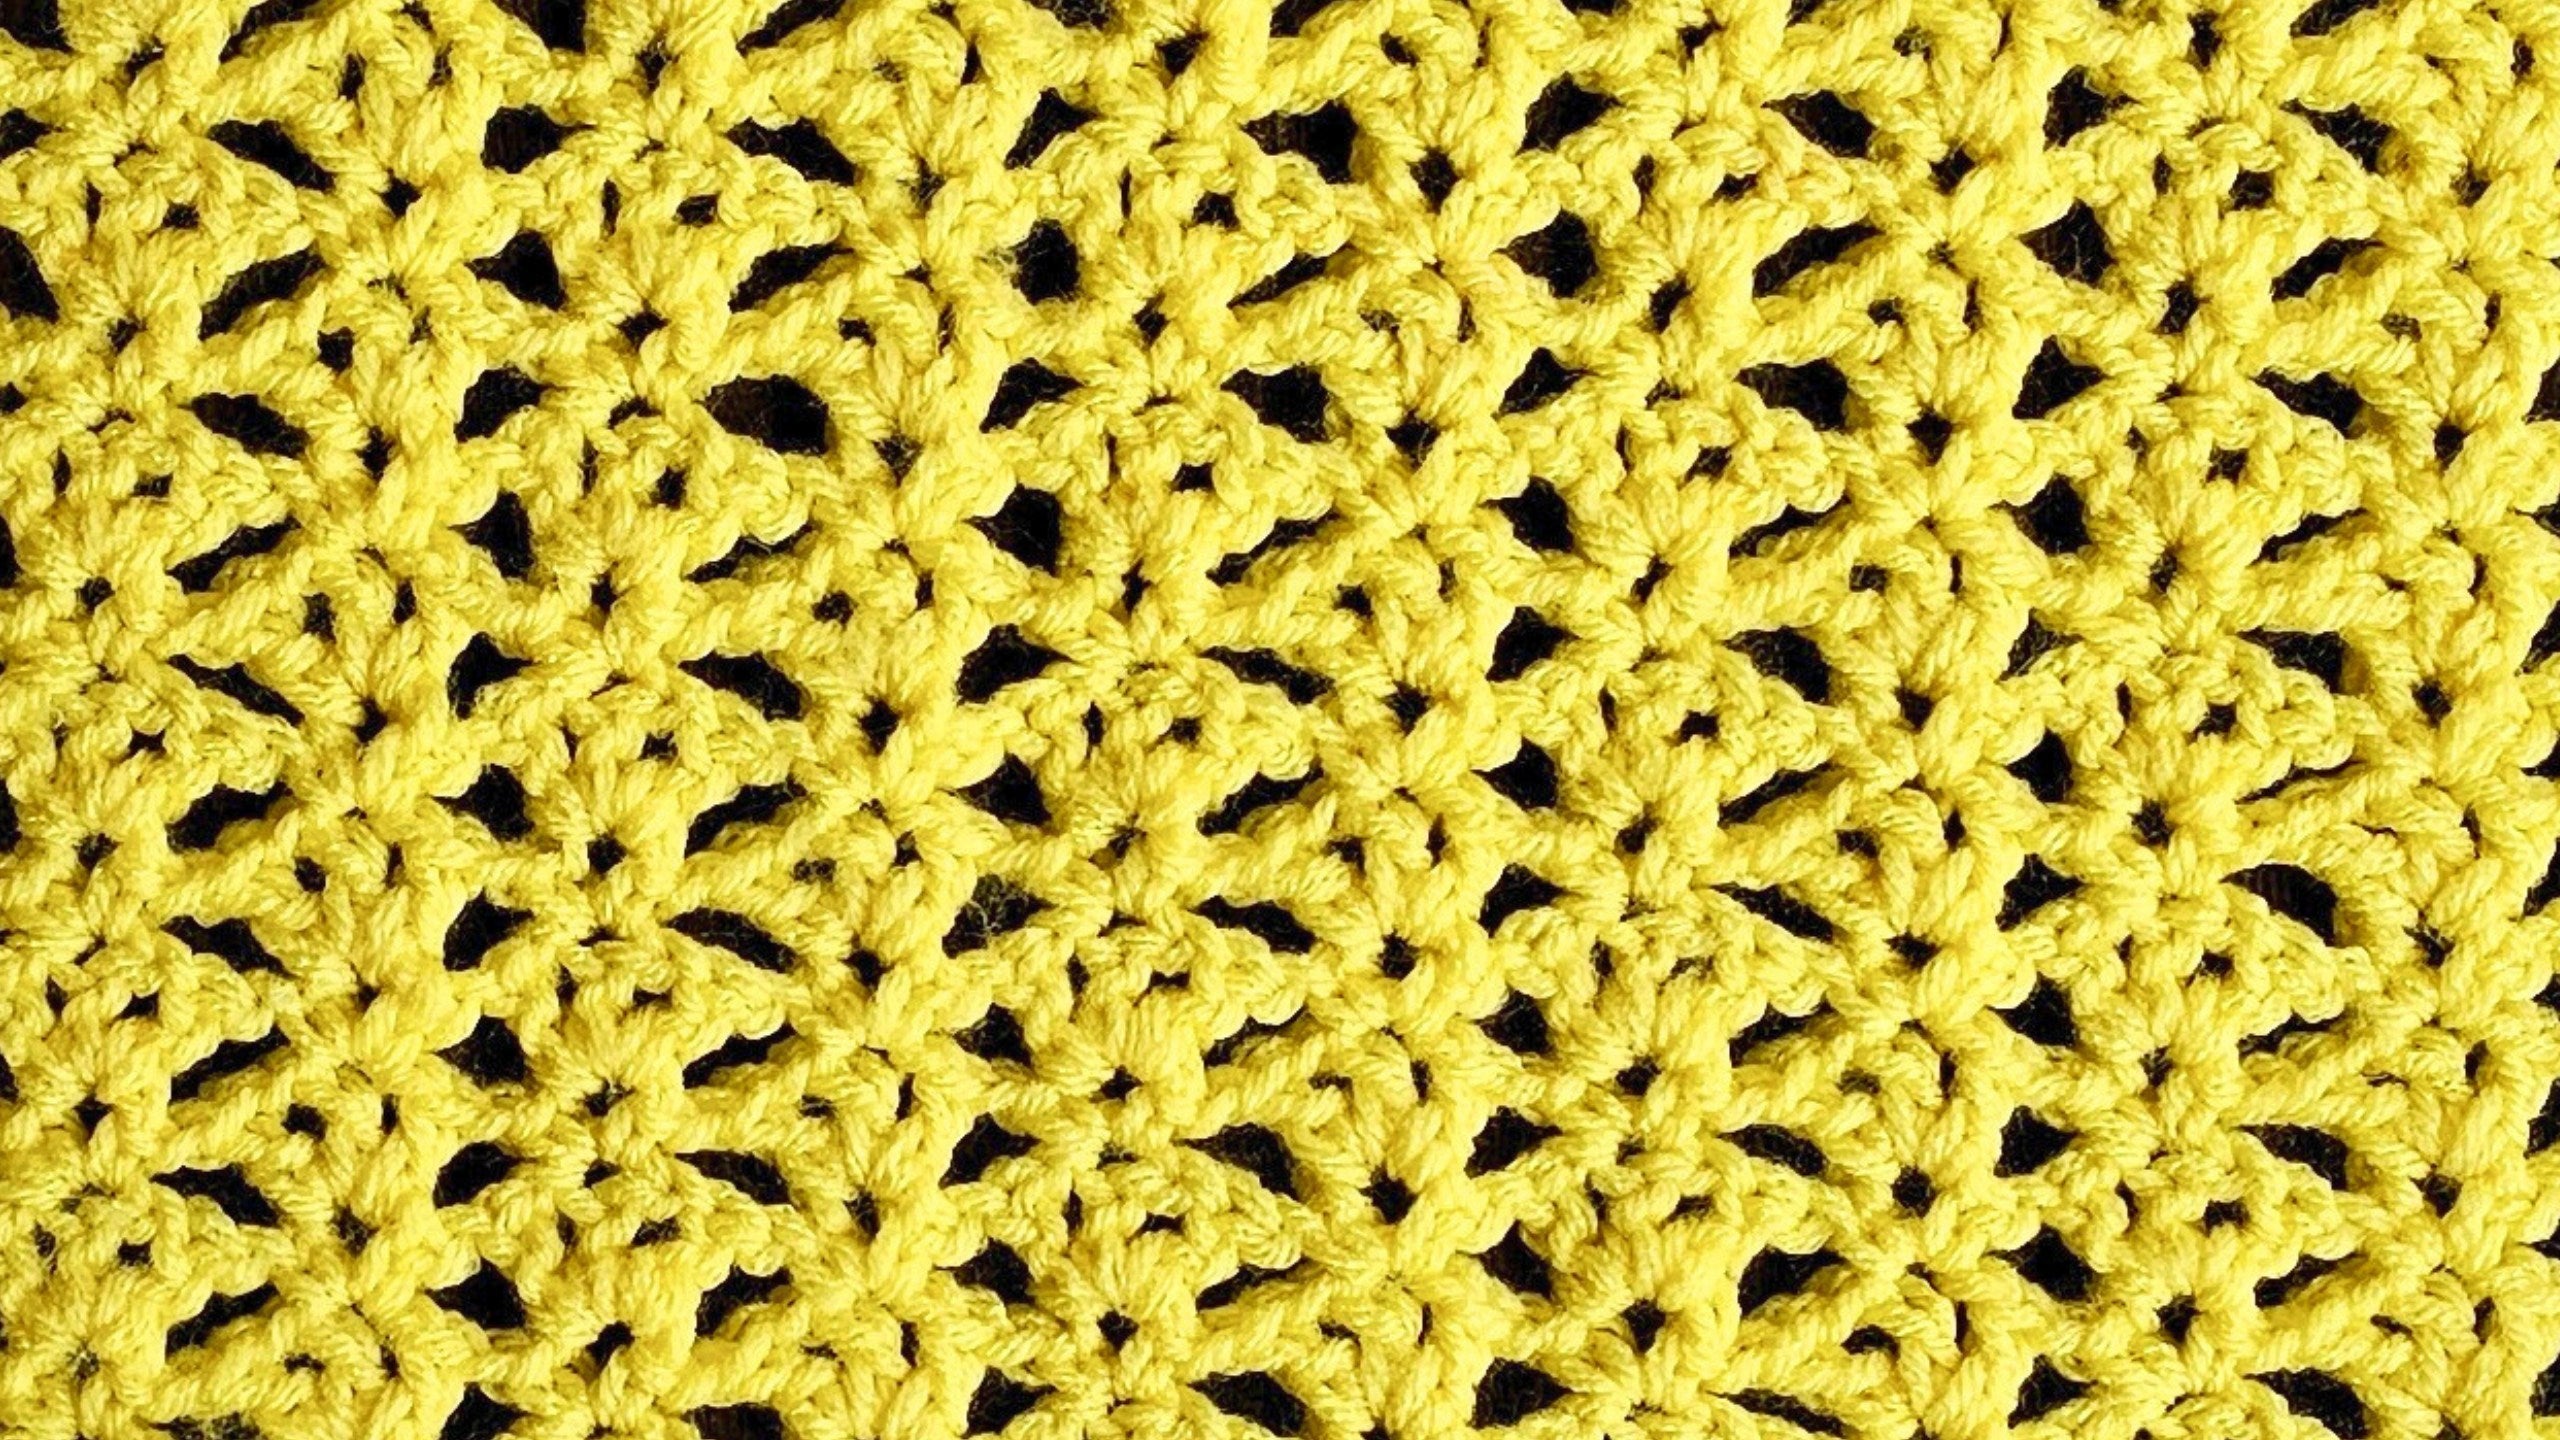
This square is a delight for beginners and seasoned crocheters alike, thanks to its one-row repeat and eye-catching, airy pattern. With its sweet “scoops and cherries” motif, the Sundae Granny Square brings a playful touch to any project. I’ll walk you through every step, from foundation chain to finishing touches, so you can easily add this square to your own blanket or sampler.
About the Secret Stitches Stitch Sampler Blanket Pattern Series
The Sundae Granny Square is the sixth block in the popular Secret Stitches Easy Stitch Sampler Blanket Pattern. If you’ve already tried classics like the Drunken Granny, Sober Granny, and Tipsy Granny, you know how these one-row repeat patterns make crochet relaxing and satisfying. Each block in the series focuses on simple stitches but delivers unique, textured results.
You can find the collection of Secret Stitches Sampler Blanket patterns here to catch up on past blocks or explore new ones. Be sure to subscribe to the Secret Yarnery channel and turn on notifications so you never miss a new tutorial.

Yarn and Supplies Needed
Yarn Choice
For the Sundae Granny Square, I chose Saver 100 yarn because it matches my color scheme and works beautifully for granny squares. If you want the same look and feel, you can find Saver 100 Yarn here. Other yarns from previous blocks are also suitable as long as they’re similar in weight. Keeping your yarn choice consistent across Easy Stitch Sampler Blanket Pattern squares ensures all your blocks work well together when you join them.
Crochet Hook
You’ll want a 6mm crochet hook for this square. I love how it gives the stitches an open, lacy look, without being too loose. If you need a new hook or want to match mine, this 6mm Crochet Hook is a good choice.
Additional Tools
Other must-have tools for this pattern:
- Darning needle (for weaving in those pesky ends)
- Five stitch markers
- Scissors (a sharp, comfortable pair works best)
If you’re after top-quality supplies, having the right scissors and stitch markers makes a big difference when you’re keeping your stitches on track.

Understanding the Sundae Granny Stitch Pattern
Basic Stitches Required
This pattern only uses the most common crochet stitches: double crochet (dc), single crochet (sc), and chain (ch). If you’re comfy with these stitches, you’ll find the Sundae Granny Square a breeze.
Pattern Characteristics
The Sundae Granny Square is:
- Light, lacy, and easy to memorize
- Built on simple one-row repeats
- Full of personality thanks to the “scoops” (dc clusters) and “cherries” (sc with chain 3)
Every scoop (three double crochets separated by chains) gets a cherry (single crochet, chain three, single crochet), and every cherry gets a scoop. This makes the pattern super easy to follow as you crochet along.
Preparing to Start: Making the Foundation Chain
Making a Slipknot
Start by making a slipknot, leaving a long enough tail to sew in later. How you make your slipknot is up to you—if it’s secure and won’t come undone, it’ll work! Place the slipknot onto your hook, adjusting it to be snug but loose enough to move comfortably.

Chaining a Multiple of Eight
The pattern requires a foundation chain that’s a multiple of eight. Here’s how I organize my chain so I never lose count:
- Chain 8 to start.
- Place a stitch marker in the back loop (“camel bump”) of the 8th chain.
- Continue chaining, adding a stitch marker every 8th chain, for a total of five markers (by now, you’ll have 40 chains).
- Once you have 40, chain 6 more to set up for the first row (total: 46 chains).
Rolling the chain back toward yourself helps you see the “camel bumps”—the little ridges on the back of each chain—making it much easier to work into them later.
Reading Your Chain: Camel Bumps & Back Loops Explained
“Camel bumps” are just the back loops of your chain. When you roll your chain so the Vs (front stitches) face away from you, those bumps along the back are your targets for inserting the hook. Working into these back loops creates a neat, clean foundation edge. If you find it tricky, feel free to use the regular front loops instead—your square will still look great, and it’ll be easier if you’re just starting out.
Having a clear view of your camel bumps also helps you keep stitch markers in the right places, saving you from headaches later on.

Row One: Beginning Your Sundae Granny Square
The Starting Single Crochet
To begin, find the second back loop from your hook. Insert the hook and make one single crochet (sc). Chain one.
Working Double Crochets and Chain 1’s
Next, skip three camel bumps. In the fourth bump (the one just before your first stitch marker), do the following all in the same stitch:
- Double crochet (dc)
- Chain one
- Double crochet
- Chain one
- Double crochet
- Chain one
This creates what I call a scoop: three double crochets separated by chains.
Single Crochet and Chain 3 “Cherry”
After every scoop, skip another three chains and then in the fourth bump, make one single crochet, chain three, and another single crochet all in the same stitch. This creates the cherry. The combination of scoops and cherries forms the pattern’s playful rhythm.

Continuing the Pattern Across the Foundation Chain
Keep alternating “scoops” and “cherries” across your chain:
- Scoop: dc, ch1, dc, ch1, dc, ch1 (same stitch)
- Skip three bumps, then
- Cherry: sc, ch3, sc (same stitch), ch1
- Repeat
The stitch markers help you check if you’re on track. Don’t worry if your piece looks a little wonky or round at this stage. Just let it hang and relax—it’ll shape up as you build more rows. When you reach the end, you should finish with a scoop (three double crochets separated by chains) just before your final marked stitch.
Stitch Placement Tips & Tricks
Finding the fourth camel bump each time is the secret to making even scoops and cherries. If counting is tough, use stitch markers, or work into the front loops to make things easier. Stay relaxed—if you slip with the count, just backtrack by looking for the last marked chain.
A little patience here saves you a lot of frogging (ripping back work) later!
Finishing Row One
When you finish the last scoop, chain one, then work your final double crochet and chain one into the last chain. Now, remove your stitch markers—they’ve done their job. Take a moment to lay out your work and check if the stitch count and overall tension look even. If it’s a little curly or wobbly, don’t panic—that’s normal at this point.

Row Two: The Main Repeat Row Explained
Starting Row Two
For row two, chain one and turn your piece. Place a single crochet into the first stitch you encounter, right under that chain. Chain one.
Defining the Scoops and Cherries for Row Two
The “scoop” is a cluster of three double crochets, each separated by a chain one:
- dc, ch1, dc, ch1, dc, ch1 all into the same space.
A “cherry” is a single crochet, chain three, single crochet, topped off with chain one:
- sc, ch3, sc, ch1 (all into the center stitch of the scoop from the row below).
Building your row is simple: Every scoop from the previous row gets a cherry, and every cherry gets a scoop. This constant flip-flop keeps the pattern balanced and easy to remember.
Placing Scoops on Cherries & Cherries on Scoops
Start the row by working a scoop into a cherry space (that loop). Then, in the center double crochet of the previous scoop, work a cherry. Repeat:
- Scoop into a cherry
- Cherry into the middle double crochet of a scoop
Locating the center stitch of the scoop helps here—always go for the second of the three double crochets.
Your row should already be forming a rhythm, with each scoop and cherry stacking neatly onto the previous row.

Detailed Walkthrough of Row Two Repeats
As you work row two:
- In each cherry loop (chain 3 space), build your scoop: dc, ch1, dc, ch1, dc, ch1
- In the center double crochet of each scoop (the “hill”), place your cherry: sc, ch3, sc, ch1
Continue this all the way across the row:
- Scoop into cherry, cherry into scoop, repeat.
Keep an eye on your chains—always place a chain one between each double crochet in the scoop and after each cherry.
Row two is the heart of the Sundae Granny Square. Once you get the hang of alternating scoops and cherries, the rest of the square is just repeating this sequence. The texture that grows as you go is satisfying and easy to monitor for mistakes or missed stitches.
Ending Row Two Correctly
When you reach the end, look for the last single crochet along the edge. Finish the row by working a double crochet, chain one, and another double crochet into that stitch. This method keeps your square’s edge straight and gives a polished finish.
Check your edges and feel free to count stitches to stay in sync with the pattern. Straight, clean edges mean your squares will join nicely to other blocks later.

Repeating Row Two for Desired Height
Continue working repeats of row two, keeping the scoop-cherry order. You can stop when your Sundae Granny Square matches the height of your other Stitch Sampler Blanket Pattern blocks or after 23 rows—whichever you prefer.
At any point, if your pattern looks off, count your scoops and cherries across the last row. The alternating sequence keeps everything on track and prevents lopsided blocks.
Final Row: Creating a Straight Edge
Single Crochet and Chain 3 Along the Row
The last row is designed to tidy up the top edge. Here’s how:
- Chain one and turn.
- Single crochet into the first stitch.
- Chain three.
- In each cherry, make a single crochet, chain three, single crochet into every scoop center.
Continue this across the entire row to even up the edge and give your block a crisp finish.
Finishing Stitch
At the end, make one last single crochet into the final stitch. Chain one and snip your yarn, leaving a tail that’s long enough to weave in with your darning needle.

Cutting Yarn and Weaving in Ends
Thread your needle with the tail and carefully sew it through your stitches, weaving back and forth to secure the end. Take care to keep your finishing stitches snug so they don’t pull loose later.
Matching thread works well for blending in. If you prefer contrast or decoration, that’s up to your creative touch.
Visual and Practical Tips Throughout
Seeing each key step helps a lot, so I love adding photos of:
- Foundation chain with stitch markers
- Completed row one with its scoops and cherries
- Row two after a few repeats
Don’t forget to turn your work to keep camel bumps visible and stitches easy to reach. Keeping your tension consistent by relaxing your hands also gives a smoother square.
Stitch markers come in handy, especially for keeping count in longer chains or as reminders of row beginnings.

Troubleshooting Common Questions
If your chains look twisty or the block seems off-shape after the first row, just let it hang naturally—it’ll straighten as you continue building rows. If working into the back loops isn’t your favorite, front loops are fine, so make it comfortable for you.
Finding the right stitches in a busy-looking pattern? Keep your eyes open for the scoops (the three dc hills) and cherries (the little chain three loops). If your count feels wrong, pause and check your stitch markers. They’re great visual guides.
Encouragement to Share Your Work
I’d love to see your finished Sundae Granny Square! Tag me on Instagram @secretyarnery or hop into the Facebook group The Secret Yarnery Crochet Community. Seeing everyone’s color combos and finished blocks is such a treat. If you’re using the hashtags, #SecretYarnery and #SundaeGrannySquare help others find your masterpiece and maybe spark new ideas.
If you want more patterns or ideas, there’s a handy Secret Stitches Sampler Blanket Pattern Collection loaded with different styles and creative takes from this crochet along.

Explore More Sundae Granny Patterns and Blocks
Want to try a full-size blanket or see more beginner projects? Check out the Beginner's Crochet Blanket Guide with Sundae Granny or explore the Sundae Yarn Blocks Collection for even more creative possibilities. There’s endless inspiration for what you can make with this stitch.
Conclusion
The Sundae Granny Square is a relaxing, creative block to add to your blanket or sampler, and it’s a great way to practice essential stitches. With just double crochet, single crochet, and chain, you can make a playful, cheerful square that stands out. The “scoop and cherry” rhythm keeps things simple and satisfying, even for beginners. If you follow this guide and don’t rush the basics—foundation chain, stitch markers, and row repeats—you’ll have a Sundae Granny Square that looks as sweet as it sounds.
Don’t forget to share your square with the community, and dive into the rest of the Secret Stitches Easy Stitch Sampler Blanket Pattern blocks for even more crochet fun. Stay hooked!
Left Handed?
FAQs
1. What skill level is needed for the Sundae Granny Square?
The Sundae Granny Square is suitable for beginners. If you know how to single crochet, double crochet, and make chains, you’ll be fine.
2. Can I use any yarn or do I have to use Saver 100?
You can use any similar weight yarn. Just keep your yarn consistent with the other squares in your project for best results.
3. What size should my finished square be?
Aim for consistency with your other CAL blocks. Most granny squares in this series finish at around 10–12 inches, but check your gauge and adjust your hook size if needed.
4. My square looks wavy or curled. Is that normal?
Yes, this is normal after the first few rows. As you continue, your square will flatten out. Blocking at the end helps even more.
5. Do I have to use stitch markers?
No, but stitch markers help keep your chains and pattern repeats on track, especially for beginners.
6. How do I avoid losing count in my foundation chain?
Place a stitch marker every eighth chain as you build your foundation. This way, you’ll always know where you are.
7. Can I make my square larger or smaller?
Yes. Simply add or subtract chain multiples of 8 in the foundation to adjust the size.
8. How do I join my squares when I’m done?
You can whipstitch, single crochet, or use any joining method you like. Choose the one that suits your blanket’s look.
![]()
Christa Patel is the creator behind Secret Yarnery. She shares easy-to-follow crochet tutorials, patterns, and inspiration for makers of all skill levels. With a passion for teaching and a love of colorful yarn, Christa’s approachable style makes beginners feel at home and encourages experienced crocheters to try new things.
Christa hosts crochet alongs, designs creative blocks, and offers helpful tips to make crochet simple and fun. She believes everyone can crochet with a little guidance and the right community.
Find Christa on YouTube as Secret Yarnery, join her Facebook group for support and ideas, or visit her website for more free patterns and resources.
About the Author
With a passion for crafting easy, beginner-friendly tutorials and patterns, Christa inspires crafters of all skill levels to unleash their creativity worldwide. She encourages yarn lovers to connect, create, and crochet a world filled with beautiful handmade treasures!
Part 6 - Secret Stitches Easy Stitch Sampler Blanket Pattern